
Welcome back. Last time, you created the social-app Expo TypeScript project, started Expo from its project folder, and opened the starter app in a desktop browser with w.
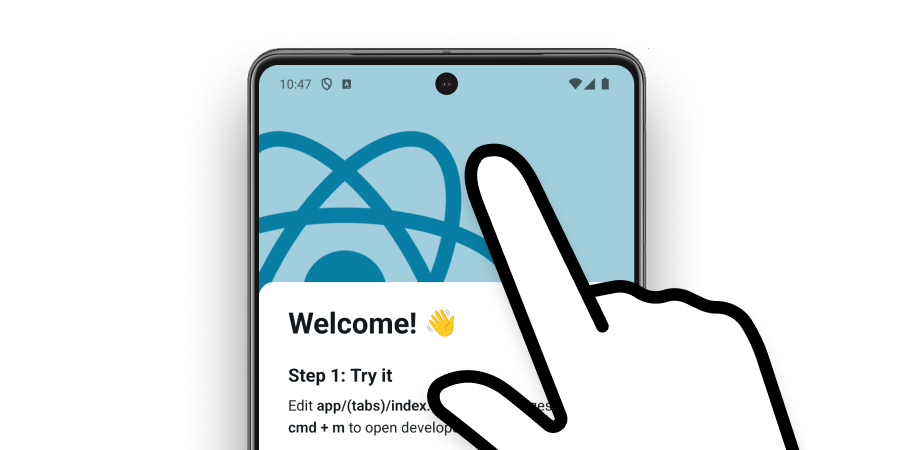
Today you will run that same project on your physical Android phone. This is an important development milestone: your laptop will run the development server, while Expo Go on the phone will load and display your app. Allow about 30–40 minutes, including troubleshooting if your home network needs adjustment.
What is happening when your phone runs the app?
You are not installing your own finished Android app yet. Instead, you are using Expo Go, an existing Android app designed for development and testing.
| Part | Runs on | Responsibility |
|---|---|---|
| Expo development server | Your Windows laptop | Prepares the current version of your project and makes it available for testing |
| Expo Go | Your Android phone | Provides a development environment that can open and run your project |
| QR code | Your laptop terminal | Gives Expo Go the connection details for this running project |
The practical consequence is simple: your laptop and phone need to be able to communicate over the network. Usually, connecting both to the same home Wi-Fi network is enough.
Expo Go is valuable early in development because it lets you see your app on real Android hardware without setting up Android Studio or creating an installable release each time. Later, when your social app needs capabilities or release settings beyond Expo Go, you will produce your own Android build. For now, Expo Go is the right tool.
Start the project server again
On your Windows laptop, open VS Code with the social-app project folder. Open a terminal with Terminal, then New Terminal.
First, check that you are in the project folder:
pwd
The displayed path should end with:
social-app
If it does not, enter the project folder:
cd "$HOME\Documents\social-app-learning\social-app"
Now start the Expo development server:
npx expo start
Wait for Expo to finish starting. The terminal should show:
- a QR code;
- information about the development server;
- keyboard shortcuts such as
wfor web; - an indication that Expo is waiting for a device.
Keep this terminal open. It is not frozen; it is actively running your development server.
The short official Expo video below shows the exact overall process. The presenter uses a different computer setup, but the npx expo start command and the QR-code workflow are the same.
How to create your first Expo app | Universal App tutorial #1
Watch “How to create your first Expo app | Universal App tutorial #1” by Expo for a quick visual demonstration of starting the server and opening an app on a physical phone.
Watch the phone test. Focus on the relationship between the running terminal, its QR code, and the app loading on the physical device.
Connect with Expo Go on your Android phone
Before scanning, check these two conditions:
- Expo Go is installed from the Google Play Store.
- Your Android phone and Windows laptop are on the same Wi-Fi network.
Do not connect the phone to your laptop with a USB cable for this step. Expo Go normally connects through Wi-Fi.
On your Android phone:
- Open Expo Go.
- Look for Scan QR code. Its location can vary a little between Expo Go versions, but it is usually visible on the home screen or in a menu.
- If Android asks for camera permission, allow it. The scanner needs camera access to read the QR code.
- Point the phone at the QR code displayed in the VS Code terminal.
- Wait while Expo Go connects and bundles the app.
If Android shows a prompt asking what should open the scanned link, select Expo Go.
The first load can take a little longer than later loads. Watch the terminal: it should show messages indicating that it is bundling the Android version. Then the Expo starter screen should appear on your phone.
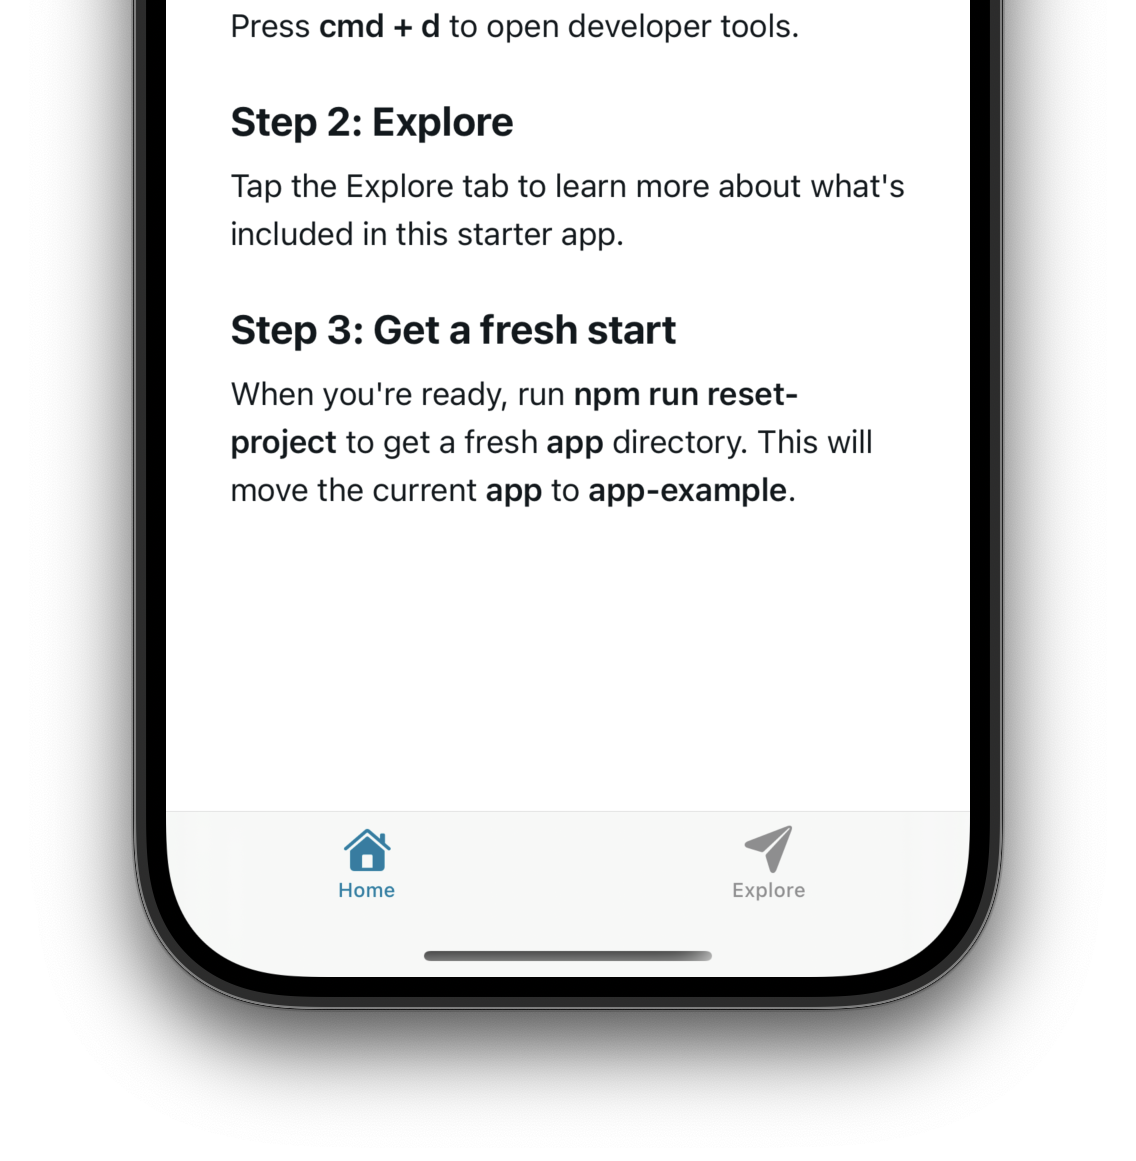
Your exact screen can differ slightly because Expo’s starter templates change over time. It may show a welcome message, tabs, an Explore screen, or directions about editing a file. The essential result is that it is clearly your Expo starter app—not a browser page and not merely the Expo Go home screen.
At this point, you have run one shared project in two places:
- desktop web browser, from the previous lesson;
- physical Android device, through Expo Go.
That is the cross-platform development workflow you will use while building the social app’s interface.
Confirm that the connection is live
Once the starter app appears on the phone, do not stop the terminal yet. Leave Expo running and perform a few basic checks:
- Tap through any visible starter tabs or controls.
- Lock and unlock the phone if necessary; the app should remain available while the development server is still running.
- Look back at the terminal for successful Android bundling messages.
- Keep the phone near you while working in VS Code in future lessons. When you save code changes, Expo Go will generally refresh the app automatically.
You do not need to edit any code today. The goal is to establish that the Android device can load the project correctly.
A useful distinction:
- Expo Go open with your project displayed: success.
- Expo Go’s project list or home page still displayed: the QR scan did not open this project yet.
- A browser opens a web address: that is not the intended result for this lesson; choose Expo Go when Android asks how to open the scanned connection.
If the phone cannot connect
Connection problems are common during a first mobile test. They usually do not mean that your project is broken. Work through the checks in order.
Read the official Expo documentation’s mobile-device instructions and its focused advice for Wi-Fi and router connection problems.
In Section 2, “Open the app on your device,” read the QR-code steps first. Then read the troubleshooting notes beginning with the network check, followed by the paragraph that begins the router workaround. Focus on when Expo recommends using a tunnel connection and why it should be a fallback rather than your default.
Check 1: Confirm both devices use the same Wi-Fi
On the phone, open Android’s Wi-Fi settings and note the network name. On your laptop, select the Wi-Fi icon near the Windows clock and confirm the same network name.
Mobile data on the phone does not count as being on the same Wi-Fi network. For initial testing, temporarily turn mobile data off if it makes diagnosing the connection clearer.
Also avoid public, school, hotel, or guest Wi-Fi for this first test when possible. Such networks often prevent devices from communicating with one another.
Check 2: Keep the correct server running
Return to the VS Code terminal. It must still be running Expo from the folder that contains package.json.
If you accidentally stopped the server, restart it:
npx expo start
Then scan the new QR code. An old QR code may point to a development server that no longer exists.
Check 3: Allow Expo through Windows Firewall
Windows may display a security prompt the first time Expo accepts network connections. If it does, allow access on Private networks—normally your home Wi-Fi.
Do not broadly allow access on public networks unless you understand and trust that network. For home development, the Private network option is the appropriate choice.
If you dismissed the firewall prompt and the phone cannot connect, restart Expo. Windows may display the prompt again.
Check 4: Use a tunnel if the normal Wi-Fi connection fails
Expo’s usual local-network connection is fastest, but some routers isolate devices even when they appear to use the same Wi-Fi. In that case, stop the server with Ctrl+C, then start Expo in tunnel mode:
npx expo start --tunnel
Wait for the new QR code and scan it in Expo Go.
A tunnel uses an internet-mediated connection rather than relying directly on your local network. It can solve router restrictions, but it is generally slower. Use it when the regular connection fails, not as your automatic default.
Check 5: Update Expo Go rather than changing project files
If Expo Go reports a compatibility problem, first update Expo Go through the Google Play Store. Your starter project was created with the Expo SDK version chosen for this course, so do not change package versions or edit configuration files as a first response.
End the session cleanly
When you have successfully loaded the starter app on Android, return to the terminal that is running Expo and press:
Ctrl+C
This stops the development server.
After stopping it, Expo Go may still show the last screen it loaded, but it cannot fetch new changes or reload the project until you start Expo again. That is expected.
Next time you want to test on Android, your routine will be:
- Open the
social-appfolder in VS Code. - Run
npx expo start. - Open Expo Go on the phone.
- Scan the QR code, or select the recently used project if Expo Go offers it.
- Keep the Expo terminal running while you develop.
Key takeaways
You have now tested the Expo starter project on both web and a real Android phone. The laptop runs the development server; Expo Go on Android connects to that server and runs the current JavaScript and interface code in a development environment.
For reliable local testing, keep the server running and place the laptop and phone on the same Wi-Fi network. If a router blocks that connection, restart Expo with npx expo start --tunnel.
Next, you will begin using Git to record changes to this project locally. That will give you a reliable history of your work as the starter becomes your social app.
Can't find a good explanation? Sign up and we'll make it for you
Sign up