
Welcome back. Last time, you practiced locating the current folder, moving with cd, inspecting files with dir, and understanding that project commands must be run from the folder containing package.json.
Now you will set up the four tools that make that workflow useful on your Windows laptop:
- Node.js, which runs JavaScript development tools.
- Visual Studio Code, where you will write and inspect app code.
- Git, which records your project’s history safely.
- Expo tools, which let one app project run on the web and Android.
Plan for about 40–55 minutes, although downloads and installer prompts can add a little time. You do not need to create the social-app project yet; the next lesson does that. Today’s goal is a clean, verified setup.
The tools and how they fit together
A beginner-friendly Expo project has several tools working together, but each has a distinct job.
| Tool | Job in your social-app work |
|---|---|
| Node.js | Runs JavaScript-based developer tools on your laptop. |
| npm | Comes with Node.js; installs project packages and runs named project scripts. |
| npx | Also comes with Node.js; runs a package command when you need it, without installing it globally first. |
| VS Code | Editor for TypeScript, React, project files, and its built-in terminal. |
| Git | Creates a local history of your work, allowing you to inspect and restore earlier versions. |
| Expo Go | An Android app that can load your Expo project during development. |
One important distinction: you will not install the old global Expo CLI with a command such as npm install --global expo-cli. Some older tutorials use that workflow. Current Expo projects use commands such as npx create-expo-app and npx expo start, with the needed Expo tooling associated with the project itself.
Expo’s current tutorial lists the basic prerequisites clearly.
Create your first app - Expo Documentation
Read Expo’s prerequisites list first. It confirms the small set of tools you are configuring and shows why Expo Go belongs on your Android phone as well as your laptop.
In the “Prerequisites” section immediately before “Initialize a new Expo app,” read the four requirements. Notice that Expo expects an LTS version of Node.js, a code editor, a terminal, and Expo Go on a physical device.
1. Install Visual Studio Code
Install VS Code before Git so that, during Git setup, you can select VS Code as Git’s editor.
Use the official VS Code download page and choose User setup for Windows. This is the normal choice for one person using their own Windows account. It does not require administrator permissions and is easier to update.
This official VS Code guide explains which Windows installer to choose and what it configures for you.
In “Install VS Code on Windows,” read the setup comparison, then follow the “Install with the Windows installer” steps. Choose User setup, download the installer, and keep the normal installation location.
During the installer:
- Accept the license terms.
- Keep the default install location.
- If you see an option to add VS Code to
PATH, leave it enabled. - Finish the installation and open VS Code.
Once VS Code opens, you do not need to install extensions yet. The built-in editor and terminal are enough for this stage of the course.
Confirm that VS Code opens a folder
In VS Code, select File, then Open Folder. Open the folder you created previously:
Documents\social-app-learning
If Windows asks whether you trust the authors of the folder, select Yes, I trust the authors only because this is your own practice folder.
Open the integrated terminal with Terminal, then New Terminal. You should see a PowerShell prompt at the bottom of VS Code.
2. Install Node.js, npm, and npx
Node.js is the runtime that lets your laptop execute the tools used to create, test, and bundle your future app. Installing Node also installs npm and npx.
Go to the official Node.js download page and choose the version labeled LTS. LTS means long-term support: it is the stable version intended for continued use. Do not choose a version just because its number is larger if it is labeled “Current” rather than LTS.
Run the Windows installer and keep its standard options. In particular, ensure that npm package manager remains selected.
The following video shows the general installation and verification flow. Its displayed Node version is old, so use the current LTS version rather than copying its version number.
Expo Dev Environment Setup for your first React Native project (Windows)
Watch this short portion of notJust.dev’s Windows setup walkthrough for the Node installation flow and the command-line checks that confirm Node and npm are available.
Watch Node installation. Follow the installer flow and focus on the final verification commands. Use the current LTS download from the official Node.js site, not the older version shown in the video.
Verify Node after installation
Close the existing VS Code terminal panel and create a new terminal. This matters because a terminal that was already open may not know about newly installed tools.
Run these commands one at a time:
node --version
npm --version
npx --version
Each command should print a version number. The exact numbers will differ from examples in tutorials, and that is expected.
A successful result looks broadly like this:
vXX.X.X
XX.X.X
XX.X.X
Do not worry about memorizing the versions. The check answers one practical question: can PowerShell find the tools?
If PowerShell says that node, npm, or npx is “not recognized”:
- Close all VS Code windows and terminals.
- Open VS Code again.
- Open a new terminal and rerun the checks.
- If it still fails, restart Windows before attempting a reinstall.
Avoid manually editing Windows environment variables at this stage. A restart resolves most installation-path issues cleanly.
3. Install and identify Git
Git is a local version-control system. It will let you make snapshots called commits as your social app evolves. Later, if a feature breaks, Git can show what changed and help you return to a known working version.
Download Git for Windows from the official Git website and run the installer. The installer has many screens because Git supports many workflows; for this course, the safe approach is mostly to keep the recommended defaults.
How to install Git on Windows 11 (Updated 2025)
This Git-on-Windows walkthrough shows the installer screens that are most likely to be confusing for a first-time setup.
In the installation walkthrough, watch the Git options. Keep the recommended settings in most screens. If offered, choose VS Code as Git’s default editor, select main as the initial branch name, retain the option that makes Git available from the command line, and keep Git Credential Manager enabled. Then watch the verification to see the final check.
After installation, close any old terminals and open a new VS Code terminal. Verify Git:
git --version
You should see a version number.
Tell Git who is making commits
Git stores an author name and email address in every commit. This is not a password and it does not create an online account; it is simply the attribution attached to your local project history.
Replace the sample values below with your own name and an email address you control:
git config --global user.name "Your Name"
git config --global user.email "your-email@example.com"
For example, if your name were Sam Lee, you would write:
git config --global user.name "Sam Lee"
git config --global user.email "sam@example.com"
Confirm the values you saved:
git config --global --get user.name
git config --global --get user.email
Git will use these settings for projects created on this Windows account. In a later lesson, you will initialize your social-app repository and create your first actual commit.
4. Prepare Expo for Android development
For the early stages of this course, Expo has two parts:
- The Expo commands you will run from your app project through
npx. - Expo Go on your Android device, which can open the project while you develop.
On your Android device:
- Open the Google Play Store.
- Search for Expo Go.
- Confirm that it is the official Expo app.
- Install it.
- Open it once so Android can complete any first-launch prompts.
You do not need to sign in or create an Expo account for today’s setup check. Do not scan a QR code yet; you will have a real project to scan in the Android-focused lesson.
The terminal image below is a preview of what you will see later, once a project exists and its Expo development server is running.
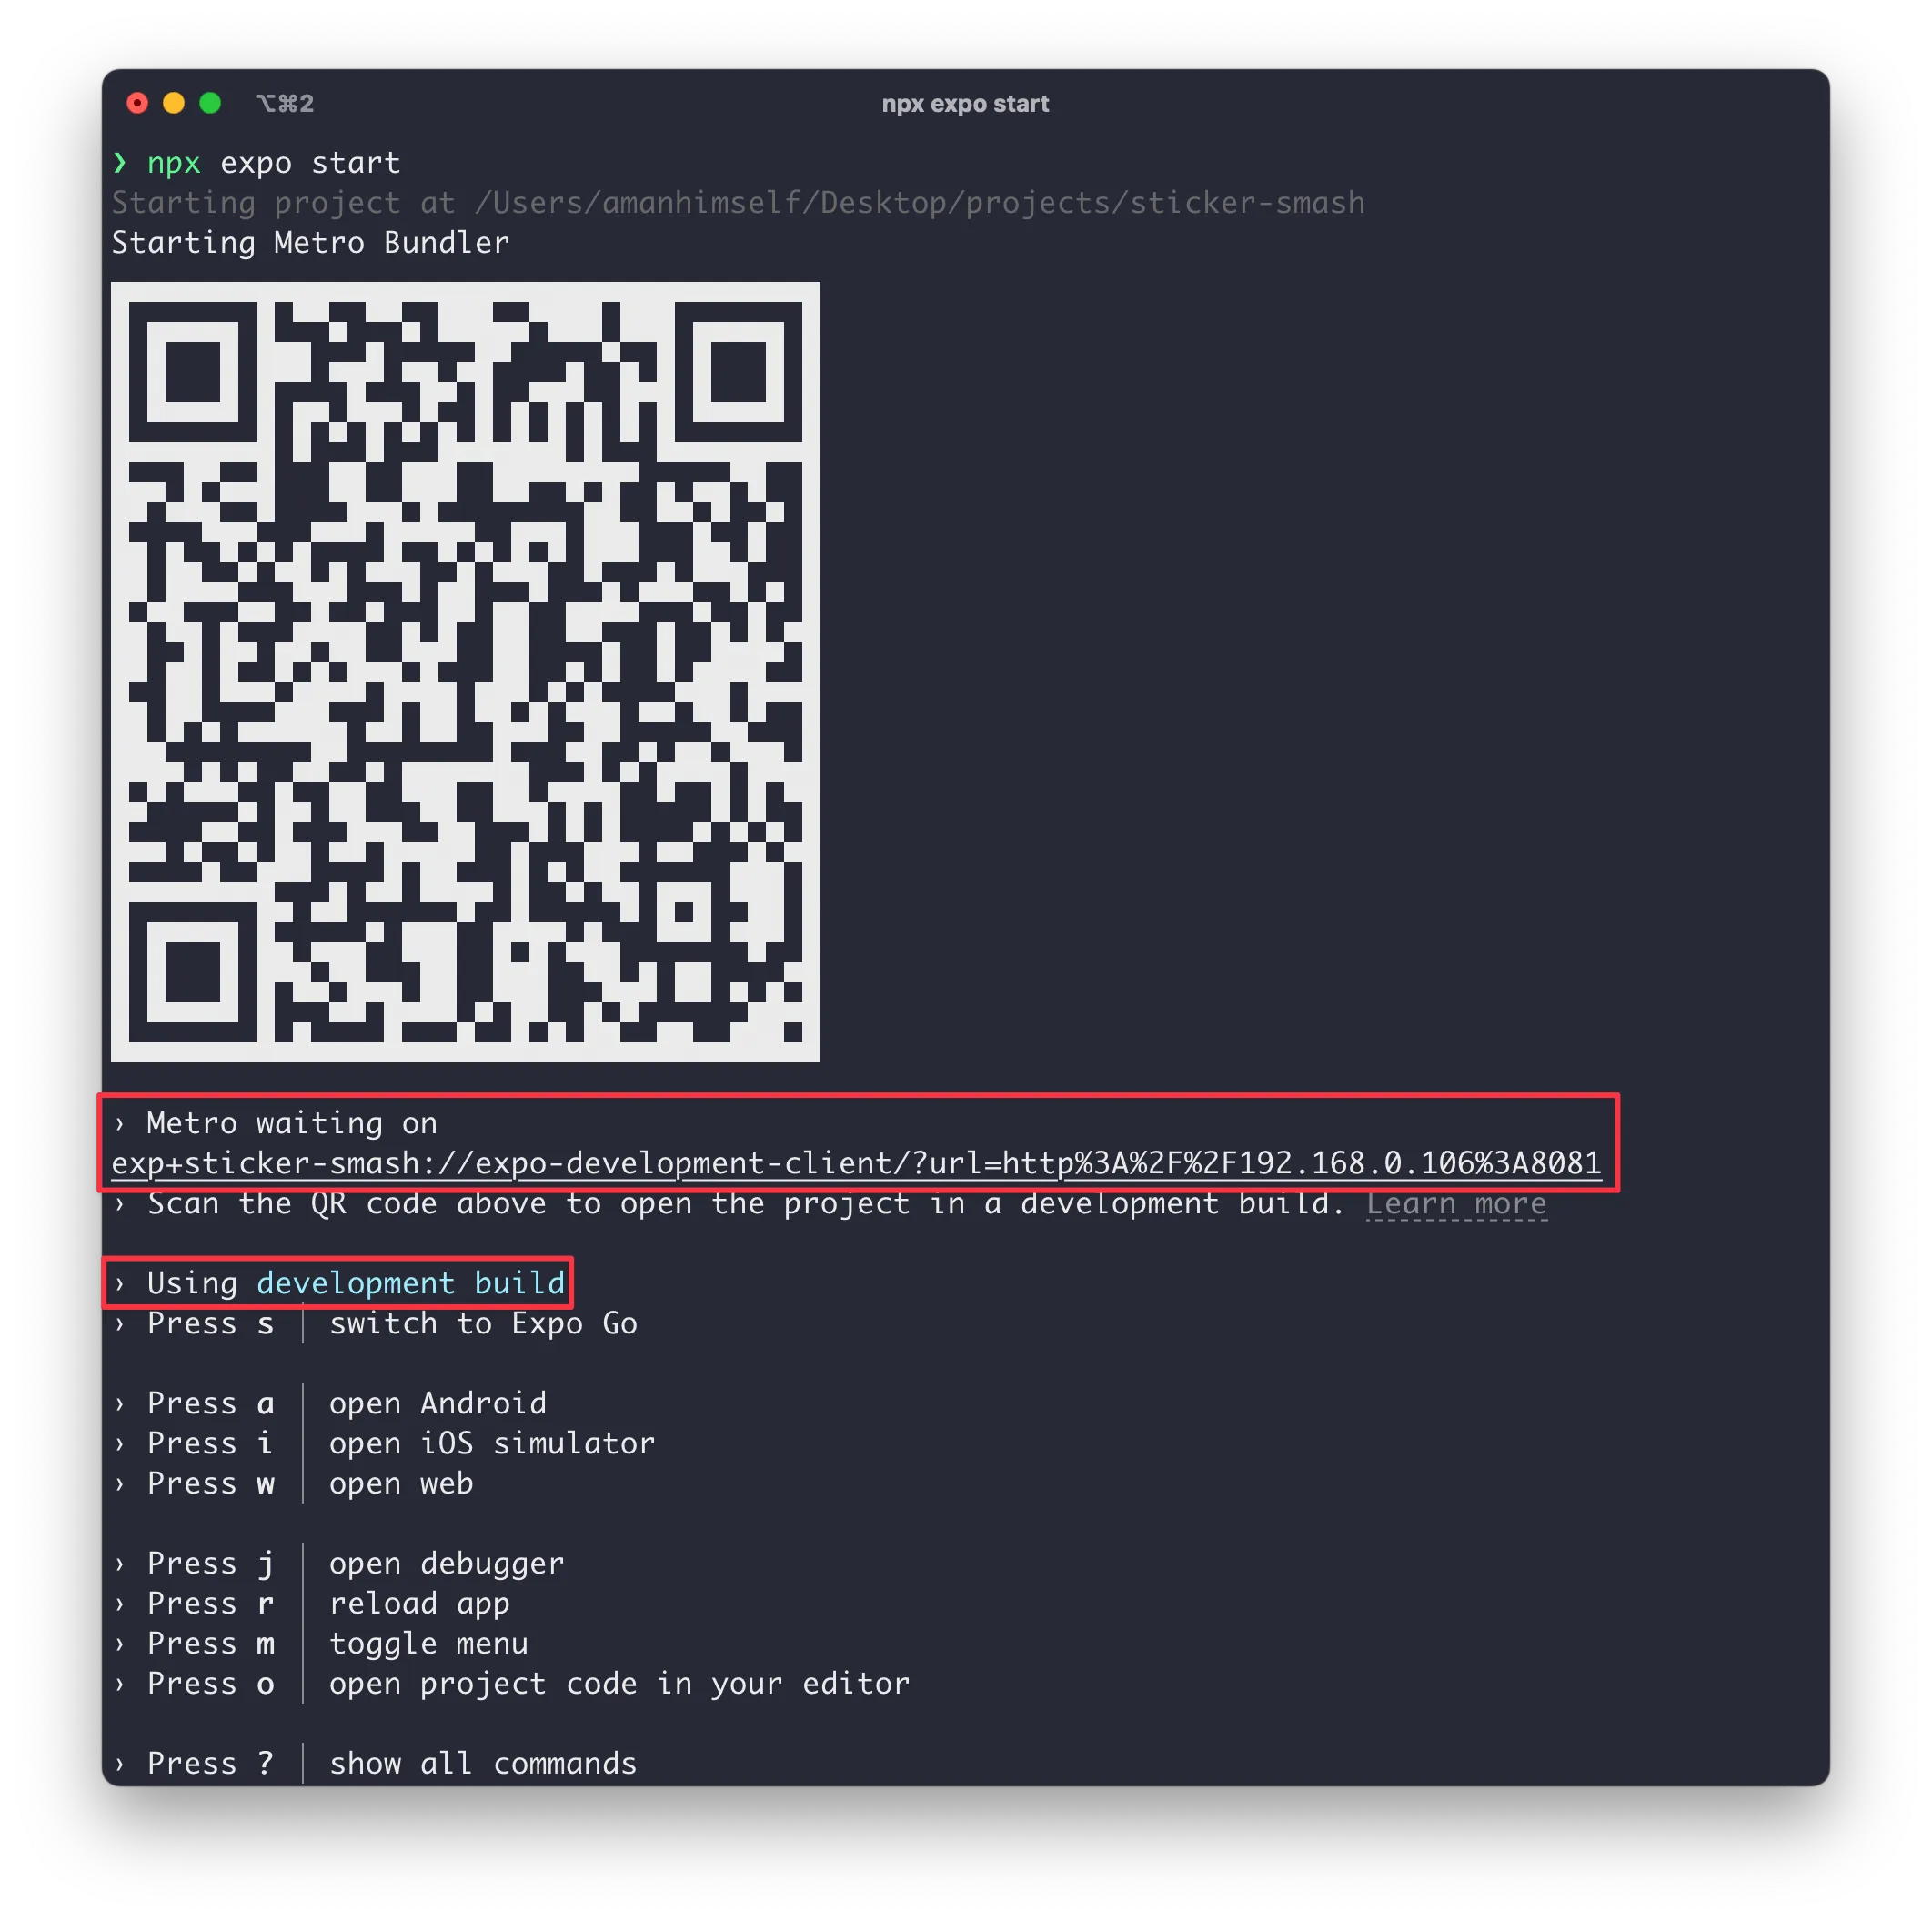
The QR code represents the connection between your laptop’s running project and a test device. You will not type the long address beneath it manually. In the appropriate lesson, Expo Go will scan the QR code for you.
Final environment check
Return to your social-app-learning folder in the VS Code terminal and run:
pwd
dir
node --version
npm --version
npx --version
git --version
Optionally, test whether VS Code’s command-line launcher is available:
code --version
If code --version is not recognized but VS Code itself opens normally, continue using File, then Open Folder for now. The editor is installed; the command-line shortcut is convenient but not essential.
Your setup is complete when all of the following are true:
- VS Code opens and can open
social-app-learning. - Its integrated PowerShell terminal works.
node --version,npm --version, andnpx --versioneach show a version.git --versionshows a version.- Git has a global user name and email configured.
- Expo Go is installed on your Android device.
Key takeaways
You now have the basic Windows development environment for a cross-platform social app. Node.js provides the runtime and includes npm and npx; VS Code provides the editor and terminal; Git records your code history; and Expo Go prepares your Android phone to run development projects.
Use current LTS Node.js, keep the recommended installer settings unless there is a clear reason to change them, and avoid installing the outdated global expo-cli package. Future Expo commands will be run with npx from inside a specific project folder.
Next, you will create an Expo TypeScript starter app and run it in your desktop web browser.
Can't find a good explanation? Sign up and we'll make it for you
Sign up