Recommended resources
The freely available resources this lesson will direct you to.
- 200 Social Media Posts In 10 Minutes Using ChatGPT & Canvawww.youtube.com
- CANVA TUTORIAL: Create custom Canva templates that match your brand!www.youtube.com
- How to Create On-Brand Graphics Fast in Canva - Haute Stock Bloghautestock.co
- Brand Templates best practices guide - Canva Help Centerwww.canva.com
Introduction
Welcome back! In the last few lessons, you've learned how to create individual, branded graphics for both Instagram and Pinterest. This is a fantastic foundation. However, as an influencer, your most valuable asset is time. Creating every single post from scratch is not sustainable, especially when you're aiming to post content regularly.
Today, we'll build on your design skills to create a system for speed and consistency. This lesson addresses the learning outcome: Build a reusable set of branded templates in Canva for recurring content types (tips, lists, quotes).
Think of this as building your own content creation toolkit. Instead of starting with a blank page each time, you'll have a set of pre-made, on-brand designs ready to go. You'll just need to plug in new text and images. This is how successful creators produce a high volume of quality content without spending all day in Canva.
1. The Power of a Template System
Before we jump into Canva, it's important to understand why templates are a game-changer for any creator.
- Speed: This is the most obvious benefit. You'll be able to create graphics in minutes, not hours.
- Brand Consistency: When all your posts share a similar visual language (fonts, colors, layouts), your audience will start to recognize your content instantly in a crowded feed. This builds trust and authority.
- Reduces Decision Fatigue: Having a set of templates eliminates the overwhelming feeling of "What should I post today?" and "How should it look?" You can focus your energy on the message itself.
The goal is to move from reinventing the wheel with every post to simply updating the details.
How to Create On-Brand Graphics Fast in Canva
The Haute Stock blog has a great article that explains this concept well. Let's read a few key sections to solidify why this is so important.
Please read section 5, 'Build a Bank of Reusable Brand Templates,' and section 'Frequently Asked Questions.' Pay attention to their advice on how many templates to start with and why consistency matters for building trust with your audience.
For your "cheap and cheerful lifestyle" niche, some of the most effective and repeatable content types are:
- Money-Saving Tips: A single, powerful piece of advice.
- Top Lists: e.g., "5 Frugal Meal Prep Ideas," "Top 3 Free Budgeting Apps."
- Inspirational Quotes: Short quotes about financial wellness, simplicity, or mindful spending.
Your templates will provide a unique, branded look for each of these categories.
2. Action Steps: Building Your Template Set in Canva
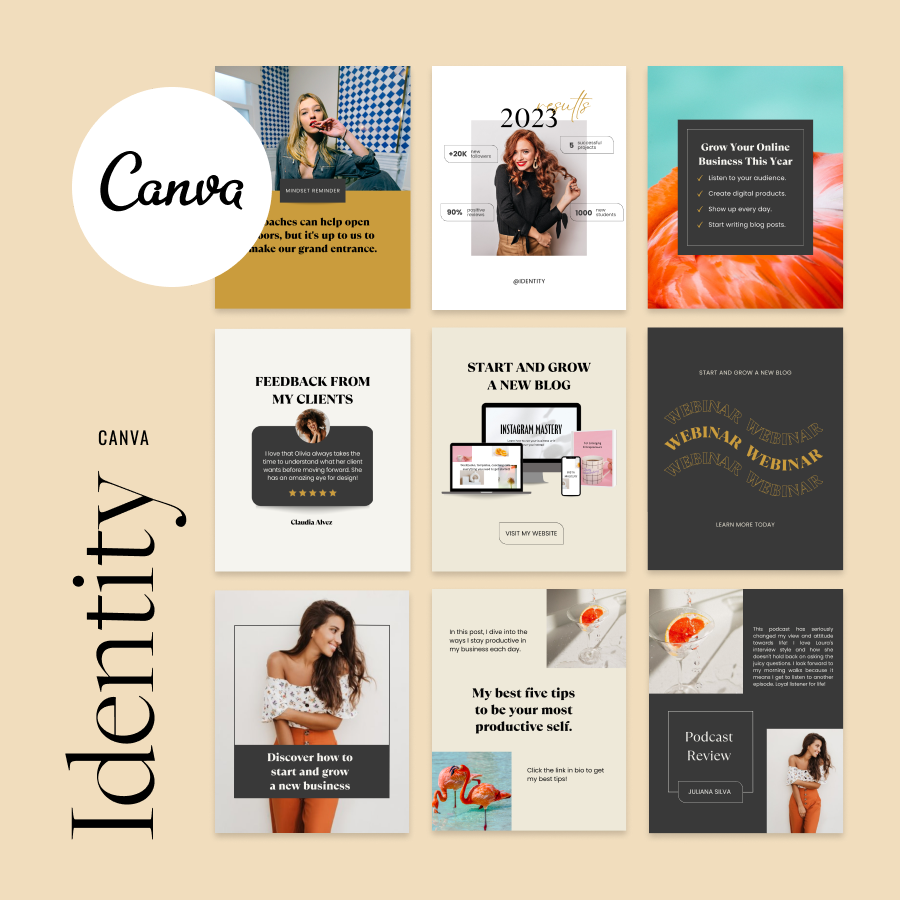
Let's get practical. We are going to create a single "master" document in Canva that will house all of your core templates.
The following video provides an excellent overview of this process. While the presenter is using her existing designs, you'll be creating yours from scratch. The principles of gathering, editing, and saving are the same.
CANVA TUTORIAL: Create custom Canva templates that match your brand!
This tutorial by Jacqui Naunton will walk us through the entire process of creating and saving a set of brand templates. It's packed with useful tips.
Watch from the beginning to 08:57. Focus on these key stages: The Concept (0:00-3:07): Understand the idea of having a central place for your templates. Gathering Designs (3:07-6:34): The presenter copies existing designs. You'll be creating your new designs on different pages within one document. Final Tweaks (6:34-7:33): How to refine your base templates. Saving the Template (7:33-8:57): This is the crucial step that makes them reusable. Note the difference between the Canva Pro method and the free workaround.
Now, let's follow that process with our own steps.
Step 1: Create Your "Master Template" Document
- Open Canva. Click Create a design and choose Instagram Post (Square, 1080x1080px). This is a versatile size to start with.
- Name this document something clear, like "[Your Brand Name] - Master Templates". This file is your "do not touch" original copy. You will always make copies from this file, but you won't edit this one directly for day-to-day posts.
Step 2: Design Your Three Core Templates
Inside your new Master Template document, you will create three pages.
Page 1: The Quote Template
- Add a background using one of your brand colors or a subtle, clean background image.
- Add a large text box for the quote itself. Set it to one of your brand fonts.
- Add a smaller text box below it for the author's name (if applicable).
- Add a text box at the very bottom with your username (e.g.,
@YourUsername). Lock this element by selecting it and clicking the padlock icon in the top-right corner. This ensures it appears on every post made from this template.
Page 2: The Tip Template
- Create a headline like "Money-Saving Tip" or "Frugal Hack" at the top.
- Add a larger text box in the middle where the actual tip will go.
- Consider using an image Frame from the Elements tab. This allows you to easily drag-and-drop a new photo for each tip without messing up the layout.
- Add and lock your username at the bottom.
Page 3: The List Template
- Create a headline for your list (e.g., "5 Ways to Save On...").
- Add a text box and use bullet points or numbers for the list items. Alternatively, you can use shapes (like numbered circles) from the Elements tab to make it more visual.
- Make sure there's enough space for the text to change length.
- Add and lock your username at the bottom.
For all templates, make sure to use your brand kit's colors and fonts to maintain consistency.
Brand Templates best practices guide
As you design, it's helpful to keep some best practices in mind. This guide from Canva's Help Center provides technical advice for making your templates robust and easy to use.
Skim through sections 1 ('Start by planning...'), 2 ('Set your layout...'), and 3 ('Protect parts that shouldn't change'). You've already applied some of these, like using Frames and locking elements. This will give you the 'why' behind those actions.
Step 3: Save and Use Your Templates
You have your Master Template document. Now, how do you use it without overwriting the original?
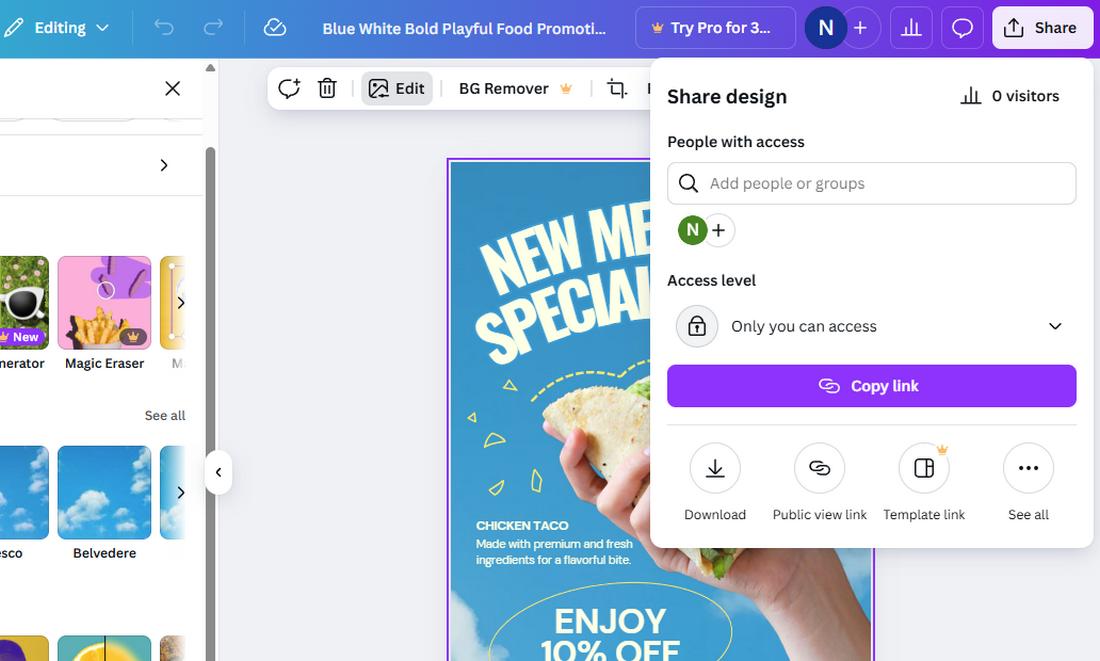
- Canva Pro Method: As shown in the video, you can use Share > Brand Template to save it to your Brand Hub. This is the slickest method if you have a Pro account.
- Free Method 1 (Recommended): From your Canva homepage, find your Master Template file. Click the three dots (...) on the file and select Make a copy. Rename the copy for the specific post you're creating (e.g., "Grocery Savings Tip Post").
- Free Method 2: Inside your Master Template file, click Share. Under the options, you might see "Template link."
3. Bonus: The Ultimate Efficiency Hack with Bulk Create
Once you're comfortable with templates, you can take your efficiency to the next level with Canva's Bulk Create feature. This lets you generate dozens of posts from a single template and a simple spreadsheet.
Imagine you brainstorm 20 money-saving tips. With Bulk Create, you can turn all 20 tips into branded graphics in about five minutes.
200 Social Media Posts In 10 Minutes Using ChatGPT & Canva
This video from Modern Millie gives a fantastic, quick demonstration of how to use ChatGPT and Canva's Bulk Create feature. We'll focus on the Canva part.
Watch from 02:09 to 05:56. (02:09 - 02:58): See how to prepare your content in a spreadsheet (like Google Sheets) and download it as a CSV file. (04:25 - 05:56): Watch how to use the 'Bulk Create' app in Canva to connect your CSV data to your template and automatically generate all the posts.
This is a more advanced technique, but it's incredibly powerful and aligns perfectly with your goal of becoming a highly successful (and efficient) influencer. Keep this tool in your back pocket as you start to plan more content.
Conclusion
Excellent work today! You've moved beyond being just a graphic designer and have started thinking like a content creator. By building a reusable set of templates, you've created a system that will save you countless hours and ensure your brand looks professional and consistent across all your posts.
Key Takeaways:
- Templates are essential for creating content with speed and brand consistency.
- A "Master Template" document in Canva is your central library for your core designs (tips, lists, quotes).
- Use features like Frames and locking to make your templates easy to update without breaking the design.
- You can reuse templates by using Canva's "Brand Template" feature (Pro) or simply by making a copy of your master file (Free).
- For ultimate efficiency, explore the Bulk Create feature to batch-produce dozens of graphics at once.
Preview of the Next Lesson:
You've now built a strong foundation in creating static visual content. Next, we're diving into the world of video! The next lesson, the first in our new module, is "Record a short-form video (under 60 seconds) on your smartphone with steady framing and clear audio." We'll cover the absolute basics of getting great-looking footage using the camera you already have.