Recommended resources
The freely available resources this lesson will direct you to.
Introduction
Congratulations on completing Module 2! You've successfully built a professional and interconnected online presence across all your chosen platforms. Your profiles are branded, optimized, and linked together, creating a solid foundation for your brand. Now that your "house" is built, it's time to fill it with high-quality content that will attract and engage your audience.
Welcome to Module 3: Creating Static Visual Content. In this module, we'll shift our focus from setup to creation. We'll begin with the single most important element of any good photo: lighting.
In this lesson, you will learn to identify the key principles of good lighting for smartphone photography, with a special focus on using natural light. This is the perfect place to start for your "cheap and cheerful" niche because the best light source you have is completely free. Mastering this skill will immediately elevate the quality of your images, making your content look more professional and appealing without any expensive equipment.
1. Why Light is the Most Important Ingredient
Before we dive into techniques, it's crucial to understand one thing: good lighting is more important than the camera you use. A simple smartphone photo taken in great light will always look better than a photo from a high-end camera taken in bad light.
As you build your brand, you'll see that a solid understanding of a few basic principles is the key to consistent, high-quality visuals.
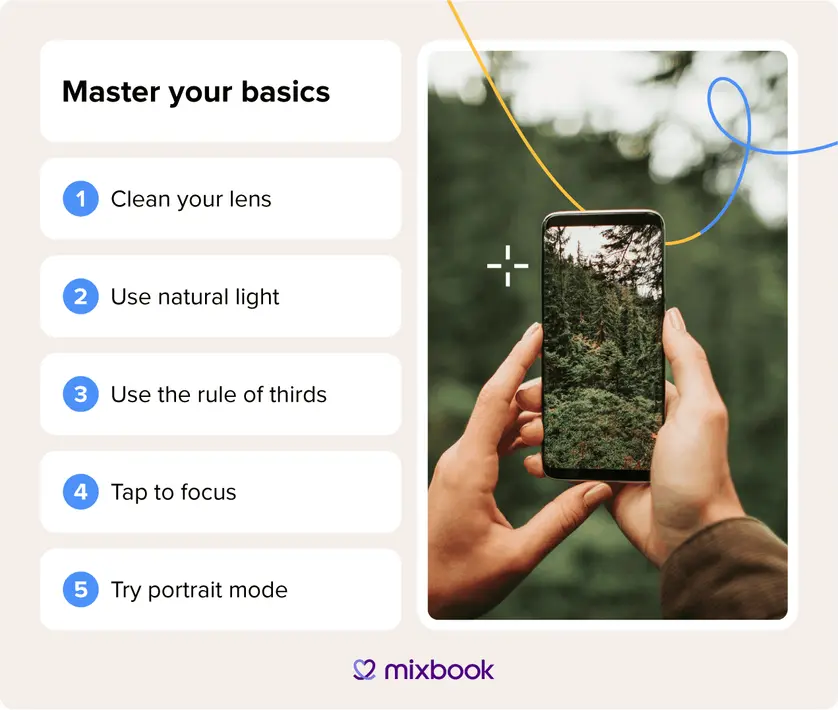
For a "cheap and cheerful" lifestyle creator, embracing natural light isn't just a technique; it's a core part of your brand ethos. It's effective, authentic, and, best of all, free. The video below quickly dispels the myth that you need to spend money to get great photos.
How to Use Natural Light in Your iPhone Product Photography at Home
Watch this short introduction from the video 'How to Use Natural Light in Your iPhone Product Photography at Home' by creator Anil Da-vé. It perfectly explains why natural light is the best tool for creators on a budget.
Watch the first 2 minutes and 13 seconds of the video. Pay attention to how he emphasizes that most of his professional photos are taken using free, natural light.
2. The Two Types of Natural Light: Hard vs. Soft
All light is not created equal. When working with the sun, you'll encounter two main types of light, and choosing the right one is key.
- Hard Light: This is created by a direct, unfiltered light source, like the sun on a clear, cloudless day at noon. It produces dark, sharp-edged shadows and high contrast. While it can be used for dramatic effect, it's often unflattering for portraits and can make products look harsh.
- Soft Light: This is created when light is diffused or scattered. Think of the light on an overcast day, in the shade, or coming through a sheer curtain. It creates gentle, soft-edged shadows and wraps around your subject in a flattering way. For most of your content, soft light is your goal.
To see a powerful, practical example of this, let's turn to an article that demonstrates how to transform hard light into soft light with a simple household item.
Mastering Natural Light for iPhone Photography
The article 'Mastering Natural Light for iPhone Photography' provides an excellent step-by-step visual guide. We'll focus on the first part, which clearly explains hard and soft light.
Read the section titled 'Diffusion.' Study the two comparison photos of the woman's face. Observe the difference between the 'Hard Light' shot in direct sun and the 'Soft Light' shot after diffusion was added. The explanation of why a bigger light source creates softer light is a key takeaway.
3. Finding and Using Good Natural Light
Now that you know you're looking for soft light, where and when do you find it?
Timing is Everything
The quality of natural light changes dramatically throughout the day.
- Golden Hour: This is the period shortly after sunrise and before sunset. The sun is low in the sky, creating soft, warm, and directional light that is incredibly flattering. It's widely considered the best time of day for photography.
- Midday: On a clear day, this is when the sun is highest and harshest, creating unflattering "hard light." It's generally the most challenging time to shoot.
- Overcast Days: A cloudy sky acts as a giant diffuser, creating soft, even light all day long. This is perfect for portraits and product photos. Don't be discouraged by a grey day—it's a photographer's friend!
The video below offers a great visual summary of these different lighting conditions.
Tips for Using Natural Light in Photography
Let's watch a segment from 'Tips for Using Natural Light in Photography' by iPhone Photography School. It clearly illustrates the concepts of golden hour, harsh light, and the soft light of a cloudy day.
Watch from 0:53 to 1:46. Pay close attention to the visual examples of golden hour and how clouds act as 'natural filters.'
Location, Location, Location
You don't need to be outside to use natural light. One of the best light sources you have is a window.

Here are two key strategies for finding good light:
- Find the Biggest Window: The larger the light source, the softer the light. A big window or a set of patio doors will act as a beautiful, large light source, especially on an overcast day or when the sun isn't shining directly through it.
- Use Open Shade: If you're outside on a sunny day, don't shoot in the direct sun. Instead, move your subject into the "open shade," like under a tree, in the shadow of a building, or inside a doorway. You get the benefit of all the bright ambient light without the harsh, direct sunbeams.
4. How to Control Light for Free (The "Cheap & Cheerful" Way)
Being a great photographer isn't just about finding good light; it's about controlling it. Here are two principles you can apply using simple household items.
Principle 1: Diffusion (Soften the Light)
If you only have harsh, direct sunlight to work with, you can soften it yourself. The goal is to place a semi-transparent material between the sun and your subject.
- DIY Diffuser: Tape a piece of parchment paper or a thin white bedsheet over a window that has direct sun coming through it. This instantly turns the window into a large, soft light source, just as you saw in the "Mastering Natural Light" article.
Principle 2: Reflection (Fill the Shadows)
When you light a subject from one side (like with a window), the other side will be in shadow. Sometimes this looks great, but if the shadow is too dark, you can brighten it using a reflector.
- DIY Reflector: You don't need fancy equipment. A simple piece of white foam board, poster board, or even a white bath towel works perfectly. Place it opposite your light source to bounce light back into the shadows.
This article provides an excellent, practical walkthrough of both diffusing and reflecting light with items you already have.
Mastering Natural Light for iPhone Photography
Let's revisit the 'Mastering Natural Light' article. This time, focus on how to use a reflector to fill in shadows and how to balance the light for a perfect portrait.
Read the sections 'Add a Fill Light,' 'Reduce the Light Ratio,' and 'Wait, is Professional Gear a Scam?'. Notice how a simple white towel is used as a 'fill light' to reduce shadows. The final section powerfully reinforces that it's your technique—not expensive gear—that creates great photos.
5. Your Action Step: The Three-Photo Experiment
Theory is great, but practice is what builds skill. Your task for this lesson is to see these principles in action.
- Find an object: Choose a simple object in your home, like a coffee mug, a plant, or a piece of fruit.
- Find a window on a relatively sunny day.
- Take three photos with your smartphone:
- Photo #1 (Hard Light): Place the object in a spot where the sun is shining directly on it. Notice the bright highlights and dark, sharp shadows.
- Photo #2 (Soft Light): Move the object out of the direct sun and into the shade right next to it. If it's a cloudy day, this will be your starting point. Notice how the shadows become much softer.
- Photo #3 (Filled Light): Keep the object in the same shady spot. Now, take a piece of white paper or a white t-shirt and hold it on the shadow side of the object. Move it back and forth and watch how it "fills in" the shadows. Take a photo when it looks best to you.
Compare the three photos. This simple exercise will give you a tangible feel for how moving your subject just a few inches—and using a simple reflector—can dramatically change your image.
Conclusion
You've just learned the most important skill in photography. Understanding and controlling light is the foundation upon which all your visual content will be built. By mastering these principles, you'll be able to create beautiful, professional-looking images with just your phone and a few household items.
Key Takeaways:
- Light is paramount: Good lighting is more important than your camera.
- Seek soft light: For flattering photos, aim for soft, diffused light found during golden hour, on overcast days, or in the shade.
- Use windows: A large window is your best friend for indoor photography.
- Be a light manipulator: You can soften harsh light with a diffuser (like a sheet or parchment paper) and brighten shadows with a reflector (like white paper or a towel).
Preview of the Next Lesson:
Now that you know how to find and shape good light, our next step is to learn how to arrange the elements within your photo. In the next lesson, you will learn how to apply the Rule of Thirds to compose a visually balanced photo with your smartphone.