Recommended resources
The freely available resources this lesson will direct you to.
- How To Bulk Create 100 Pinterest Pins In Canva With ChatGPT: Schedule Months of Content in Minuteswww.youtube.com
- How to Create a Twitter Threadwww.youtube.com
- How to Break Down a Single Blog into 30+ X (Twitter) Posts in < 30 ...www.tenspeed.io
- A Guide To Repurposing Content For Pinterest - Haskin Creativeswww.haskincreatives.com
Introduction
Hello and welcome back! In the last lesson, you did some excellent work repurposing your "pillar" content outline into a short-form video script and a detailed Instagram carousel plan. You're quickly learning the most valuable skill for any creator: how to work smarter, not harder, by making one great idea work for you across multiple platforms.
Today, we'll continue to mine that same pillar outline for more content gold. This lesson focuses on repurposing your idea for two more key platforms: Pinterest and X (Twitter). While they may seem very different, both are powerful channels for your "cheap and cheerful lifestyle" niche, and this lesson will give you the step-by-step process to adapt your content for each.
By the end of this 60-minute lesson, you will have a ready-to-design Pinterest pin and a fully written X thread, all derived from the single outline you've already created.
1. Repurposing Your Pillar into a Pinterest Pin
Let's start with Pinterest. It's crucial to understand that Pinterest is not a social network like Instagram; it's a visual search engine. People come to Pinterest to find ideas, get inspired, and solve problems—which is a perfect match for your niche of helping people save money.
Your goal with a Pinterest pin is to create a visually appealing "doorway" that makes someone want to click to learn more. For your "cheap and cheerful" niche, this is a fantastic way to attract people actively searching for saving tips.
A Guide To Repurposing Content For Pinterest
To understand the user mindset on Pinterest, please read this brief section from an article by Haskin Creatives. It clearly explains what users are looking for.
Read the section titled 'Social Media Content for Pinterest'. Focus on the 'big three' reasons people use Pinterest: to find ideas, get inspiration, and solve problems.
As the article states, your content must provide ideas, inspiration, or a solution. A pin based on your pillar topic does exactly that.
Action Step 1: Plan Your Pinterest Pin (15 minutes)
A standard Pinterest pin is a vertical image with a text overlay that links to a source (like a future blog post or YouTube video). Think of it as a mini-poster for your content.
- Headline: Your pin's headline needs to be a hook. It should be bold, easy to read, and promise a clear benefit. It should summarize the core promise of your entire pillar topic.
- Visuals: Choose a high-quality photo or graphic that represents your topic. For your niche, this could be a bright, cheerful photo of neatly organized budget groceries, a stylish outfit sourced from a charity shop, or a "flat lay" of money-saving items.
- Title & Description: These are for Pinterest's search engine. When you upload your pin, you'll add a title and a detailed description filled with keywords. This is how users will find you.
Example:
Using our ongoing "A Guide to Back-to-School Savings" pillar idea:
- Pin Headline (on the image): "10 Genius Hacks to Cut Your Back-to-School Costs in Half"
- Visual: A bright, flat-lay photo of colorful (but cheap) stationery, a lunchbox, and a couple of neatly folded school uniform shirts.
- Pin Title (for upload): "Budget-Friendly Back-to-School Savings Guide for Parents"
- Pin Description (for upload): "Save money this year with these easy back-to-school saving tips! Learn how to find deals on school supplies, affordable uniforms, and cheap lunch ideas. Perfect for families on a budget. #backtoschool #savingmoney #frugalliving #budgethacks"
Action Step 2: Design Your Pin in Canva (20 minutes)
Now, let's put this plan into action using Canva. The standard size for a Pinterest Pin is a 2:3 aspect ratio, which is 1000 x 1500 pixels.
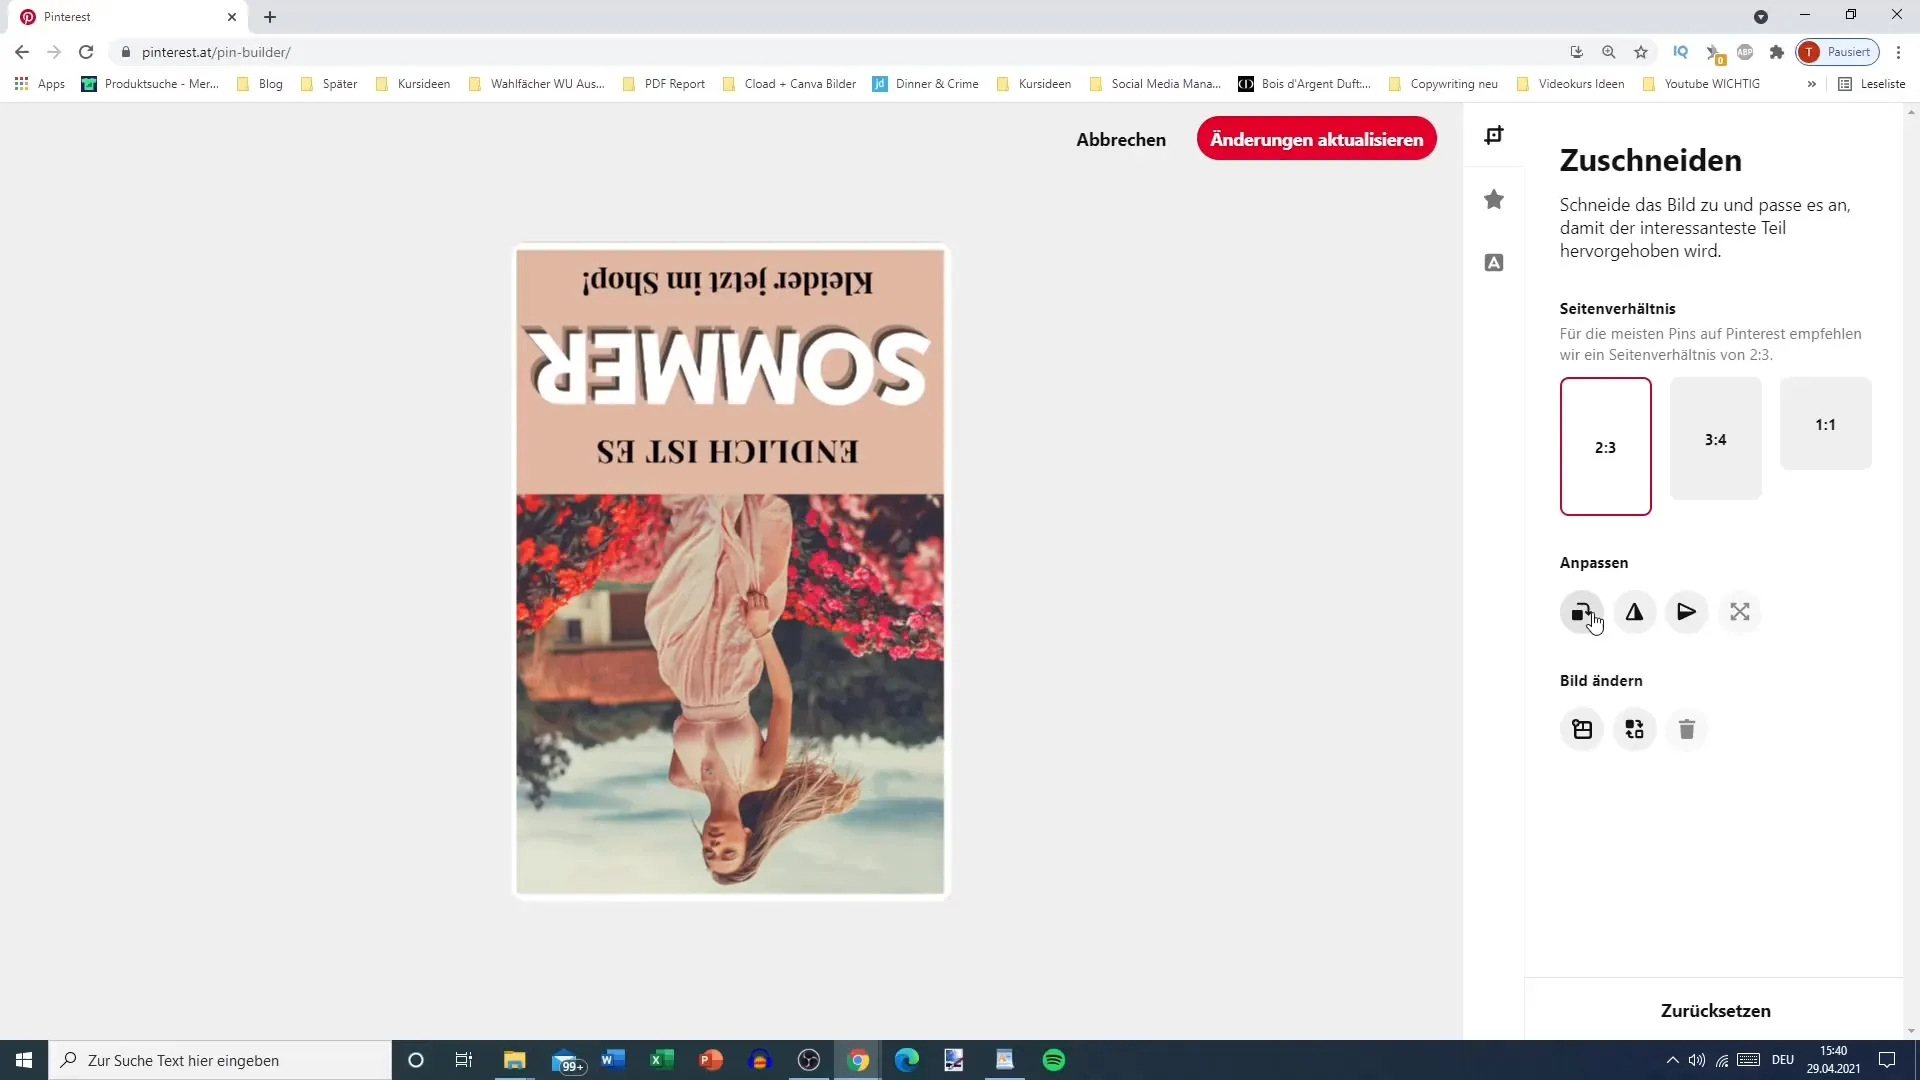
The following video is about creating pins in bulk, but the principles for designing a single, effective pin and finding keywords are perfectly demonstrated.
How To Bulk Create 100 Pinterest Pins In Canva With ChatGPT: Schedule Months of Content in Minutes
This video from Make It Amelia has some great tips on designing pins and finding the right keywords. We'll focus on the design and research parts.
Please watch two separate clips from this video: Design Principles (02:51 - 04:48): Pay attention to the advice on using simple, clear fonts. You don't need a fancy script; you need readability. Keyword Research (07:19 - 08:50): Watch how she uses the Pinterest search bar to find relevant keywords. This is a crucial step for making your pin discoverable.
Your Turn:
- Go to Canva and search for the "Pinterest Pin" template.
- Choose a template that you like or start from a blank 1000x1500px canvas.
- Add a high-quality background image relevant to your pillar topic.
- Add your Pin Headline. Use your brand fonts and colors to stay consistent. Make the text large and easy to read.
- Add your website or username at the bottom of the pin.
- Download the pin as a PNG or JPG file.
- Separately, write down a Pin Title and Description for your pin, using the keyword research method from the video. You will use these when you upload the pin to Pinterest later.
2. Repurposing Your Pillar into an X (Twitter) Thread
Next, we'll adapt your pillar outline for X (formerly Twitter). Because of the character limit, you can't post a long article. Instead, you'll use a thread, which is a series of connected tweets that break down a larger topic into bite-sized pieces. This is perfect for sharing the multiple tips from your pillar outline.
The strategy is very similar to how you planned your Instagram carousel: each main point becomes a piece of the sequence.
How to Break Down a Single Blog into 30+ X (Twitter) Posts
This article from Ten Speed provides an excellent framework for breaking down a longer piece of content into a Twitter thread. We'll follow this strategic approach.
Please read the following sections: Start at 'How to break down a blog post for Twitter distribution'. Notice how it suggests using the outline's headers as a guide for the thread. Skim the 'Examples for filling out a tweet' to see how to adapt sentences for Twitter's short format. Read the section on 'The first tweet in a thread needs to have a hook.' This is the most important part of your thread.
Action Step: Write Your X Thread (20 minutes)
Now it's time to write your thread. We will use the same pillar outline you've been working with. A thread consists of a hook, the main points, and a conclusion with a call to action.

Example:
Continuing with the "A Guide to Back-to-School Savings" pillar outline:
-
Tweet 1 (Hook):
"The average family spends over $800 on back-to-school supplies. That's insane.
I cut my bill by more than 50% last year.
Here are 5 simple frugal hacks to save you hundreds: 🧵"
(The 🧵 emoji signals a thread is coming) -
Tweet 2 (Core Point 1):
"1. School Supplies ✏️
Skip the big-box stores for basics. Your local dollar store has notebooks, pens, and folders for a fraction of the price.
My rule: Buy brand names for crayons (they work better), but go generic for everything else." -
Tweet 3 (Core Point 2):
"2. Clothing & Uniforms 👕
Kids outgrow clothes in months. Don't buy new.
Use Vinted, Poshmark, or local Facebook groups. Search for 'school uniform bundle' to get the best deals. I got 5 polo shirts for $15." -
Tweet 4 (Core Point 3):
"3. Lunchboxes 🍎
Pre-packaged snacks are a budget killer.
Buy in bulk (big bags of pretzels, big tubs of yogurt) and portion them out into small reusable containers each morning. Cheaper and less waste." -
Tweet 5 (Core Point 4):
"4. Electronics 💻
Never buy a new laptop or calculator in August! It's the most expensive time.
Wait for Black Friday deals if you can, or check manufacturer refurbished sites (Apple, Dell, etc.) for year-round discounts." -
Tweet 6 (Conclusion & CTA):
"TL;DR:- Dollar store for basics
- Second-hand for clothes
- Bulk buy for lunches
- Wait for sales on tech
What's your #1 money-saving tip for back-to-school? Share it below! 👇 #frugalliving #savingmoney"
For the practical steps of creating the thread on the platform itself, this short video is a helpful visual guide.
How to Create a Twitter Thread
This quick tutorial from eStoreKings shows the simple mechanics of how to actually post a thread on X, using the '+' button to add more tweets.
Watch from 00:28 to 00:39 to see the first tweet being written, and then from 01:55 to 02:12 to see how the '+' button is used to add the next tweet to the thread. This is the core mechanical skill you need.
Your Turn:
- Open a text document.
- Write your Hook Tweet. Make a bold promise and tell people what they'll learn. End with the 🧵 emoji.
- Turn each Core Point from your pillar outline into a separate tweet. Keep it concise, use emojis, and add line breaks to make it easy to read.
- Write a final Conclusion/CTA Tweet. Summarize the tips and ask a question to encourage replies.
Conclusion
Excellent work! You have now taken a single content idea and strategically repurposed it into four distinct pieces of content: a short video, an Instagram carousel, a Pinterest pin, and an X thread. This is the engine of efficient and sustainable content creation.
Key Takeaways:
- Pinterest is a search engine. Your pin is a visual "ad" for your content, and it needs a strong headline and keyword-rich description to be found.
- X (Twitter) is for conversation. A thread breaks your big idea into a sequence of easy-to-read, shareable tips that encourage discussion.
- Adapt the format. You didn't just copy and paste. You turned your outline into a visual poster for Pinterest and a text-based list for X, tailoring the content for each platform's strengths.
Preview of the Next Lesson:
You've now mastered the art of repurposing. In our next lesson, we'll put this into a weekly workflow. You will learn how to batch-create one full week of content by preparing your assets, creating your visuals, and writing your captions all in one go.