Hello! Welcome back to our exploration of generative models.
In our last lesson, we established the architectural foundations of text-to-video models, diving into 3D U-Nets and Diffusion Transformers. We saw how they adapt image generation principles to the temporal dimension through techniques like factorized spatiotemporal attention.
Today, we build directly on that foundation to tackle a highly practical and creative task: customization. This lesson will guide you through the process of taking a pre-trained video generation model and adapting it to produce specialized content, a process known as fine-tuning. This allows you to generate specific styles, subjects, or even motions that were not part of the model's original training.
This lesson directly addresses the learning outcome: Fine-tune a video generation model for specialized or NSFW content.
We will cover:
- The core technique of Low-Rank Adaptation (LoRA) for efficient video model fine-tuning.
- A step-by-step practical workflow for training a style-based LoRA.
- How to apply this workflow to specialized domains, including NSFW content, by leveraging domain-specific base models.
- An advanced look at fine-tuning for specific motions using Motion LoRAs.
1. The Why and How of Fine-Tuning: LoRA for Video
Training a large video model from scratch is a monumental task requiring massive datasets and computational resources. Fine-tuning offers a far more accessible path to customization. As we've seen with both LLMs and image models, Low-Rank Adaptation (LoRA) is the go-to technique for parameter-efficient fine-tuning.
The principle remains the same for video models: instead of retraining the billions of parameters in the base model, we freeze them and train a small set of new weights (an "adapter") that injects the new knowledge. In the context of the video architectures we studied, these LoRA adapters are most often applied to the query, key, value, and output projection matrices (to_q, to_k, to_v, to_out.0) of the attention layers within the model's spatiotemporal blocks.

2. Practical Walkthrough: Fine-Tuning for Style
Let's walk through the entire process of fine-tuning a video model to generate a specific visual style. We will follow a project that fine-tunes the WEN 2.1 model to generate videos in the style of "old book illustrations."
The video below provides a comprehensive, hands-on guide. We will break it down into key stages.
Fine Tuning Video Generation Models | Make Your Own AI Videos
The video 'Fine Tuning Video Generation Models' by Adam Lucek provides an excellent, end-to-end demonstration of this process. We will use it as our primary guide.
Watch the video from 00:33 to the end. I will break down the key segments and concepts for you below, so you can focus your attention on these specific areas during your viewing.
As you watch the video, focus on these five critical stages of the workflow:
Stage 1: Architectural Refresher (00:33 - 06:42)
The video begins by recapping how video models work, relating them to the image models we've studied. It highlights that they are complex systems of multiple models (text encoders, the main denoising U-Net, and a VAE decoder). This reinforces the concepts from our previous lesson and grounds the fine-tuning process within the model's architecture.
Stage 2: Dataset Preparation (06:42 - 11:45)
This is arguably the most important step. Notice a few key points:
- Mixed Media: You can fine-tune a video model using a dataset of images, which are much easier to collect and caption than video clips. The model learns the style from the images and applies it to motion generation.
- Captioning: Each image needs a corresponding text file with a descriptive caption.
- Trigger Phrase (Instance Prompt): A consistent phrase, like
"an old book illustration of a...", is prepended to every caption. This is a concept borrowed from DreamBooth. During inference, including this phrase in your prompt "triggers" the learned style. For your own projects, you would choose an uncommon token or phrase to avoid conflicts with the model's existing knowledge.
Stage 3: Environment Setup (11:45 - 18:25)
Fine-tuning video models is resource-intensive.
- Hardware: The video uses a cloud GPU (a RunPod instance with an NVIDIA A40 with 48GB of VRAM). This is a realistic requirement for training larger models. We'll discuss VRAM-saving techniques later.
- Software: The workflow uses two key tools:
diffusion-pipe: A training library that automates the LoRA fine-tuning process.- ComfyUI: A powerful node-based interface for running inference and testing the trained models.
Stage 4: Training Configuration and Execution (18:25 - 23:59)
The training process is controlled via a configuration file (a .toml file in this case). Key parameters to note are:
num_epochs: How many times the model will see the entire dataset.checkpoint_every_n_minutes/save_every_n_epochs: How often to save the model weights. It is crucial to save intermediate checkpoints.- The training script produces a
safetensorsfile, which is your LoRA adapter. This small file is what you'll use for inference.
Stage 5: Testing and Iteration (23:59 - 30:47)
This is the creative loop where you evaluate your results.
- The trained LoRA adapter is loaded into ComfyUI.
- You use your trigger phrase in the prompt to generate a video.
- You should test adapters from different epochs. Early epochs might be more creative but less stylistically coherent, while later epochs might be more faithful but risk "overfitting" (losing the ability to generate anything other than what was in the training data). Finding the right checkpoint is a process of trial and error.
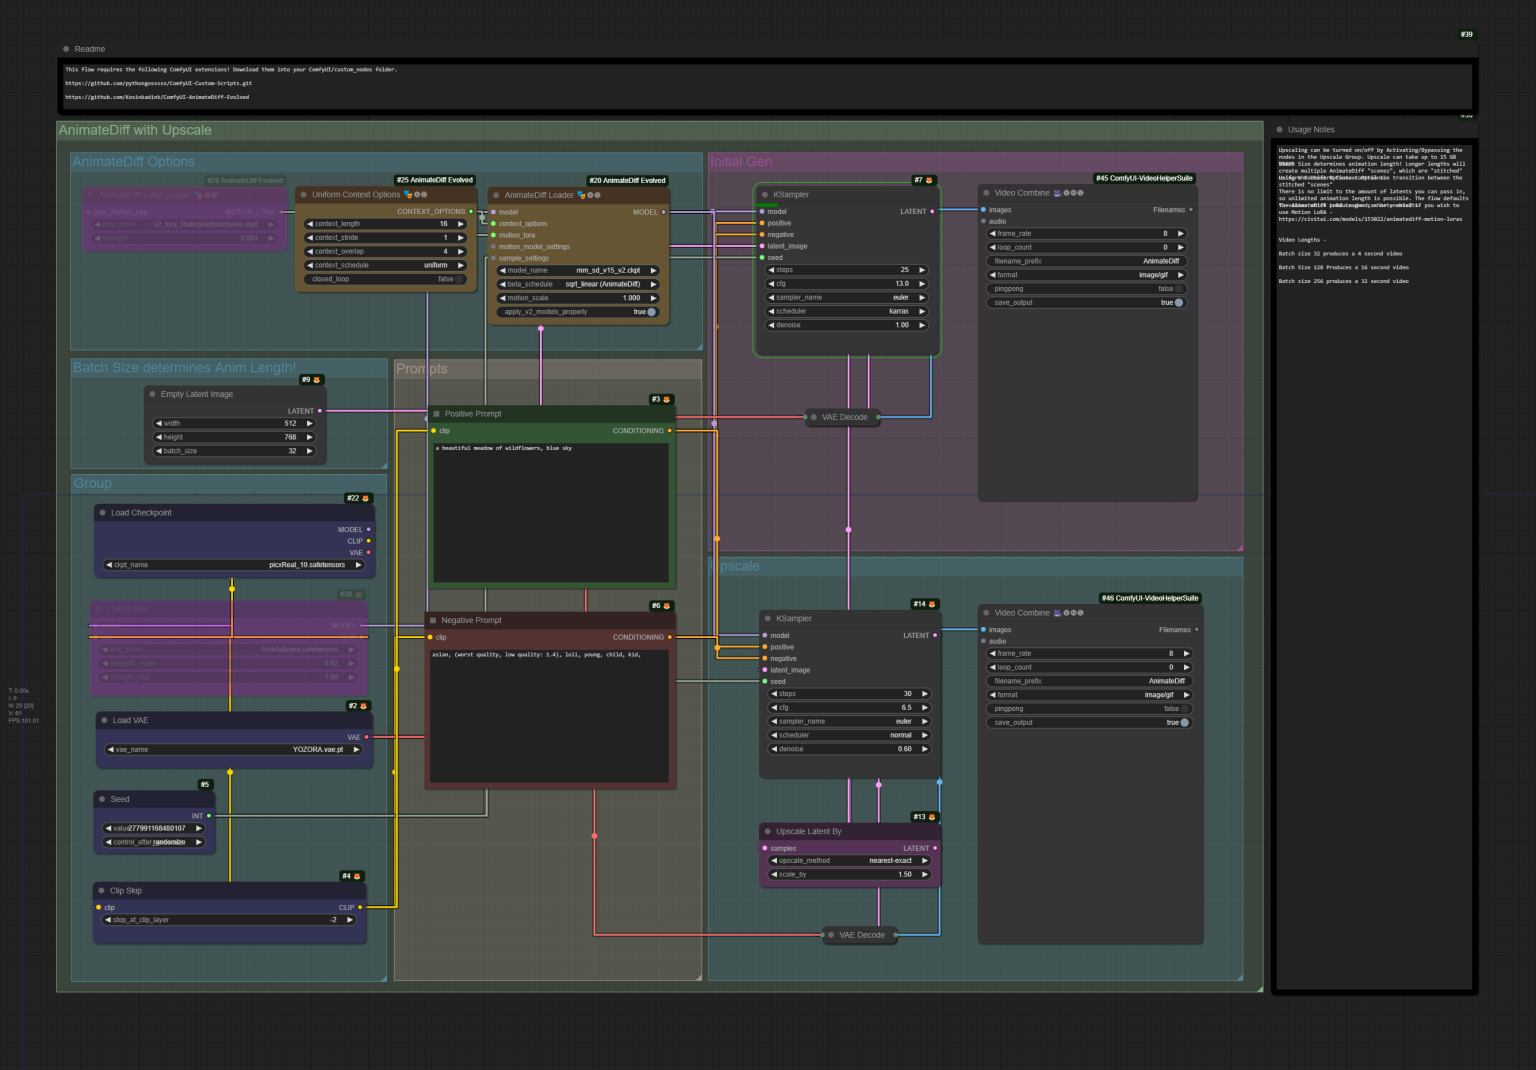
3. Application to Specialized and NSFW Content
The workflow for fine-tuning a model for "old book illustrations" is a general-purpose template. You can use the exact same process to teach a model any specialized content, whether it's a specific anime style, a particular cinematic look, or, as per your interest, NSFW content.
The two key components that change are:
- The Dataset: You would curate a dataset of images or video clips representing the specific content you want to generate.
- The Base Model (Optional but Recommended): While you can fine-tune a general-purpose model, starting with a base model that is already pre-trained on a similar domain can be vastly more effective.
This is where a resource like the NSFW Wan 1.3B T2V model becomes relevant.
NSFW Wan 1.3B T2V - Uncensored Text-to-Video Model
Please read the README for the NSFW Wan 1.3B T2V model on Hugging Face. This will clarify the strategy of using a specialized base model for fine-tuning.
Read the sections 'Model Description', 'Training Data', and especially 'Ideal Base for LoRA Fine-Tuning'. Focus on understanding why starting with a model like this makes specialized LoRA training more efficient.
As the resource explains, using a base model already trained on a massive NSFW dataset means the model has a foundational understanding of relevant anatomy, actions, and aesthetics. Your fine-tuning task becomes much simpler: instead of teaching the model core NSFW concepts from scratch, your LoRA only needs to learn the specifics of your target character, art style, or niche concept. This leads to much more efficient training and better results with smaller datasets.
The workflow would be:
- Select an NSFW base model (e.g., NSFW Wan).
- Prepare a small, targeted dataset (e.g., images of a specific hentai art style).
- Run the LoRA training process exactly as described in the previous section, using the NSFW model as your base instead of the general WEN 2.1 model.
- Use the resulting LoRA in combination with the base model to generate your specialized content.
4. Advanced Topic: Fine-Tuning for Motion
Beyond visual style, you can also fine-tune a model to replicate specific motions. This is often done with a technique called Motion LoRA (or MotionDirector with AnimateDiff). Instead of learning an object's appearance, the LoRA learns a temporal pattern, like a camera panning upwards, a character's walking gait, or a specific dance move.
ComfyUI: Motion Director. Training Motion Lora for Animatediff!
For a look at this advanced technique, let's watch 'ComfyUI: Motion Director. Training Motion Lora for Animatediff!'. This video shows a workflow for training a LoRA that captures camera motion.
Watch the video from the beginning to 14:03. You don't need to replicate every step, but focus on these conceptual differences: Setup (00:00 - 04:38): The training happens within a ComfyUI workflow using the 'AnimateDiff Evolved' custom nodes. Input Data (04:38 - 06:57): The input is a short video clip that contains the motion you want to learn (in this case, a drone rising). Training and Output (06:57 - 14:03): The workflow trains a temporal LoRA (capturing motion) and a spatial LoRA (capturing appearance). It also automatically tests the LoRA at different training steps, showing how the desired motion gradually appears in the generated output.
This demonstrates that LoRAs are a versatile tool for video fine-tuning, capable of capturing not just static appearance but also dynamic, temporal characteristics.
Test your understanding!
You want to create videos of a specific anime character, "Kusanagi," performing a specific action: a smooth, 360-degree spinning kick. Using the concepts we've discussed, what would be the most efficient two-stage fine-tuning strategy to achieve this?
Show answer
The most efficient strategy would be a two-stage LoRA process:
-
Style/Character LoRA: First, train a standard LoRA on a dataset of images of the character "Kusanagi" to capture her appearance, clothing, and the overall art style. The trigger prompt might be "photo of kusanagi_character".
-
Motion LoRA: Second, find or create a video clip of a 360-degree spinning kick (it doesn't have to be the character Kusanagi). Use the MotionDirector workflow to train a temporal LoRA that specifically learns this spinning motion.
Inference: To generate the final video, you would load the base model, then apply both the "Kusanagi" character LoRA and the "spinning kick" motion LoRA simultaneously. Your prompt would be something like, "kusanagi_character doing a spinning kick." This approach modularizes the problem, allowing you to combine appearance and motion independently.
5. Managing Hardware Constraints
As mentioned, VRAM is the primary bottleneck for video model training. For a more technical perspective on hardware requirements and how to mitigate them, the finetrainers GitHub repository provides valuable data.
finetrainers GitHub Repository
This GitHub repository for a video training library contains detailed tables on memory usage. It gives a good sense of the VRAM needed for various configurations.
Skim the 'Memory Usage' section and the list under the 'Note' heading titled 'To lower memory requirements'. You don't need to memorize the numbers, but absorb the key techniques listed for reducing VRAM consumption.
The key takeaways from this resource are several VRAM-saving techniques you can employ, which should be familiar from your software engineering background:
--gradient_checkpointing: Trades compute for memory by not storing all intermediate activations in the forward pass.- 8-bit Optimizers: Using optimizers like 8-bit AdamW from
bitsandbytesreduces the memory footprint of the optimizer's states. - DeepSpeed: A library that provides optimizations like ZeRO, which can offload optimizer states and gradients to the CPU.
- Disabling Validation: Skipping the validation/testing step during training prevents loading additional models into VRAM.
Conclusion
In this lesson, we have moved from understanding video model architecture to actively customizing it. You now have a practical framework for fine-tuning pre-trained models to generate highly specific content.
Key Takeaways:
- LoRA is the key: Parameter-efficient fine-tuning via LoRA is the standard method for customizing large video models.
- The workflow is universal: The process of dataset preparation (with trigger words), environment setup, training, and iterative testing is a template applicable to any style or subject.
- Choose your base model wisely: Starting with a base model already proficient in your target domain (like an NSFW model for NSFW LoRAs) dramatically improves efficiency and results.
- Fine-tuning can target style or motion: You can train standard LoRAs for appearance and specialized Motion LoRAs for temporal patterns, and even combine them.
- VRAM is the main constraint: Training requires significant GPU memory, but techniques like gradient checkpointing and 8-bit optimizers can help manage requirements.
Preview of the Next Lesson:
We've focused on LoRA, which adapts the model by training a small, separate adapter. In our next lesson, we will explore another powerful personalization technique: DreamBooth. We will implement DreamBooth, compare its methodology to LoRA's, and analyze the trade-offs and ideal use cases for each when it comes to injecting specific subjects or styles into a model.