
Following our work on the iOS side in the last lesson, we now turn our attention to the Android ecosystem. The process of preparing an application for the Google Play Store follows a similar trajectory, involving essential administrative setup before any code can be uploaded. This lesson will guide you through creating your app's official presence in the Google Play Console.
Just as with Apple, Google requires you to establish a unique identity for your application and provide a significant amount of metadata and policy information. This is a mandatory step for accessing Google's vast distribution network, including its powerful testing tracks and production release channels.
By the end of this lesson, you will have successfully created an application record in the Google Play Console, understood the critical role of the package name, and completed the initial series of setup tasks required by Google.
1. Prerequisites: The Google Play Developer Account
Before you can publish on Google Play, you must enroll in the Google Play Developer program. This provides access to the Google Play Console, the central hub for managing your app's entire lifecycle on the platform.
Building And Releasing Your Capacitor Android App - Ionic Blog
The Ionic Blog's guide to Android deployment starts by covering the necessary prerequisites.
In the article, read the brief section under "Install Native Tools". This confirms the need for a developer account and mentions the associated one-time fee, which is a key difference from Apple's annual subscription model.
Once your developer account is active, all management tasks, from initial setup to release and monitoring, will occur within the Google Play Console.
2. Step One: Creating Your Application Record
The first concrete action is to create the application record itself. This process establishes the app's basic identity on Google Play.
Create and set up your app - Play Console Help
Google's official documentation provides a clear, step-by-step guide for creating a new app.
Follow the instructions in the section "Create your app". As you do this, pay close attention to the point made in the section on managing app bundles: package names are unique and permanent.
The concept of a "package name" is Android's equivalent to Apple's "Bundle ID". It's a unique, reverse-domain style string (e.g., com.yourcompany.yourapp) that serves as the app's fundamental identifier.
This is a critical point of connection to your project: The package name you will use must exactly match the appId you have already defined in your capacitor.config.ts file.
Building And Releasing Your Capacitor Android App - Ionic Blog
This section from the Ionic Blog explicitly connects the Capacitor configuration to the native project requirements.
Review the paragraph under the heading "Your Capacitor Configuration". It reinforces that the appId in your Capacitor config is precisely this unique identifier used for the native Android project. Any mismatch will lead to build and upload failures later.
When you create the app in the Play Console, you won't enter the package name on the very first screen. Instead, Google infers it from the first Android App Bundle (AAB) you upload. However, knowing this link to your capacitor.config.ts from the outset is crucial for a smooth workflow.
3. Step Two: Completing the Initial Setup Dashboard
After creating the app, you are directed to a dashboard that presents a guided checklist of tasks under the "Set up your app" heading. This process is more structured than on the App Store and requires you to complete a series of detailed forms before you can even upload a build for testing.
These forms cover everything from your privacy policy and content rating to an in-depth declaration of your app's data handling practices. The following video provides a comprehensive walkthrough of this entire process. It is highly recommended as it visually demonstrates each step of this form-intensive phase.
How to Publish an Android App to Google Play | Updated 2024
This video, "How to Publish an Android App to Google Play | Updated 2024" by MJSD Coding, provides an excellent and thorough walkthrough of the entire Play Console setup.
First, watch the initial app creation from the start to see the form in action. Next, and most importantly, follow the detailed walkthrough of the "App Content" section from the dashboard tour. This covers the series of mandatory policy declarations: Privacy Policy Ads declaration App Access (providing test credentials if needed) Content Rating questionnaire Target Audience Data Safety form (this is the most detailed part) Finally, watch the section on setting up the store listing from store presence. This covers app category, tags, and the main store listing details like descriptions and graphic assets.
While the video is the primary guide, here are the key takeaways from this setup phase:
- App Content: This is about compliance. You are legally declaring how your app functions regarding ads, user access, and age appropriateness. The Data Safety form is particularly important; it requires you to be transparent with users about what data your app and its third-party SDKs (including Capacitor plugins) collect and why.
- Store Listing: This is about marketing and discovery. You'll define your app's name, write compelling descriptions, and select a category and tags that help users find your app. You will also need to provide graphic assets like an app icon and screenshots. While you can use placeholders for now, these must be finalized before you can publish.
Completing this checklist is a prerequisite for moving on to the next stage: creating and uploading a release.
Conclusion
In this lesson, you have navigated the initial setup process for your Android application on the Google Play Store. This administrative groundwork is the counterpart to the work you did in App Store Connect and is equally essential for distribution.
Here are the key takeaways from this lesson:
- A Google Play Developer account is required, involving a one-time registration fee.
- The app is uniquely identified by a permanent package name, which must be identical to the
appIdspecified in yourcapacitor.config.tsfile. - The Google Play Console provides a structured dashboard with a checklist of mandatory setup tasks, including policy declarations and store listing information, that must be completed before you can proceed.
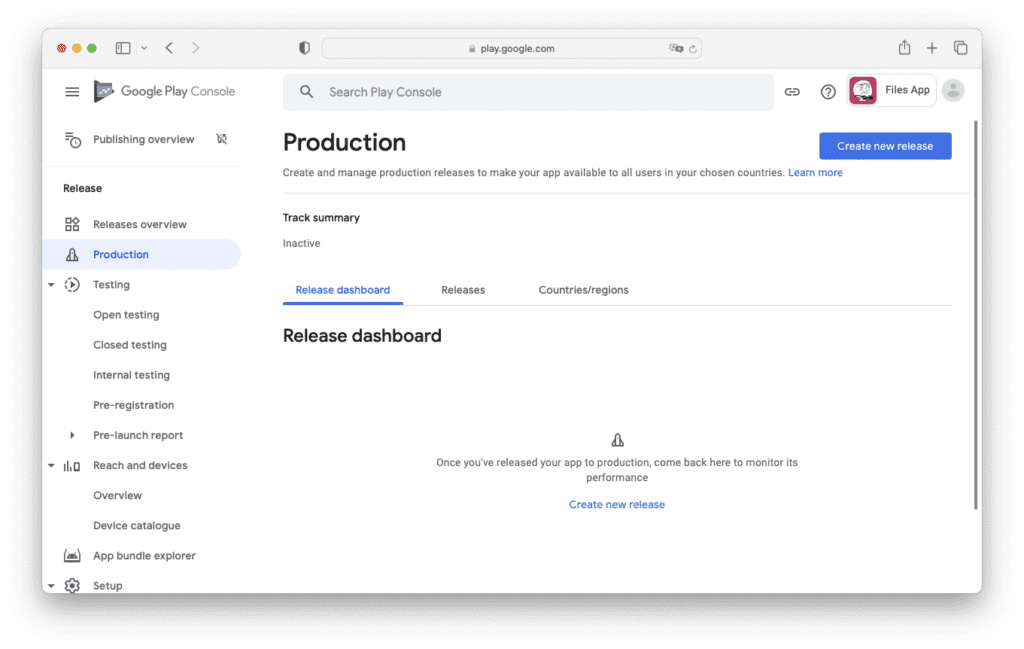
You have now prepared the digital storefronts for both iOS and Android. The next step is to prepare the actual application package for upload. In the next lesson, you will learn how to configure your Android project to generate a signed Android App Bundle (AAB), the official format for publishing on Google Play. You'll move from filling out forms to configuring the build system, getting one step closer to seeing your app on the production track shown below.
Can't find a good explanation? Sign up and we'll make it for you
Sign up