Recommended resources
The freely available resources this lesson will direct you to.
Introduction
Welcome back! In our last lesson, you took a crucial step in building your community by learning how to leave valuable, non-generic comments on posts from your peers. That was all about joining existing conversations. Now, it's time to learn how to start and lead your own.
Live video is one of the most powerful tools for building a direct, personal connection with your audience. It shows the real person behind the account, builds trust, and allows for immediate interaction. For a niche like "cheap and cheerful lifestyle," a live Q&A is a fantastic way to establish yourself as a helpful, knowledgeable resource.
In this lesson, you will learn how to prepare talking points and host a simple live Q&A session on Instagram or TikTok. We'll break this down into a practical, step-by-step process so you feel prepared and confident for your first live broadcast.
1. Planning Your First Live Q&A
The idea of going live can be intimidating, but preparation is the key to overcoming nerves and delivering a great session. The goal isn't perfection; it's connection.
A Q&A session is an excellent format for your first live video because it naturally creates a conversation. It's not about giving a long speech; it's about answering your audience's specific questions about saving money.
First, let's think about the purpose of your live video. The "Live Streaming Pros" channel explains that every live stream should have a clear intention.
How To PLAN your Live Stream Content (aka STOP fumbling around!)
Watch this clip from the 'Live Streaming Pros' channel to understand the different intentions you can have for a live stream. For your first Q&A, your primary intentions will be to 'educate' and build 'community'.
Watch from 02:02 to 03:29 to learn about the 'PIECE' framework of intentions. Then, watch the description of a 'community show flow' from 10:12 to 10:53, which is exactly the kind of casual, connection-focused Q&A we're aiming for.
Action Step: Choose a Topic
Your Q&A should have a clear theme. This helps your audience know what to expect and helps you focus your preparation. Here are some ideas for your "cheap and cheerful" niche:
- Ask Me Anything: Budget Grocery Shopping
- Live Q&A: My Top 5 Frugal Living Hacks
- Let's Talk: How to Save Money on Household Bills
- Q&A: "Cheap & Cheerful" Gift Ideas
Choose one topic for your first live session. This will be the foundation for your talking points.
2. Preparing Your Talking Points
Having a plan is the single most important thing you can do to feel confident. This doesn't mean writing a word-for-word script. Instead, you'll create a simple outline or a set of bullet points to keep you on track.
How to MASTER the art of GOING LIVE [on tiktok] 2026
Creator Xenia MB Herrera explains that preparation is what separates a confident live stream from one filled with awkward pauses. She shows that a 'script' is really just a set of notes to guide you.
Watch from 00:51 to 02:49. Pay close attention to her advice on setting a goal (like building authority) and how simple your notes can be (just bullet points in a notebook).
Here is a simple, effective structure for your Q&A talking points. You can use this as a template.
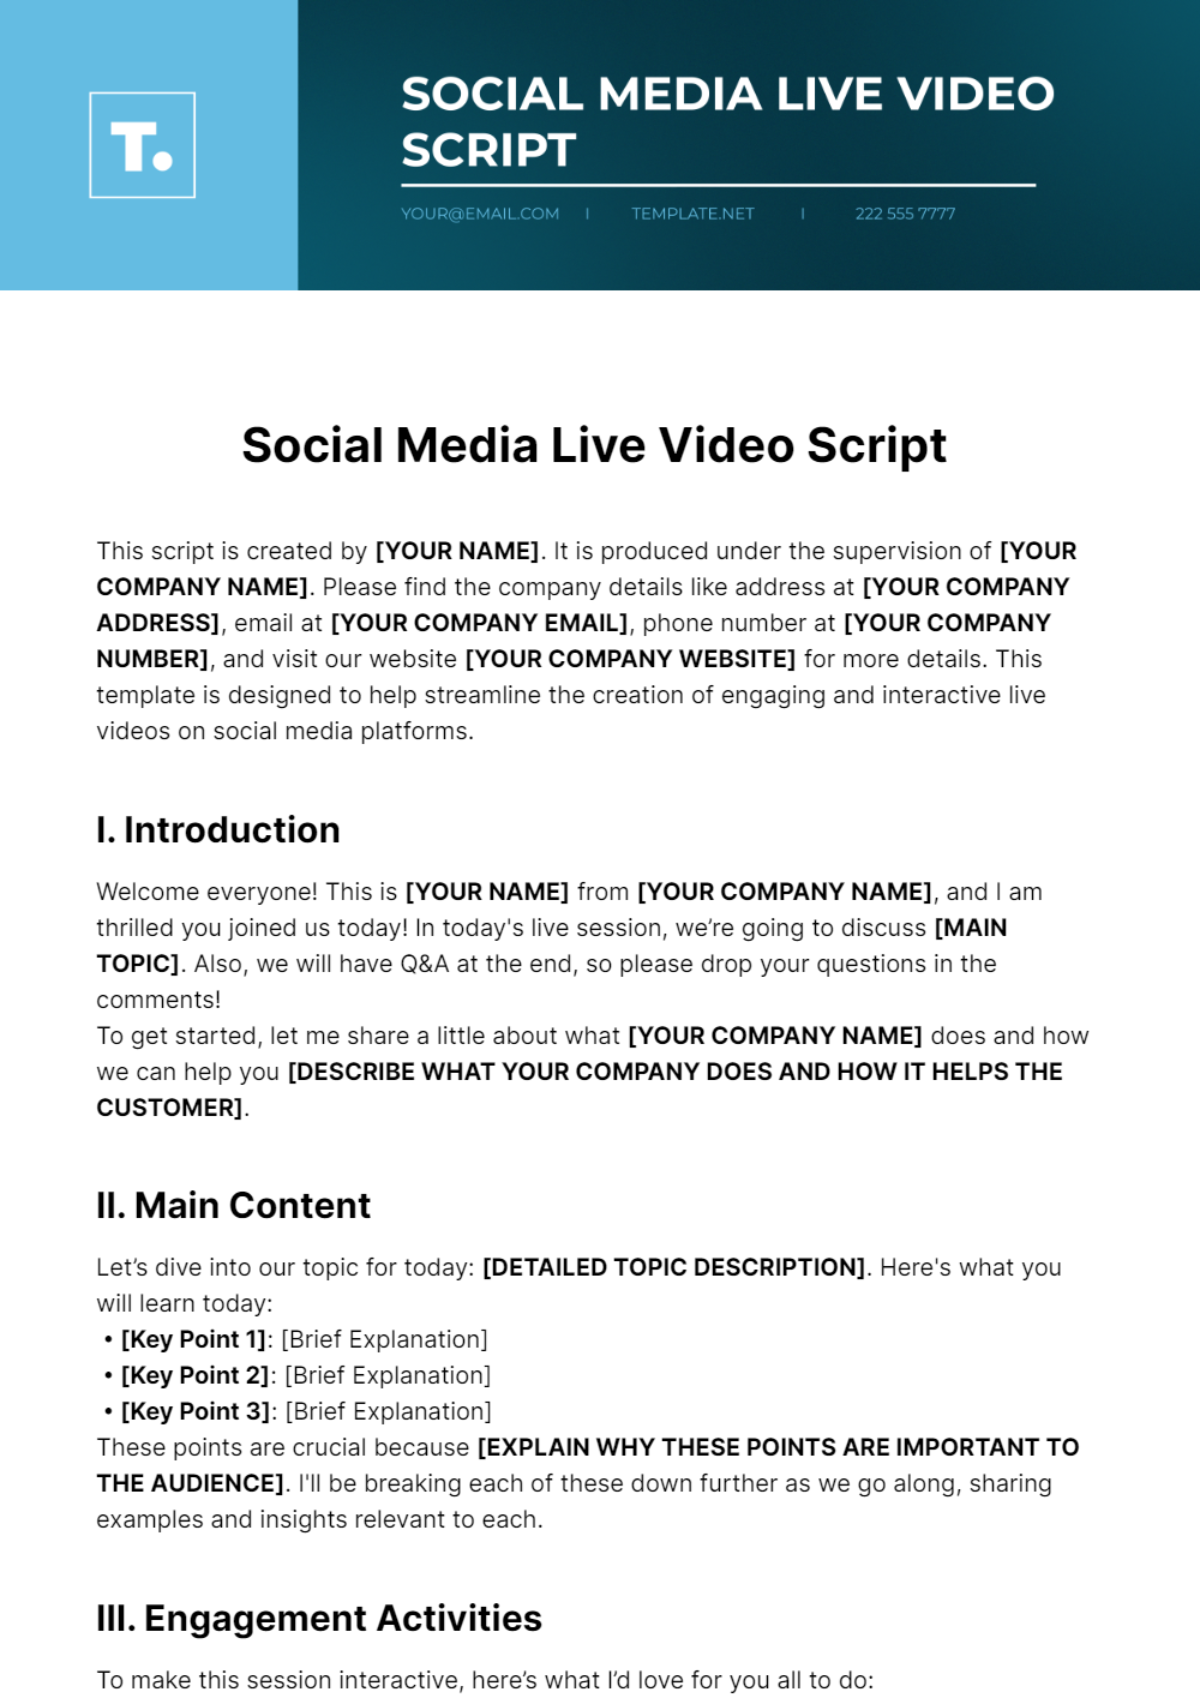
Your Q&A Structure:
- The Hook (First 30 seconds):
- Welcome everyone immediately.
- Introduce yourself and the topic of the Q&A (e.g., "Hi everyone, I'm [Your Name], and today we're doing a live Q&A all about budget grocery shopping!").
- Pre-loaded Value (3-5 minutes):
- Share 2-3 of your best tips related to the topic before you even start the Q&A. This provides immediate value and gives you something to talk about as people are joining.
- Example: "Before we jump into questions, I want to share my top three rules for never overspending at the supermarket..."
- The Q&A (10-15 minutes):
- This is the main event. You'll answer questions you collected beforehand and any that come in live.
- The Conclusion (Final minute):
- Give a "last question" warning.
- Thank everyone for joining.
- Summarize one key takeaway.
- End with a Call to Action (CTA): "Follow me for more money-saving tips!" or "I post new tips every day, so I'll see you tomorrow!"
3. The Pre-Live Checklist: Getting Ready
Before you hit the "Go Live" button, there are a few essential steps to ensure your session is a success. This involves promoting your live stream and, most importantly, gathering some questions in advance.
Platform Choice: Instagram vs. TikTok
For your very first live stream, I strongly recommend starting with Instagram.
Here's why: TikTok has a requirement that you must have at least 1,000 followers to use the LIVE feature. Instagram does not have this limitation, making it accessible to everyone right from the start.
How To Go Live on TikTok: Complete Guide (2025)
This guide on 'How To Go Live on TikTok' clearly states the platform's requirements. It's important to be aware of this.
Read the section 'Requirements To Go Live on TikTok' to understand the age and follower-count rules.
Let's focus on the process for Instagram, as you can do this today.
Promoting Your Instagram Live & Gathering Questions
The best way to ensure you have an audience and questions to answer is to promote your live session 12-24 hours in advance using Instagram Stories.
How to Use Instagram Live: The A-Z Guide
Buffer's guide to Instagram Live provides a perfect, step-by-step walkthrough of features you can use to promote your session and collect questions.
First, read the section 'Hype the live broadcast in advance' to learn about the countdown and reminder stickers. Then, read 'Doing a Q&A session with your audience' and 'Answer your audience’s questions using Instagram Stories’ question sticker.' These features are your secret weapon for a great Q&A.
Your Action Plan (The Day Before Your Live):
- Post a Countdown Sticker: Create an Instagram Story announcing your Q&A topic and time. Add the "Countdown" sticker so your followers can set a reminder.
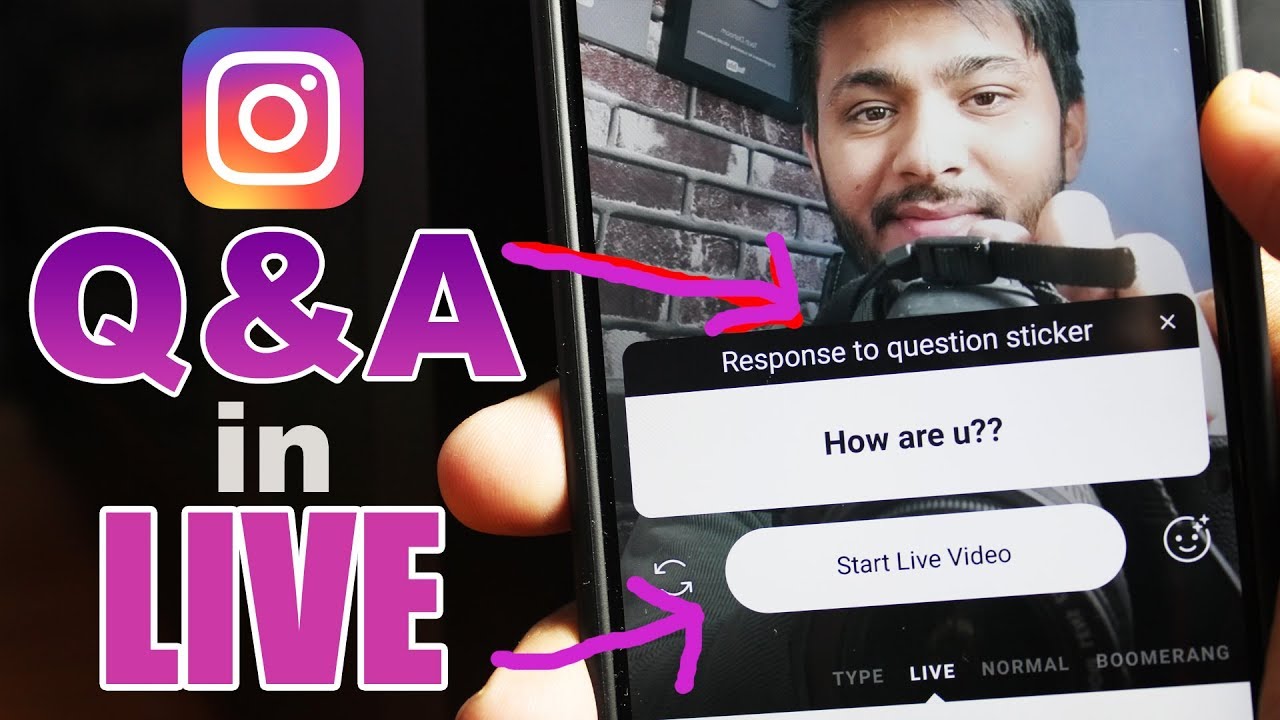
- Post a Question Sticker: A few hours later, post another Story with the "Question" sticker. Write something like, "What are your biggest questions about saving money on groceries? I'll answer them in my live Q&A tomorrow!"
- Collect the Questions: As people submit questions, they will be saved for you to access during your live stream. This guarantees you have content for your Q&A section, taking the pressure off completely!
4. Hosting Your Live Session: A Step-by-Step Guide
The time has come! You've prepared your talking points and gathered some questions. Here's how to run the session smoothly.
Getting Started
Before anything else, remember you can do a dry run. Instagram has a "Practice Mode" that lets you go live privately to test your setup and get comfortable.
How to Use Instagram Live: The A-Z Guide
Let's review the technical steps for starting a live video on Instagram. This article from Buffer explains the 'practice mode' feature, which is perfect for a stress-free rehearsal.
Read the sections 'How to go live on Instagram in 2 steps' and 'Start your Instagram Live video with an engaging hook.' Pay special attention to the advice on using 'Practice mode' and the mistake of waiting for people to join.
The First 60 Seconds are Critical:
- Put your phone on 'Do Not Disturb' mode.
- Hit the 'Go Live' button.
- Start talking immediately! The biggest mistake beginners make is saying, "I'll just wait for a few people to join." This is boring for replay viewers and for the first people who arrive.
- Deliver your hook: Welcome everyone, state your name, and announce the topic.
During the Live
Now, follow the structure you prepared.
How to MASTER the art of GOING LIVE [on tiktok] 2026
This clip offers a fantastic, practical walkthrough of how to structure the flow of your live video, from the hook to interacting with comments.
Watch from 07:18 to 09:40. Notice how the creator suggests a flow: hook, introduce yourself, deliver points, acknowledge viewers by name, and handle questions without losing your place. The tip about answering your own common questions if no one is live is particularly useful.
Managing the Flow:
- Deliver Value: Start by sharing the 2-3 "pre-loaded" tips from your talking points.
- Open the Q&A: Say, "Great, now I'm going to answer some of the questions you all sent in yesterday." Tap the question mark icon at the bottom of your screen and select the first question. It will appear on screen for everyone to see.
- Answer and Interact: Answer the question. As people join live and comment, acknowledge them by name ("Hi Sarah, thanks for joining!"). If a relevant question comes in the live chat, you can answer it. Acknowledge it by saying, "David just asked a great question in the comments..."
- No Live Questions? No Problem: If the live chat is quiet, simply continue answering the questions you collected from the Story sticker. If you run out, use the pro-tip: "A question I get asked all the time is..." and answer that.
Ending the Live
- When you're ready to wrap up, announce it: "I've got time for one last question."
- After the final question, go into your conclusion. Thank everyone, summarize the most important tip, and deliver your Call to Action (e.g., "Follow for more!").
- Smile, say goodbye, and tap the 'End' button. You did it!
Conclusion
Congratulations! You now have a complete, step-by-step plan to prepare for and host your first live Q&A session. This is a huge step in building your personal brand and connecting with the community you're building.
Key Takeaways:
- Preparation is everything. Having a topic and a simple bullet-point outline (talking points) will give you confidence.
- Start on Instagram. It has no follower requirement and fantastic tools like the Question Sticker to help you prepare.
- Promote your live session using Stories with Countdown and Question stickers to build an audience and gather questions in advance.
- Start talking immediately. Avoid the "waiting for people to join" dead air. Deliver your hook and pre-loaded value right away.
- It's about connection, not perfection. Your audience will appreciate you showing up authentically to help them.
Preview of the Next Lesson:
Putting yourself out there on live video and creating more content means you'll start getting more feedback—both positive and negative. In our next lesson, we will focus on a crucial skill for any creator: how to distinguish between constructive criticism and trolling, and apply an appropriate response strategy.