
Hello! Welcome back to our course on mastering Laravel.
In the last lesson, we explored the Service Container, focusing on how to bind and resolve services both manually and automatically. We saw that the container is a powerful tool for managing dependencies. Today, we'll see a practical and elegant application of that power as we dive into advanced routing.
This lesson focuses on the learning outcome: Implement advanced routing patterns including route model binding customization and rate limiting. We will cover two key features that make your routes cleaner, more efficient, and more secure. First, we'll master Route Model Binding to automatically inject model instances into your routes and customize this behavior. Second, we'll learn how to implement rate limiting to protect your application from abuse.
1. The Elegance of Route Model Binding
As a backend developer, you've likely written this logic many times: receive an ID from a URL, query the database for the corresponding record, and throw a "not found" error if it doesn't exist.
// The "old" way
Route::get('/posts/{id}', function (string $id) {
    $post = Post::findOrFail($id);

    return view('posts.show', ['post' => $post]);
});
This works, but it's boilerplate code. Route Model Binding (RMB) eliminates this by automatically resolving an Eloquent model from a route parameter.
Let's see the "new" way:
// The Route Model Binding way
Route::get('/posts/{post}', function (App\Models\Post $post) {
    return view('posts.show', ['post' => $post]);
});
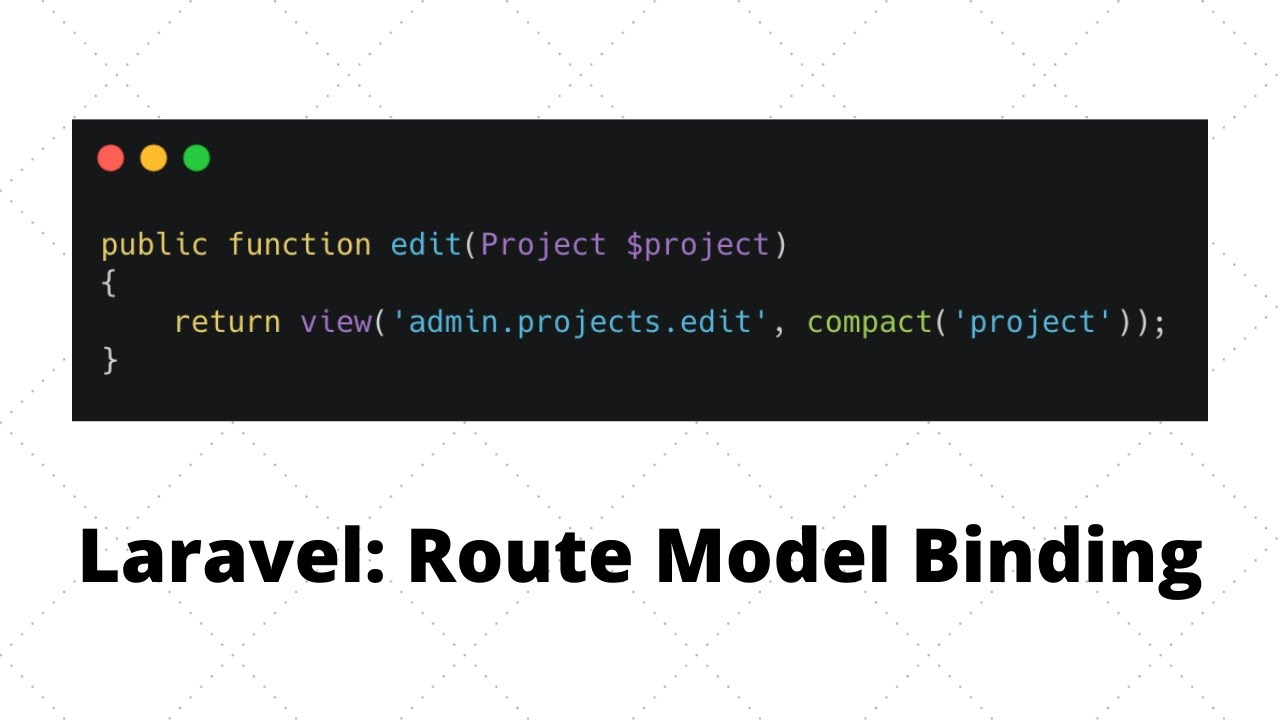
How does this work? Laravel inspects the route's URI {post} and the controller's type-hinted variable Post $post. Because the names match (post), it automatically queries the Post model for a record where the primary key matches the value from the URI. If no model is found, it automatically generates a 404 HTTP response. This is a direct application of the service container's resolution capabilities you learned about previously.
Customizing Route Model Binding
While binding by ID is the default, real-world applications often require more advanced behavior. You might want to use a slug for SEO-friendly URLs, ensure a child resource belongs to a parent, or even include trashed items. Let's explore these customizations.
To get a comprehensive overview and see these techniques in action, we'll start with a video from the official Laravel channel.
Simplify Laravel Routes with Powerful Model Binding Techniques
This video provides an excellent walkthrough of almost every customization you'll need for Route Model Binding.
Watch this video from start to finish (00:00 - 15:51). It's packed with useful patterns. Pay close attention to: Implicit Binding: The basic concept (0:00). Customizing the Key: Using a slug instead of an id (5:55). Enum Binding: Binding a route segment to a PHP Enum (7:03). Soft Deletes: How to retrieve trashed models using withTrashed() (9:02). Scoped Bindings: Ensuring a child model belongs to a parent, e.g., a post belonging to a user (10:44). Explicit Binding: Defining custom resolution logic in a Service Provider (13:03).
Now, let's solidify this knowledge by referencing the official Laravel documentation. It serves as the definitive guide and a great resource to bookmark.
The official documentation provides detailed explanations and code examples for all the concepts shown in the video.
Read the section titled 'Route Model Binding'. You can find it by searching for that heading in the documentation. Focus on the subsections covering: Implicit Binding and how it works. Customizing the Key using both the route definition ({post:slug}) and the model's getRouteKeyName method. Custom Keys and Scoping to understand how Laravel automatically secures nested routes. Soft Deleted Models and the withTrashed method. Implicit Enum Binding for type-safe route parameters. Explicit Binding using Route::model and Route::bind for full control.
Let's summarize the key customization patterns:
1. Customizing the Key: For SEO-friendly URLs, use a slug or another unique column.
// Define in the route
Route::get('/posts/{post:slug}', function (Post $post) {
    return $post;
});

// Or, make it the default for the model
// In your Post.php model:
public function getRouteKeyName(): string
{
    return 'slug';
}
2. Scoped Bindings: When using nested routes, you must ensure the child belongs to the parent. For example, you must prevent a user from accessing another user's post by changing the post ID in the URL.
// /users/{user}/posts/{post}
Route::get('/users/{user}/posts/{post}', function (User $user, Post $post) {
    return $post;
})->scopeBindings();
With scopeBindings(), Laravel will automatically throw a 404 error if the post with the given ID does not belong to the specified user. This is a critical security feature.
3. Soft-Deleted Models: By default, RMB won't find soft-deleted models. You can change this behavior on a per-route basis.
Route::get('/posts/{post}', function (Post $post) {
    return $post;
})->withTrashed();
2. Protecting Routes with Rate Limiting
Another crucial aspect of building robust applications is protecting them from excessive traffic. Unrestricted access to certain endpoints can lead to performance degradation or even denial-of-service attacks. Laravel's rate limiters provide an elegant way to control traffic.
The process involves two steps:
- Define a limiter: Create a named rate limit configuration in a service provider.
- Apply the limiter: Attach the configuration to a route or route group using the
throttlemiddleware.
Let's see this in action.
Exploring Laravel Rate Limiters: Control Traffic & Secure Actions ⛔
This video demonstrates how to define a rate limiter for an API endpoint and apply it as middleware.
Watch the first part of this video (00:00 to 03:53). Focus on: Where to define the rate limiter (AppServiceProvider). The syntax for creating a limit (RateLimiter::for, Limit::perMinute). How to segment the limit based on the authenticated user's ID or the request's IP address. How to apply the limiter to a route using middleware('throttle:...').
As with Route Model Binding, the official documentation is your best friend for understanding all the available options.
Now, let's review the official documentation on rate limiting to see the full range of features.
Read the section titled 'Rate Limiting'. You can find it by searching for that heading in the documentation. Pay attention to: Defining Rate Limiters: The RateLimiter::for syntax. Segmenting Rate Limits: The by() method, which is key to applying limits per user or per IP. Attaching Rate Limiters to Routes: Using the throttle middleware.
Here is a typical example of defining a rate limiter in app/Providers/AppServiceProvider.php:
// In app/Providers/AppServiceProvider.php

use Illuminate\Cache\RateLimiting\Limit;
use Illuminate\Http\Request;
use Illuminate\Support\Facades\RateLimiter;

public function boot(): void
{
    // ... other boot logic

    RateLimiter::for('api', function (Request $request) {
        return Limit::perMinute(60)->by($request->user()?->id ?: $request->ip());
    });

    // Example of a more restrictive limiter
    RateLimiter::for('logins', function (Request $request) {
        return Limit::perMinute(5)->by($request->ip());
    });
}
The first limiter, named api, allows 60 requests per minute. It's segmented by the authenticated user's ID. If the user is a guest, it falls back to using their IP address.
The second limiter, logins, is more restrictive, allowing only 5 attempts per minute, identified only by IP address. This is useful for protecting a login form from brute-force attacks.
You can then apply these limiters in your route files:
// In routes/api.php
Route::middleware('throttle:api')->group(function () {
    // All routes in this group will be rate limited
    Route::get('/weather', [WeatherController::class, 'index']);
});

// In routes/web.php
Route::post('/login', [LoginController::class, 'store'])
    ->middleware('throttle:logins');
Conclusion
In this lesson, you've learned two advanced routing patterns that are essential for writing professional Laravel applications.
Key Takeaways:
- Route Model Binding automates the process of fetching models from the database based on URL parameters, which keeps your controllers lean and clean.
- You can customize RMB to use different keys (like
slug), automatically scope nested resources for security, and even retrieve soft-deleted models. - Rate Limiting is a critical tool for protecting your application from abuse and ensuring its stability.
- Rate limiters are defined in a service provider and applied to routes using the
throttlemiddleware.
By mastering these patterns, you can write code that is not only more readable and maintainable but also more secure and robust.
Next Up:
Now that we can define clean and secure routes that pass resolved models directly to our controllers, the next logical step is to validate the incoming data for store or update actions. In the next lesson, we will learn how to organize controller logic using Form Requests for validation, a powerful Laravel feature that moves validation logic out of your controllers and into dedicated request classes.