
Hello! Welcome to your next lesson in the "Modular and Reusable Workflows" module.
In our last session, you learned how to programmatically command your n8n instance using the n8n API node. You built a workflow that could activate or deactivate another workflow, treating your automation platform like a system you can control. This is the imperative, or "command-driven," approach.
Today, we'll explore the other side of that coin: the reactive, or "event-driven," approach. Instead of telling n8n what to do, we'll build workflows that listen for things happening within n8n and react accordingly. This concept is fundamental to building self-monitoring and resilient systems.
By the end of this 60-minute lesson, you will be able to use the n8n Trigger node to react to internal events like workflow executions. We will focus heavily on the most critical internal event: a workflow failure.
1. Listening to Your n8n Instance
Just as a modern software application emits events like user.created or payment.failed, your n8n instance generates events for its own internal activities. The most common events relate to the workflow execution lifecycle:
- A workflow execution starts.
- A workflow execution succeeds.
- A workflow execution fails.
n8n provides two primary trigger nodes to listen for these internal events:
- Error Trigger: A specialized and highly important trigger that listens exclusively for failed workflow executions.
- n8n Trigger: A more general-purpose trigger that can listen to a wider range of events, including successful executions, workflow saves, and even when the n8n instance itself starts up.
We'll begin with the Error Trigger, as it's an indispensable tool for creating production-grade automations.
2. Building a Global Error Handler
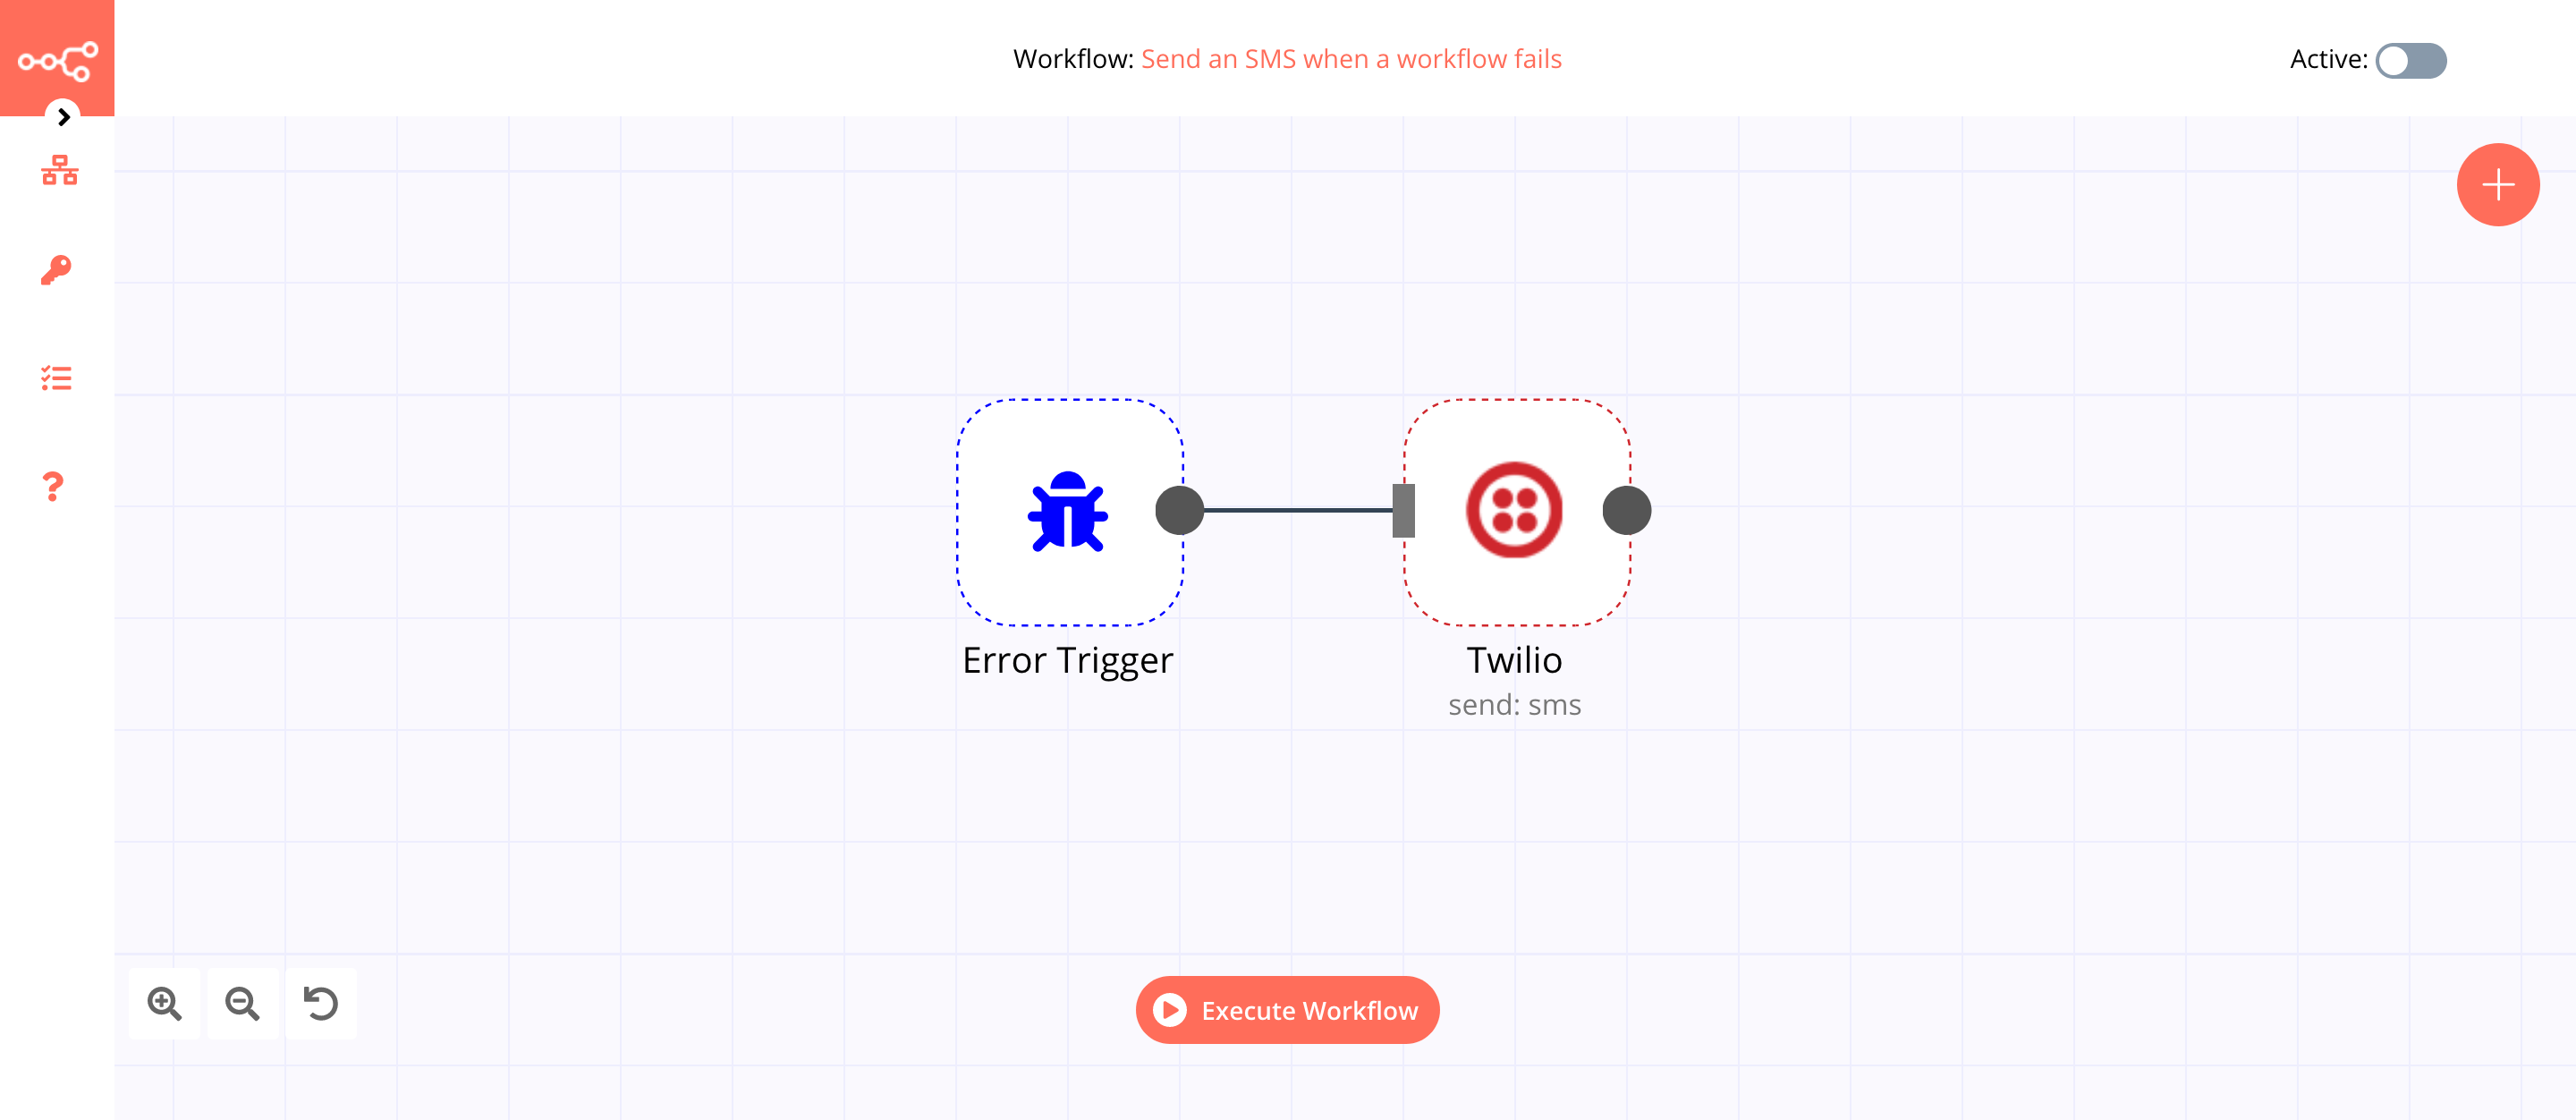
One of the best practices in n8n is to have a single, dedicated workflow that handles all errors from your other workflows. This centralizes your error logging and notification logic, making your system much easier to manage. Let's outline how to build this.
Step 1: Create the Error Workflow
First, you need a workflow that is designed to be triggered by an error.
- Create a new, blank workflow. Name it something descriptive, like
Global Error Handler. - For the first step, add an Error Trigger node. You'll find it under "Triggers".
- That's it for the trigger! It requires no configuration. It's now ready to "catch" errors from any workflow that is pointed to it.
- You can then connect other nodes to process the error information. A common pattern is to send a notification.
Step 2: Understand the Error Data
When the Error Trigger runs, it receives a JSON object containing rich information about the failure. As a developer, understanding this data structure is key to building meaningful alerts.
The n8n documentation on Error handling provides the exact JSON structure of the data passed to the Error Trigger. Understanding this data is crucial for building useful error notifications.
Please review the section 'Error data'. Pay close attention to the two example JSON payloads: one for a standard execution error and one for a trigger node error. Note the key fields available, such as execution.id, workflow.name, and error.message.
With this data, you can construct detailed error messages, for example:
"🚨 n8n Alert: Workflow '
{{ $json.workflow.name }}' failed.
Last Node:{{ $json.execution.lastNodeExecuted }}
Error:{{ $json.execution.error.message }}
Execution URL:{{ $json.execution.url }}"
Step 3: Link a Primary Workflow to the Handler
Once your error handler workflow is saved, you need to tell your other workflows to use it.
One n8n Workflow for Unlimited Error Handling (Step-by-Step)
This short clip from a tutorial by Nate Herk demonstrates exactly how to link a primary workflow to your newly created error handler.
Watch from 01:11 to 01:44 to see how to access the workflow settings and select the error workflow from the dropdown menu.
You can repeat this process for all your important workflows, pointing them all to the same Global Error Handler. This makes your error notification strategy incredibly efficient and easy to update.
3. Testing and Important Distinctions
Testing error handling has some specific behaviors that you must be aware of to avoid confusion.
Caveat 1: Manual vs. Automatic Executions
This is the most common point of confusion for new n8n users. Clicking the "Test step" or "Test workflow" buttons will not trigger your error workflow, even if a node fails and turns red.
Error workflows are only triggered by active, automatic executions. This means the failure must occur when the workflow is running on its own, for example, via a Schedule trigger, a Webhook call, or any other production trigger.
Master n8n Error Workflows: Get Instant Email Alerts on Failures
In this video, Leon van Zyl highlights this crucial point about testing error workflows.
Watch the section from 09:28 to 10:20. Pay close attention to the explanation of why clicking 'Test Workflow' doesn't trigger the error handler and how to properly test it with an active, scheduled workflow.
To effectively test your error handler, you can set a primary workflow with a Schedule trigger to run every minute, make it fail, and activate it.
Caveat 2: What Constitutes a "Failure"?
The Error Trigger only fires when a workflow execution stops due to an unhandled error, which shows up as a red, "Failed" execution in your executions list.
It's possible for a node within a workflow to fail without stopping the entire workflow. For example, an HTTP Request node with the Continue On Fail option enabled will not halt the execution. The workflow will continue, likely with empty data, and the execution will be marked "Succeeded". The Error Trigger will not fire in this case.
One n8n Workflow for Unlimited Error Handling (Step-by-Step)
This clip provides a great real-world example of why an error workflow might not trigger even when a part of your main workflow fails.
Watch from 06:56 to 08:11. The presenter explains the important distinction between a workflow execution erroring out (turning red) versus a tool within the workflow failing gracefully (staying green). This is a key concept for robust error handling.
The Stop and Error Node for Deliberate Testing
To make testing easier and to create custom failure conditions, n8n provides the Stop And Error node. This node does exactly what its name implies: it immediately stops the workflow and puts it into a failed state, which in turn will trigger your linked error workflow. This is the programmatic equivalent of throw new Exception() in many programming languages.
You can place this node after an If node to create custom validation logic, for instance: "If the customer ID is missing, then Stop and Error".
Test your understanding!
You have a workflow that uses an HTTP Request node to call an API. The API is temporarily down and returns a 503 Service Unavailable status code. Your HTTP Request node has the "Continue On Fail" setting enabled. Will your linked error workflow be triggered? Why or why not?
Show answer
No, it will not be triggered. Because "Continue On Fail" is enabled, the HTTP Request node will not throw an exception that stops the workflow. The execution will proceed (likely with empty data from that node), and since the workflow itself does not enter a failed (red) state, the Error Trigger's condition is not met.
4. The General-Purpose n8n Trigger
While the Error Trigger is for failures, the n8n Trigger node is for everything else. It's a general-purpose listener for the n8n event bus.
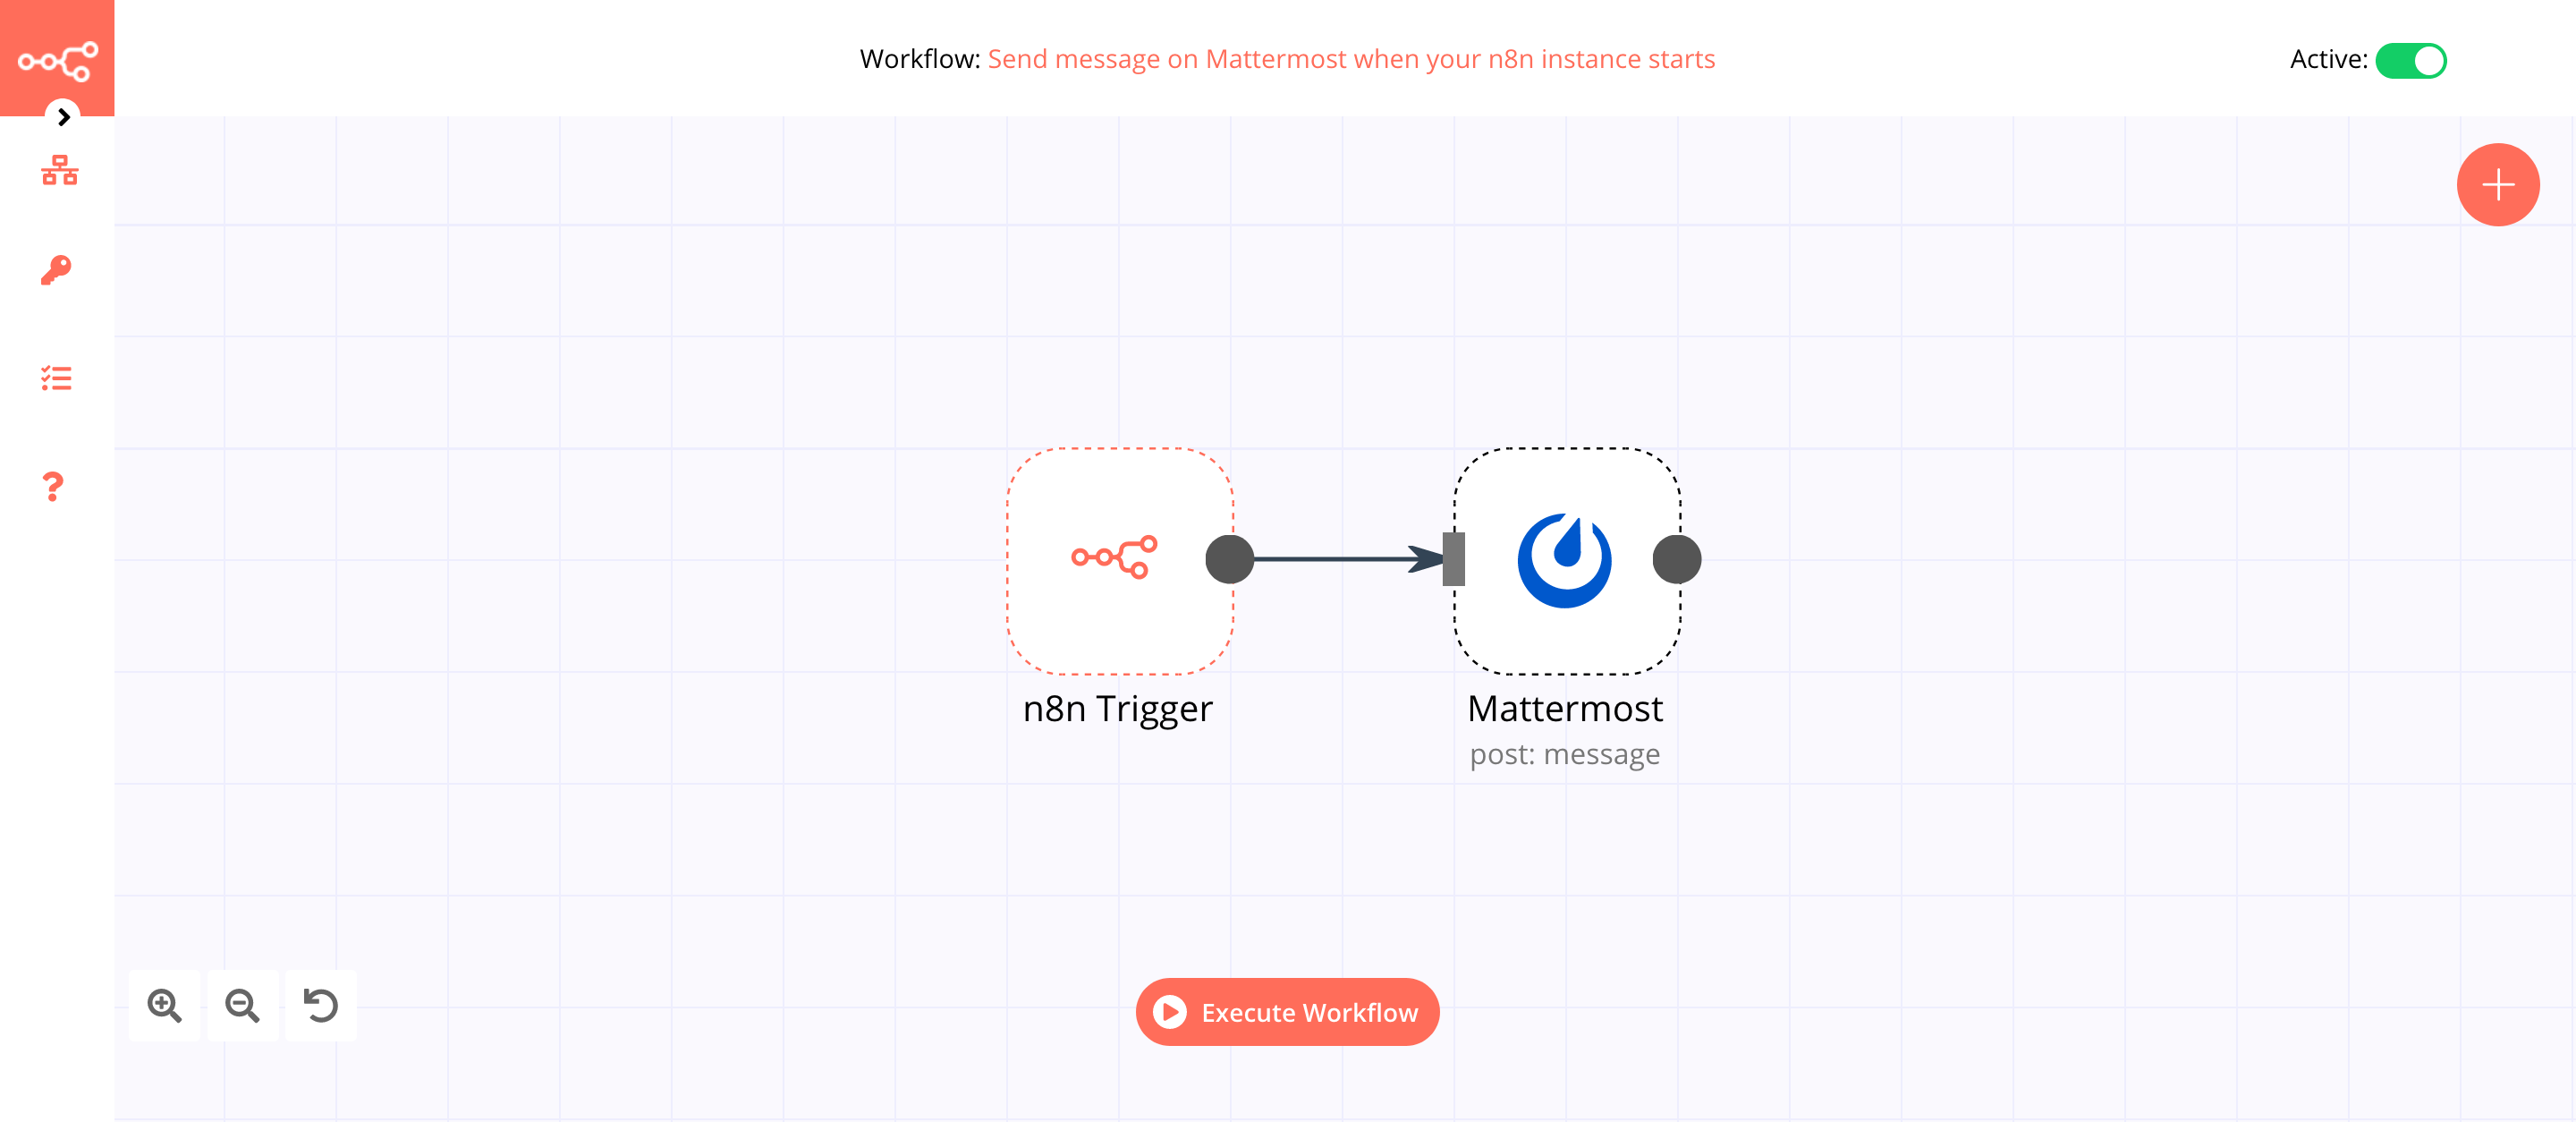
You can configure this trigger to listen for events like:
execution.succeededexecution.startedworkflow.createdworkflow.updated
This allows for powerful meta-automations. For example, you could build a workflow that:
- Triggers on
execution.succeeded. - Uses an
Ifnode to filter for a specific, critical workflow. - Appends a row to a Google Sheet or database table to create a custom audit log of every successful run.
This gives you a way to build monitoring and reporting dashboards that are completely customized to your operational needs.
Conclusion
Today you've learned the event-driven counterpart to the command-driven API access you mastered in the last lesson. By using n8n's internal trigger nodes, you can build workflows that monitor, log, and react to the health and status of your entire automation ecosystem. This is a crucial skill for moving from simple automations to robust, production-ready systems.
Key Takeaways:
- n8n has an internal event system that you can listen to with the
Error Triggerandn8n Triggernodes. - The
Error Triggeris the cornerstone of a centralized error-handling strategy, allowing you to create a single workflow to manage all failures. - Error workflows only fire for active, automatic executions that enter a failed (red) state, not for manual tests or soft failures.
- The
Stop and Errornode is a key tool for deliberate testing and creating custom failure conditions. - The
n8n Triggernode is a general-purpose tool for meta-automation, reacting to successes, saves, and other internal events.
Preview of the Next Lesson:
With this understanding of making workflows modular, reusable, and robust, our next lesson will focus on best practices for maintainability. We will cover how to apply best practices for naming, annotating, and structuring workflows for clarity, ensuring that your automations are easy for others (and your future self) to understand and manage.