
Hello! Welcome to the first lesson in our new module, Working with Databases.
In the last module, we built a robust error-handling system, ensuring your workflows can fail gracefully and alert you immediately. Now, we shift our focus from handling transient states and errors to managing persistent data. As a software developer, you know that many powerful applications are built around a database, and the same is true for complex automations. This module is a cornerstone for your goal of achieving "full stack" mastery of n8n.
Today's learning outcome is to connect to SQL databases (e.g., PostgreSQL, MySQL) using database nodes. This is the foundational skill for any workflow that needs to store, retrieve, or manage information over the long term. We'll cover the general process and then walk through specific examples for both MySQL and PostgreSQL.
1. The Anatomy of a Database Connection in n8n
Connecting to a database in n8n involves two key components, which will feel familiar from your development experience:
- The Database Node: n8n provides specific nodes for different database systems (MySQL, PostgreSQL, Microsoft SQL, etc.). You simply drag the appropriate node onto your canvas to get started.
- The Credentials: Instead of hardcoding sensitive information like hostnames and passwords directly in your workflow, n8n uses a secure credential store. You'll create a new credential for your database, entering the connection details once. This credential can then be reused across all your workflows.
Let's see how this works in practice.
2. Connecting to a MySQL Database
MySQL is a widely-used open-source relational database. Let's walk through the process of connecting n8n to a MySQL instance.
Step 1: Set Up a Test Database (Optional)
If you already have a MySQL database you can use, feel free to skip to the next step. If not, setting up a free, sandboxed database for testing is a great way to start. The n8n blog provides a guide for doing just this using a service called db4free.net.
How to compare databases via the Compare Datasets node
This article, 'How to compare databases via the Compare Datasets node', begins with an excellent tutorial on setting up a free MySQL database. We will use this as our starting point.
Please read the section 'Prepare the testing environment'. Follow the two steps to get access to a free MySQL server and import a sample database. This will give you a live database with data to test your connection against. Keep the credentials (database name, user, password) handy for the next step.
Step 2: Create MySQL Credentials in n8n
Now that you have a database, let's connect it to n8n.
- Open a new n8n workflow.
- Add a MySQL node to your canvas.
- In the node's parameter panel, click the Credential dropdown and select Create New.
You'll see a dialog box asking for your database's connection details. The following reading and video show you exactly how to fill this out.
How to compare databases via the Compare Datasets node
Let's return to the n8n blog post. This section shows the credential dialog and how to configure the node.
Read 'Step 1. Add a new MySQL node' under 'Workflow 1'. Focus on the screenshot showing the credential fields. This is where you'll enter the information from the database you just set up.
For a dynamic walkthrough, the official n8n YouTube channel also demonstrates this process.
Google Sheets and MySQL integration – Powerful workflow
This video shows the credential creation process in action.
Watch from 03:49 to 04:12. The video quickly demonstrates creating new credentials and filling in the fields from the database provider.
After filling in the Host, Database, User, and Password, click Save. Your credentials are now securely stored in n8n.
Step 3: Verify the Connection
The best way to confirm your connection works is to try and read some data.
In your MySQL node, set the Operation to Execute Query. This allows you to run a raw SQL command. Using the sample database you imported, you can run a query to prove the connection is live. The blog post provides a good example. After configuring the query, press Execute Node. If it runs successfully and returns data, your connection is working!
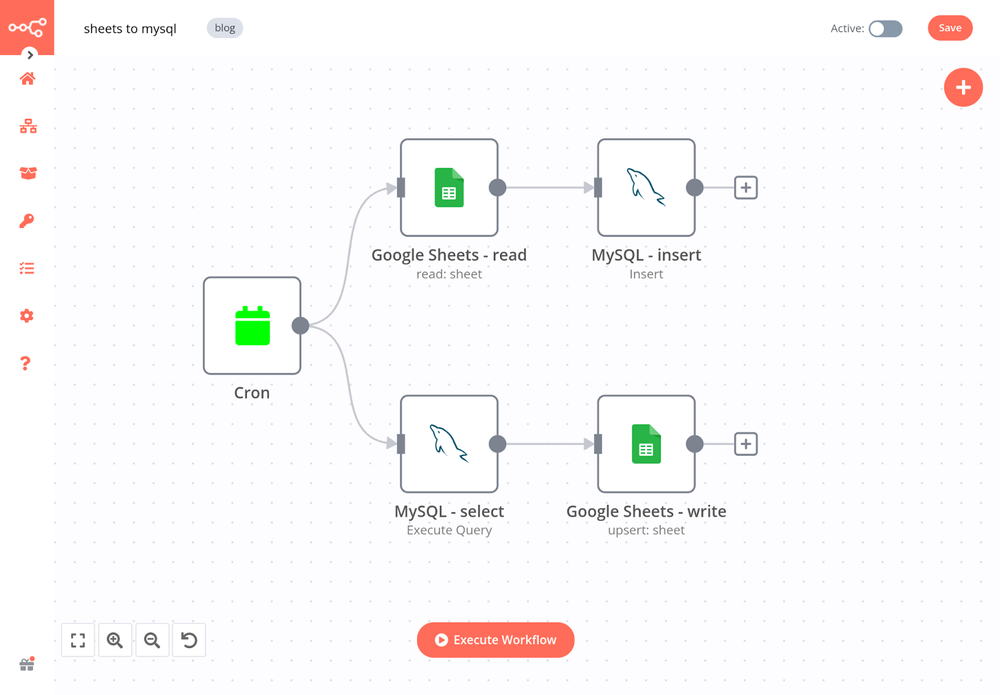
3. Connecting to a PostgreSQL Database
The process for PostgreSQL is nearly identical, simply using a different node. We'll use Supabase as our example provider, as it's a popular, developer-friendly platform that offers free PostgreSQL databases.
Step 1: Get Connection Details from Your Provider
First, you need to find the connection string or parameters from your database provider. The following resources show you exactly where to find this information in a Supabase project dashboard.
Quickly Setup And Connect Postgres In n8n
This video by Bradford Carlton provides a clear walkthrough of connecting n8n to a Postgres database hosted on Supabase.
Watch from 02:36 to 04:14. Pay close attention to which details are copied from the Supabase 'Connect' panel (Host, Database, User, Port) and where they are pasted into the n8n credential dialog.
For a textual reference that you can follow along with, this blog post covers the same steps.
How to Connect Postgres Database to n8n: A Quick Setup
This article from Horizon.dev provides a written guide to the same Supabase-n8n connection process.
Read 'Step 1' through 'Step 3'. Note the parameters you need to copy from Supabase and where to place them in the n8n 'Postgres' node configuration. Importantly, notice the tip about the SSL option.
Step 2: Create PostgreSQL Credentials in n8n
As with MySQL, add a Postgres node to your canvas and create a new credential. Use the details you just gathered from your provider.
One crucial, real-world tip highlighted in the resources is that provider-specific settings are sometimes required. For Supabase, you may need to set the SSL option to Disable in the credential settings for the connection to succeed. This is a common type of "gotcha" when integrating different services.
Step 3: Verify the Connection
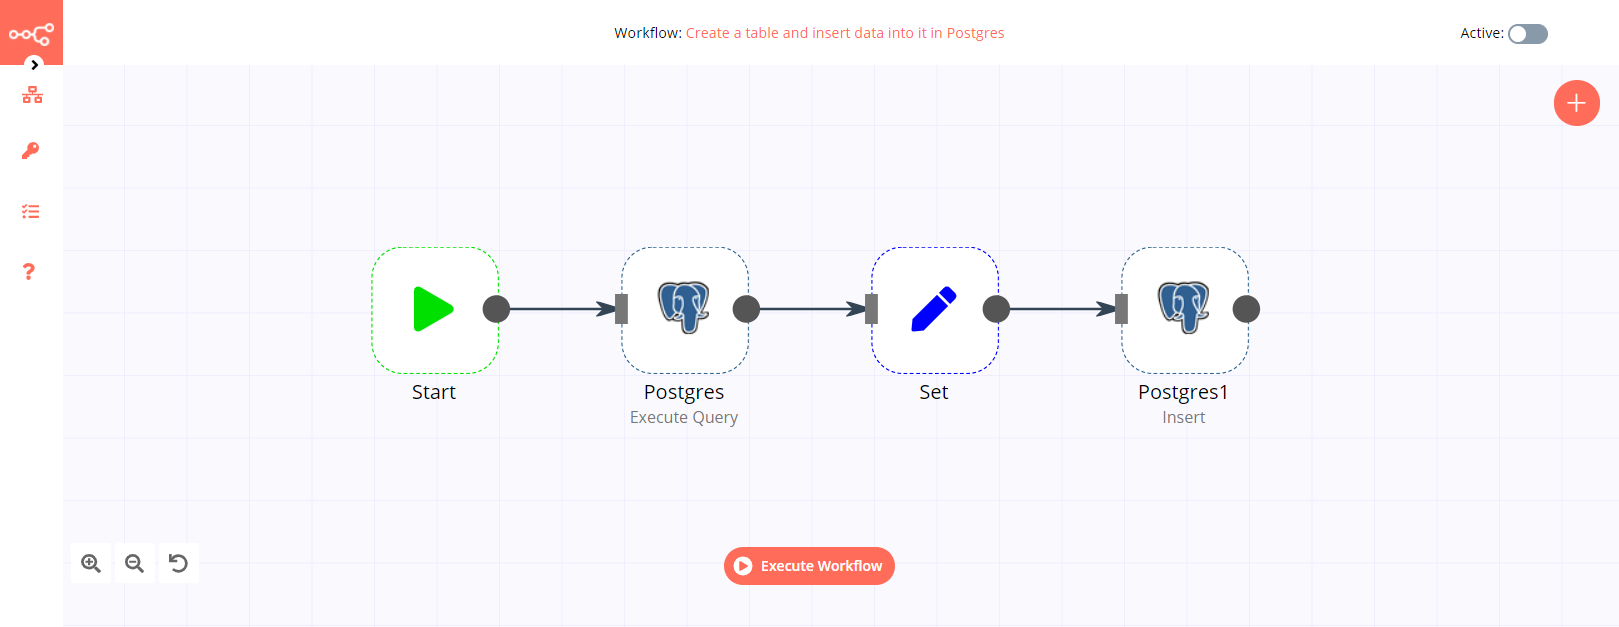
Once you've saved the credentials, you can verify the connection by setting the Postgres node's Operation to Execute Query and running a simple command, like SELECT NOW();. A successful execution confirms your setup is correct.
Test your understanding!
You are given the connection details for a new PostgreSQL database. The 'Host' is db.example.com, the 'Port' is 5432, and the 'User' is admin. However, when you try to connect from n8n, it fails. You double-check the password and it's correct. Based on the resources, what is one common, provider-specific setting you should check in the n8n credential configuration, especially when using a service like Supabase?
Show answer
The SSL setting. For some cloud database providers like Supabase, you may need to explicitly set the SSL option to "Disable" within the n8n credential configuration to establish a successful connection.
Conclusion
In this lesson, you've learned the fundamental process for connecting n8n to SQL databases. This is a critical bridge between n8n's workflow logic and persistent data storage.
Key Takeaways:
- n8n uses dedicated database nodes (e.g., MySQL, Postgres) to interact with different SQL servers.
- Connections are managed through Credentials, which securely store connection parameters like host, port, user, and password.
- The general process is to find your database's connection details, create a new credential in the corresponding n8n node, and save it.
- Always verify your connection by attempting a simple operation, like executing a
SELECTquery, to ensure everything is configured correctly. - Be mindful of provider-specific requirements, such as the SSL setting.
Now that you can establish a connection, you're ready to start interacting with your data. In our next lesson, we will dive into the "CRUD" model by learning how to perform Create and Read operations in a SQL database. You'll learn to insert new rows and query existing ones, unlocking a vast new range of possibilities for your automations.