
Welcome back. In the previous lesson, you used a bounded split to remove a well-supported false merge: the goal was to detach a contaminating neurite while preserving the target neuron. A split request completing successfully is only the midpoint of the work. The real question is whether the resulting morphology matches the EM evidence and the intended repair.
In this lesson, you will conduct a post-edit morphology review. You will inspect the edited region in 2D and 3D, look at the cell at multiple scales, distinguish a validated correction from collateral damage, and record a decision that another proofreader could audit.
Treat the post-edit review as a visual diff
A proofreading edit changes a shared reconstruction, much like a production change changes a shared codebase. “The operation succeeded” does not establish that the change was correct. You need an expected result, a focused inspection of the changed area, and a broader regression check.
For the false-merge split from the previous lesson, your expected morphology was:
- the retained target neurite remains continuous and plausible;
- the contaminating neurite is now a separate reconstruction;
- the former attachment no longer produces an implausible cross, bridge, or foreign branch;
- no known-good target branch was detached with the contaminant.
Write that expectation before inspecting. It keeps the review evidence-led rather than guided by the appealing but dangerous thought that the 3D object “looks cleaner now.”
There are two complementary perspectives:
| Perspective | Best for detecting | Cannot establish alone |
|---|---|---|
| 2D EM stack | Membranes, cytoplasmic continuity, whether two processes are genuinely separate | Whether the whole reconstructed neuron now has a plausible overall form |
| Local 3D view | Unexpected stumps, remaining bridges, extra components, local topology | Whether the apparent contact is biologically real |
| Whole-cell 3D view | Missing subtrees, improbable trajectories, gaps in an arbor, foreign-looking extensions | The exact location and cause of an error |
Use 3D to formulate a hypothesis and EM to test it. A strange shape in 3D is a reason to revisit the image stack; it is not itself proof of an incorrect reconstruction.
The BANC proofreading guidance gives useful examples of this division of labor, though its dataset-specific details may not apply to every FlyWire dataset.
Expert Proofreading Tips for the BANC (Brain and Nerve Cord) Dataset – FlyWire Blog
Read the FlyWire Blog’s visual guide to suspicious 3D patterns: parallel mergers, arbor gaps, and path swaps. Focus on the diagnostic logic, not on assuming that every sparse or asymmetric cell is erroneous.
In the subsection “H-Shaped, Parallel Mergers,” read from the merger patterns. Notice why a close-up 3D inspection can reveal a small contact that a zoomed-out view hides. Then go to “Gaps in Dendritic Arbors.” Read the discussion of voids, concentrating on the distinction between relative irregularity worth investigating and a normal sparse arbor. Finally, in “Path Swaps,” read from the path-swap workflow. A path swap is important here because a split may remove a wrong continuation while leaving the correct continuation absent.
Re-establish the case before judging it
Do not assess the result from whatever camera angle the viewer happens to show after the edit. Return to the saved coordinates or share link for the original attachment zone. If your task workflow exposes post-edit object identities, record the current root identifiers as well: splitting can change which root represents the retained target.
Before you rotate the 3D view, answer four concrete questions:
-
Which object is the intended target now?
Select a trusted location on a branch you verified before the edit. Do not identify the target merely by its color or by assuming it kept the original root ID. -
Which material was meant to detach?
Locate trusted contaminant material away from the old join, where its identity was clear before editing. -
Where was the intended separation?
Return to the original attachment zone rather than searching only for the most visually obvious result. -
What known-good structures must remain?
Recall nearby branches, a trunk, or a terminal that you specifically verified before the split. These are your regression checks.
This matters because a split can be locally successful but overly broad. For example, the foreign branch may detach, but a legitimate target subtree may detach with it. In that case, the obvious defect has disappeared while a more consequential defect has been introduced.

The four-pass post-edit inspection
A reliable review is deliberately repetitive in viewpoint, not in decision-making. Inspect the same claim through four passes, from the smallest evidence window to the whole morphology.
Pass 1: Inspect the former attachment in the EM stack
At the original split location, move through several sections in both directions. Reduce overlay opacity sufficiently to see membranes and intracellular texture.
For a successful false-merge split, you should find that:
- the target and former contaminant resolve as different reconstructed objects;
- the visible membrane boundary supports that separation over adjacent sections;
- the target process still continues through the image stack as expected;
- neither output includes an obvious mixture of both processes at the boundary.
Pay attention to what the segmentation overlay does at the edges of the changed region. A common post-edit problem is a small retained bridge: most of the contaminant is detached, but a narrow contact remains elsewhere. Conversely, a newly detached target branch may appear as an abrupt endpoint in the target overlay, even though the EM shows continuous cytoplasm beyond it.
Pass 2: Inspect the target locally in 3D
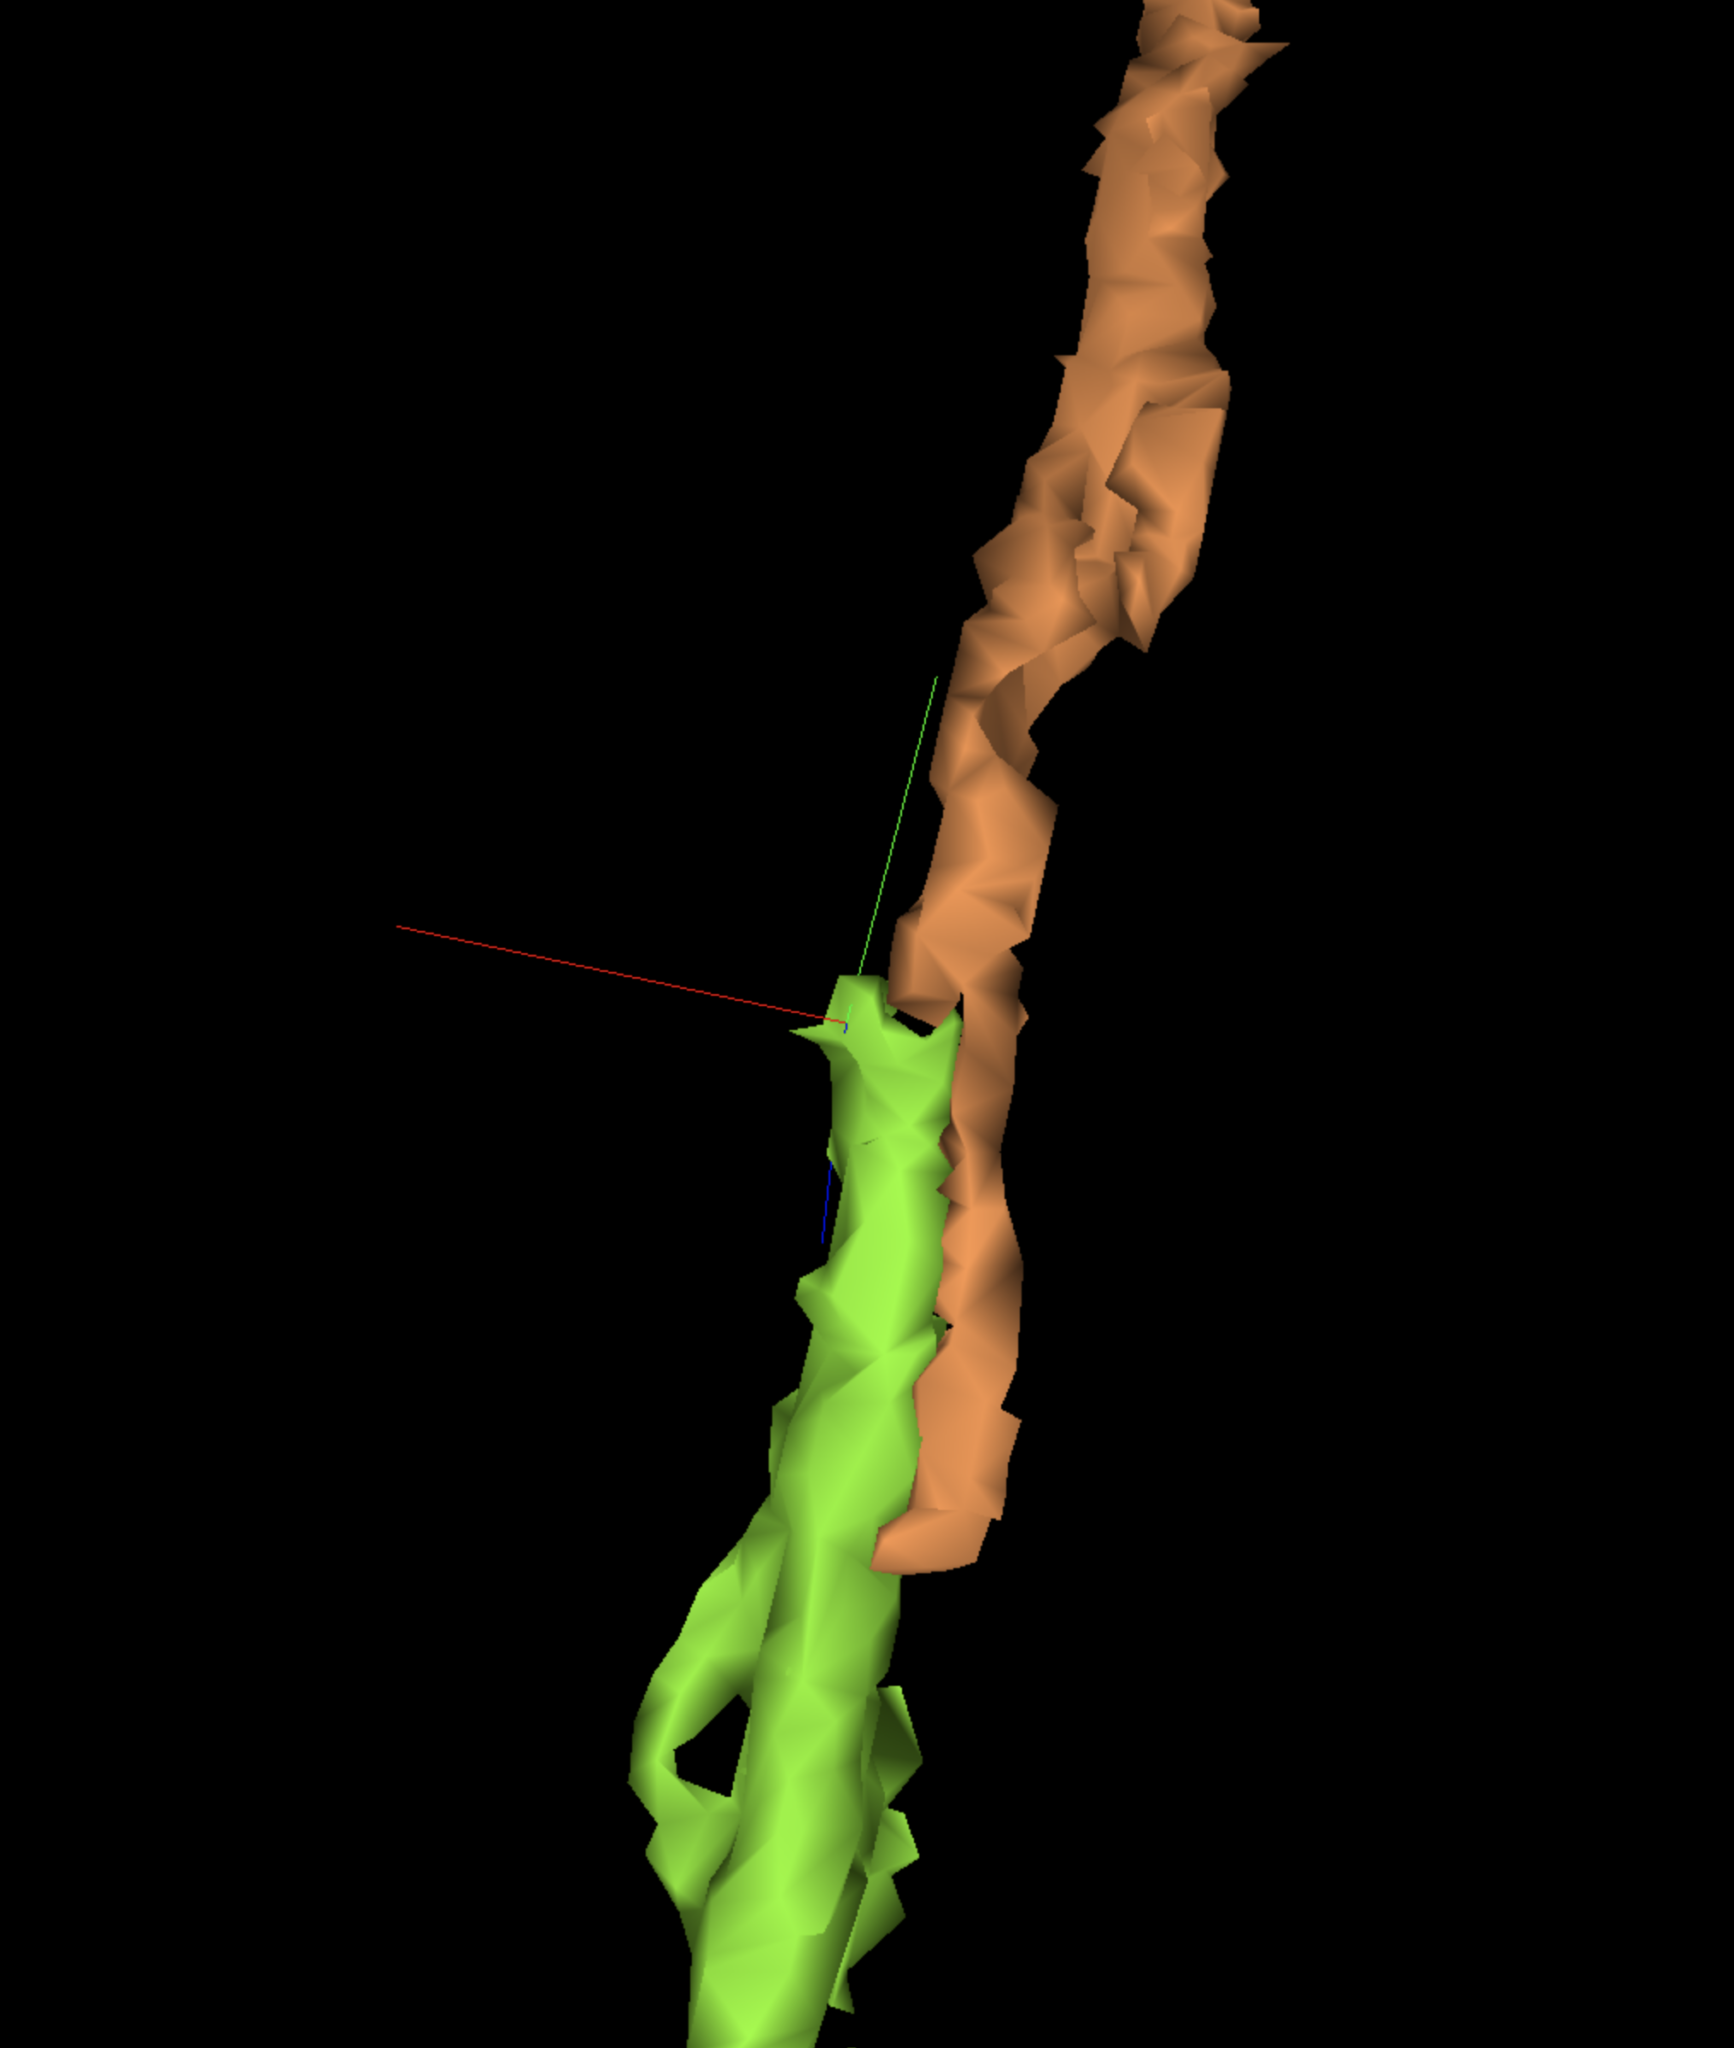
Zoom close enough to examine the branch geometry around the former attachment. Rotate the reconstruction rather than trusting one projection. A branch that appears to touch another in one view may be clearly separated once rotated; a real residual bridge may be hidden behind the main process in a fixed view.
Look for these patterns:
| Local 3D observation | Likely interpretation | What to do next |
|---|---|---|
| Former crossing or side bridge has disappeared; target trajectory remains smooth | Likely successful split | Confirm in EM, then continue to whole-cell review |
| A short, blunt stump appears where a verified branch should continue | Possible collateral split | Trace the stump in EM and identify what detached |
| Two branches still touch over part of their length | Possible residual parallel merger | Find the contact in EM; do not assume close proximity is a merge |
| A disconnected piece remains near the target but has uncertain ownership | Uncertain membership | Inspect its EM continuity before making any further edit |
| The target’s path now takes an implausible turn or changes direction abruptly | Possible path swap or incomplete repair | Identify both the wrong and potentially correct continuations in EM |
Pass 3: Review the whole neuron for regression effects
Now zoom out until you can see the relevant compartment or the broad shape of the cell. You are no longer asking, “Did the split happen?” You are asking, “Did this edit make the neuron less anatomically coherent?”
A post-edit whole-cell review should look for:
- missing subtrees: a large branch system that is unexpectedly absent or terminates in a new stump;
- unwanted fragments: a detached object that visibly contains a branch you expected the target to retain;
- residual foreign arbors: a branch that still looks incompatible with the target’s general trajectory;
- gaps in otherwise consistent branching: a notable void or asymmetric interruption that may indicate a lost extension;
- directionality problems: a continuation that abruptly turns into a different bundle direction or fails to fit the surrounding morphology.
Do not impose geometric symmetry on neurons. Real cells can be sparse, asymmetric, and idiosyncratic. The useful signal is a relative inconsistency: for example, a dense local dendritic field with one conspicuous empty sector, or a smooth tract that ends abruptly at the former edit location.
The general FlyWire proofreading tips emphasize this holistic check: missing material may be detected by looking at what is absent from the arbor, not only at suspicious material that is present.
Read this short FlyWire Blog guide for the principle behind whole-cell review: evaluate the overall 3D shape, then investigate conspicuous gaps or wrong-looking continuations with local evidence.
In “Gaps in Dendritic Arbors,” read the whole-cell review advice. Focus on the phrase “sizable gaps” as a prompt for investigation, not a rule that every empty area requires an edit. Then read the “Identifying Path Swaps” discussion. Begin at the cause of swaps and continue through the end of that subsection. Note the three tests suggested there: visual breaks, plausible directionality, and whether the continuation fits the cell.
Pass 4: Inspect the detached output
A split produces more than a cleaner target; it produces another reconstructed object. Select and inspect the detached output where possible.
Its shape helps diagnose scope:
- A coherent neighboring neurite or local fragment supports the interpretation that you detached the contaminant.
- A detached piece containing a mixture of target-like and contaminant-like branches suggests that the split was placed or scoped incorrectly.
- Several unexpected fragments may signal a complicated underlying topology that was not suitable for a single bounded edit.
- A detached branch that is actually continuous with trusted target material in EM indicates collateral damage.
This pass prevents a common mistake: validating an edit only by admiring the object you kept. The other output is evidence about what the edit actually did.
Diagnose the result without overreacting
After the four passes, classify the case before touching another edit tool.
| Review outcome | Evidence threshold | Decision |
|---|---|---|
| Validated correction | EM confirms separation; target and detached output are morphologically plausible | Record success and post-edit identities |
| Residual false merge | A real biological boundary is still grouped as one object | Document the remaining location; plan another edit only if its scope is clear |
| Collateral false split | EM shows a target continuation was detached | Stop compounding edits; document the evidence and use the project’s recovery workflow |
| Path swap or incomplete route | The target retains a wrong continuation and likely lacks the correct one | Flag as a coordinated repair case, not a quick extra split |
| Pre-existing gap | The absent branch cannot reasonably be tied to this edit | Record separately from the edit outcome |
| Uncertain | EM evidence, alignment, or object membership remains ambiguous | Leave unchanged and request review if the workflow permits |
The key distinction is between detection and intervention. You may detect a new suspicious stump, but still lack enough EM evidence to repair it safely. In that situation, the correct post-edit action is to stop, preserve the evidence, and record uncertainty.
A path swap deserves particular caution. It is not simply “a branch to remove.” The reconstruction can follow the wrong neighboring process while the correct continuation is missing. Repairing that situation often requires both an addition and a separation, so it exceeds the bounded verification task of this lesson.
A compact 10-minute review routine
For a routine false-merge split, use this fixed sequence after every edit:
- Return to the pre-edit location and identify the retained target using trusted material.
- Check 2D continuity across several sections on both sides of the former attachment.
- Rotate a close 3D view to detect residual bridges, stumps, or unexpected fragments.
- Zoom out to review the target’s larger branch pattern and trajectory.
- Inspect the detached object to see whether it is a coherent contaminant rather than lost target material.
- Record a classification: validated, residual issue, collateral issue, pre-existing issue, or uncertain.
- Stop before a second edit unless the new edit is independently supported by EM evidence and falls within your task’s authorization.
A concise audit note could read:
“Post-split morphology review at recorded coordinates. In adjacent EM sections, the retained target and former contaminant are separated by a persistent membrane boundary. Local 3D no longer shows the prior side bridge; whole-cell review shows no new stump or missing subtree. Detached output is a coherent neighboring process. Result: validated correction. Current target root and detached root recorded.”
Or, for an inconclusive result:
“Post-split review found a new target stump near the former attachment. EM continuity beyond the stump is obscured by an image artifact, so collateral detachment cannot be confirmed or ruled out. No follow-up edit performed. Result: uncertain; flagged for review.”
Key takeaways
A correct proofreading edit must be validated as a morphological outcome, not merely as a successful interface operation.
- Start with an explicit expected result and return to the original edit location.
- Review in four passes: local EM, local 3D, whole-cell 3D, and the detached output.
- Use 3D to identify suspicious geometry, but use the EM stack to establish cellular continuity and boundaries.
- Look for residual bridges, new stumps, missing subtrees, implausible trajectories, and path-swap-like continuations.
- Do not equate asymmetry or sparsity with error; investigate relative inconsistencies.
- Classify uncertainty honestly and avoid compounding a questionable edit with speculative follow-up actions.
Next, you will learn how to reverse or recover from an incorrect edit using the workflow available in the FlyWire interface.
Can't find a good explanation? Sign up and we'll make it for you
Sign up