
Hello! Welcome to the next lesson in our module on paid acquisition.
In our last session, you mastered setting up Google Ads conversion tracking using Google Tag Manager. You learned how to define your key business goals (macro-conversions) and trigger tracking tags using the robust data layer method. This is the foundation of data-driven advertising on Google.
Today, we'll apply those same principles to the other major advertising ecosystem: Meta (Facebook and Instagram). Our learning outcome is to install and configure the Meta Pixel on your website for conversion tracking.
Think of the Meta Pixel as the direct equivalent of the Google Ads tracking tags. It's a snippet of code that acts as a bridge between your website and your Meta Ads account. By installing it, you unlock the ability to:
- Measure conversions: See which ads are driving sign-ups, leads, and sales.
- Optimize ad delivery: Let Meta's AI find more people who are likely to take the actions you care about.
- Build custom audiences: Create powerful remarketing lists of people who have visited your site or interacted with specific pages.
Let's get this essential tool set up.
What is the Meta Pixel?
At its core, the Meta Pixel is a piece of JavaScript code that you place on your website. When a user takes an action (like viewing a page or clicking a button), the pixel "fires" and sends that information back to your Meta Ads account.
For a quick overview of what the pixel does and why it's so critical for running effective ad campaigns, watch the first two minutes of this video.
How To Install The Facebook Pixel And Track Events In 2025
This video from Media Ninja provides a clear, concise explanation of the Meta Pixel's function.
Watch from the beginning until 01:55 to understand the core purpose of the Meta Pixel.
As the video explains, the pixel is what allows you to move beyond simply tracking clicks and start measuring real business outcomes.
The Structure: Base Code and Event Code
Just like the Google Ads tracking setup we covered, the Meta Pixel has a two-part structure:
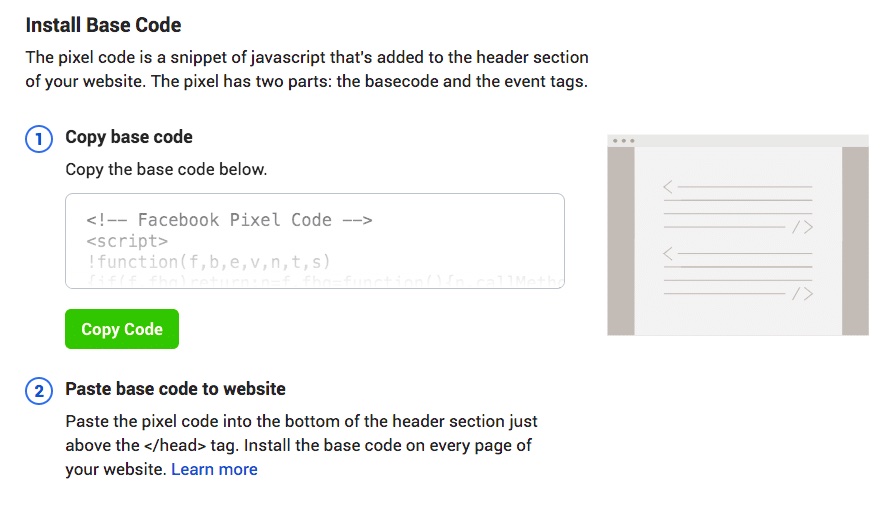
- The Base Code: This is the main part of the pixel script. It needs to be installed on every single page of your website. It handles page view tracking and sets up the foundation for all other tracking.
- Event Code: These are additional, smaller snippets of code that you trigger when a user performs a specific, important action (a conversion). Examples include
Lead,CompleteRegistration, orPurchase.
Step 1: Get Your Meta Pixel ID
Before you can install anything, you need to find your unique Pixel ID. This is a 15-16 digit number that connects your website to your specific Meta Ads account.
You'll find this ID within your Facebook Business Manager, in a section called the Events Manager.
How To Install The Facebook Pixel And Track Events In 2025
The process of finding or creating your pixel can sometimes be confusing due to Meta's frequent UI updates. This video provides a clear walkthrough of the modern interface.
Watch from 01:55 to 06:14. This section covers two scenarios: what to do if you already have a data source (pixel) and how to create a new one from scratch. In either case, your goal is to locate and copy your 'Data Set ID' (which is the Pixel ID).
Once you have your Pixel ID, copy it and keep it handy. We'll be using it in the next step.
Step 2: Install the Pixel (GTM Recommended)
Just as with Google Ads, you have several ways to install the pixel. Given your background and our work in the previous lesson, we'll focus on the most scalable and professional method: Google Tag Manager (GTM).
Using GTM keeps all your marketing tags organized in one place and allows you to add or change tracking without editing your website's code directly.
The article "How to Install Meta Pixel with Google Tag Manager" from Analytics Mania is an excellent, detailed guide. We will follow its recommended process.
How to Install Meta Pixel with Google Tag Manager
This article provides the definitive guide to implementing the Meta Pixel using GTM's best practices, including using a community-built tag template.
First, read the brief section 'How to get the Meta Pixel code?' as a refresher on finding your ID. Then, read the section '#1. How To Install Meta Pixel with Google Tag Manager: Pageview' carefully. Follow the steps for adding the 'Facebook Pixel' tag template from the Community Gallery and creating your base 'PageView' tag. Pay special attention to part #1.3, which recommends using a 'Constant Variable' for your Pixel ID—this is a crucial best practice for scalability.
To summarize the GTM workflow for the base installation:
- Add the Template: In GTM, go to
Templates > Tag Templates > Search Galleryand add the "Facebook Pixel" template byfacebookarchive. - Create a Constant Variable: Go to
Variables > User-defined Variables > Newand create aConstantvariable. Paste your Meta Pixel ID here. This saves you from having to paste the ID into every single tag you create. - Create the Base Tag: Go to
Tags > New. Select the "Facebook Pixel" tag type you just added. Insert your Constant Variable into the "Facebook Pixel ID(s)" field. Leave the "Standard" event asPageView. - Set the Trigger: Set this tag to fire on the
Initialization - All Pagestrigger. This ensures it loads early on every page.
Test your understanding!
Why is it considered a best practice to use a Constant Variable in GTM for your Meta Pixel ID instead of just pasting the ID directly into each tag?
Show answer
Using a Constant Variable makes your setup much easier to maintain. If you ever need to change the Pixel ID (for example, if you're working on a new project or restructuring your ad accounts), you only have to update it in one place—the variable itself. This change will automatically apply to all tags that use that variable. If you had manually pasted the ID into 20 different tags, you would have to edit all 20 of them, increasing the chance of error.
Alternative: Manual Installation
If you're working on a project without GTM, you can install the pixel manually. This involves pasting the code snippet provided by Facebook directly into the <head> section of your website's HTML.
How to Install Meta Pixel - Complete Guide
This article from AdKit provides a clear example of the code snippet for manual installation.
Review the section 'Manual Installation'. Note that you'll need to replace 'YOUR_PIXEL_ID' with your actual ID. For single-page applications built with frameworks like React, this method requires extra work to track page views on route changes, which is why the GTM or NPM package methods are generally superior.
Step 3: Configure Conversion Events
With the base pixel installed, it's now tracking PageView events. The next step is to track the actions that matter to your business—your conversions.
Just as with Google Ads, the most reliable way to trigger these events is by using the Data Layer. When a user successfully signs up for your SaaS, your front-end code should push an event to the data layer.
Let's use the same event we used for Google Ads: generate_lead.
window.dataLayer = window.dataLayer || [];
window.dataLayer.push({
  'event': 'generate_lead'
});
We can now configure GTM to listen for this event and fire a Meta Pixel Lead event.
This video demonstrates how to set up tags and triggers in GTM for various events. We'll focus on the process for a purchase, but the logic is identical for a Lead or CompleteRegistration.
The Easiest Facebook Ads Pixel Tutorial (With GTM) | 2025 Step-by-Step Tutorial
This video by Ivan Mana walks through creating event tags and URL-based triggers in GTM.
Watch from 05:13 to 10:03. The first part (05:13-06:32) shows the creation of the base pixel tag, which will be a good review. The key part is from 06:32 to 10:03, where he sets up a 'purchase' event. Pay close attention to how he creates a new tag, changes the event type from 'PageView' to 'Purchase', and sets up a new trigger based on the page URL.
Here's how you would adapt that process for our generate_lead data layer event:
-
Create the Trigger in GTM:
- Go to
Triggers > New. - Trigger Type:
Custom Event. - Event name:
generate_lead. - Save it as
CE - Generate Lead. (You likely already created this in the last lesson).
- Go to
-
Create the Meta Pixel Event Tag in GTM:
- Go to
Tags > New. - Tag Type: Facebook Pixel.
- Facebook Pixel ID: Insert your
{{Constant - Facebook Pixel ID}}variable. - Event Name: Change the dropdown from
StandardtoCustom. In the field that appears, typeLead. (Meta has standard event names it prefers you use, and 'Lead' is one of them). - Triggering: Select your
CE - Generate Leadtrigger. - Name your tag something like
Meta - Event - Lead.
- Go to
Now, the single generate_lead data layer event on your website will trigger both your Google Ads conversion tag and your Meta Pixel Lead tag. This is the power and efficiency of using GTM.
Step 4: Verify Your Installation
Never assume your tracking is working. Always test it. There are two essential tools for this.
- GTM Preview Mode: Use this to confirm your tags are firing on the correct triggers.
- Meta Pixel Helper: A Chrome extension that shows you which pixel events are firing on any webpage.
- Events Manager Test Events Tool: The official tool inside your Meta Business account to see events in real-time.
How To Install The Facebook Pixel And Track Events In 2025
This final clip from the Media Ninja video gives a fantastic walkthrough of the verification process using both the Pixel Helper and the Test Events tool.
Watch from 06:14 to 12:52. The first minute shows how to use the Meta Pixel Helper extension. The rest of the clip demonstrates the 'Test Events' tool in detail, showing how to walk through a conversion funnel and see the PageView, AddToCart, and InitiateCheckout events appear in real-time in your Events Manager.
Follow the process shown in the video: enable GTM Preview mode, go to your website, complete the conversion action (e.g., the sign-up form), and check both the Tag Assistant window and the Meta Pixel Helper to confirm your Lead event fired correctly.
Conclusion
Excellent work. You have now installed and configured the Meta Pixel, establishing a critical data connection between your website and your advertising campaigns. This setup is the engine for optimizing your ads, building high-value audiences, and accurately measuring the ROI of your marketing efforts on Facebook and Instagram.
Key Takeaways:
- The Meta Pixel has a two-part structure: a base code for all pages (
PageView) and event codes for specific conversions (Lead,Purchase, etc.). - Using Google Tag Manager with a community template and a constant variable is the most scalable and professional way to manage your pixel.
- Leveraging the Data Layer allows you to use a single event from your website (e.g.,
generate_lead) to trigger tags for multiple platforms like Google and Meta. - Always verify your setup using GTM Preview Mode and the Meta Pixel Helper to ensure data is flowing correctly before you spend a single dollar on ads.
Preview of the Next Lesson:
So far, we've set up tracking for Google Ads and Meta Ads. But these are siloed data sources. How do you get a holistic view of your entire marketing performance? In our next module, we'll start answering that by diving into SEO & Organic Search Foundations. You'll begin by learning how to implement core on-page SEO to improve your visibility in search engines, another crucial traffic source.