
Hello again. You now have a safe inspection view: EM imagery visible, segmentation translucent, a 3D mesh available for context, and a habit of recording full coordinates. This lesson puts that setup to work on the basic physical task behind proofreading: following one neuronal process through consecutive EM sections without changing the reconstruction.
By the end, you should be able to receive a location as a Share link or coordinate triple, center it in the 2D view, and make a short, reproducible trace of the same neurite across nearby slices. This is an observation skill, not an editing task.
What it means to trace a neurite
A neurite is a neuronal projection, such as an axon or dendrite. In FlyWire’s EM data, you do not see the entire projection in one 2D image. You see a thin section through it. As you move through adjacent sections, the same membrane-bounded structure may shift position, change width, rotate in apparent orientation, or briefly appear as two nearby profiles at a branch.
So tracing is not “find the same-looking gray blob repeatedly.” It is a controlled tracking task:
- Start from a known location.
- Identify a specific profile in that slice.
- Advance by one slice at a time.
- Follow its local displacement and changing outline.
- Keep enough context visible to return to the last unambiguous slice if needed.
- Record where your inspection began and ended.
The segmentation overlay can help you keep track of FlyWire’s current claim about object identity, but the EM image remains the evidence. A continuous color overlay is not proof of a biologically correct continuation; conversely, a segmentation boundary does not prove the neurite ends there.
For this lesson, do not add or remove segments. Double-clicking can change the selected reconstruction, so use only panning, scrolling, zooming, right-click navigation, and 3D rotation.
Refresh the navigation controls
Read the short control reference before beginning your first trace.
How to Use FlyWire – FlyWire Blog
Read “How to Use FlyWire” from the FlyWire Blog to reinforce which mouse actions navigate the 2D EM stack versus manipulate the 3D view.
In the sections “2D (EM) or 3D Navigation,” “Navigating 3D space,” and “Navigating 2D (EM) space,” read the full control list through the sentence that directs you to the deeper controls guide, immediately before “Finding neurons.” Focus on the navigation controls: ordinary scroll in the 2D pane advances through slices, while Ctrl plus scroll zooms; click-and-drag pans in 2D or rotates in 3D depending on the pane under the cursor.
The controls have different purposes:
| Action | Where the cursor must be | Purpose during tracing |
|---|---|---|
| Click and drag | 2D EM pane | Pan to keep the target profile visible |
| Scroll | 2D EM pane | Move one image section at a time |
| Ctrl + scroll | 2D EM pane | Zoom in to inspect a membrane boundary or out to regain context |
| Right-click | 2D or 3D area of interest | Recenter on a visible point |
| Click and drag | 3D pane | Rotate the mesh for contextual orientation |
A useful operational rule is: scroll first, inspect second, pan third. If you pan before noticing how the profile moved from the previous slice, it is easy to lose the displacement that links the two views.
Begin at a specified location
A specified FlyWire location may arrive in one of two forms:
- a Share link, which is the preferred form when someone wants you to see a particular view state; or
- a full coordinate triple, .
If you receive a Share link, open it rather than copying fragments of a browser URL. It preserves the intended spatial context more reliably. If you receive coordinates, enter them using the coordinate navigation control you configured in the previous lesson, then confirm that FlyWire’s displayed coordinate readout corresponds to the requested area.
A coordinate is an address in a volume, not necessarily the center of the neurite you need to inspect. Once you arrive:
- Check that the grayscale EM image and translucent segmentation overlay are both visible.
- Pan so the target region is comfortably inside the 2D pane, rather than at its edge.
- Zoom to a level where you can see the relevant membrane boundaries and some surrounding tissue.
- Note the displayed coordinate as your anchor location.
- Identify one target profile before moving through the stack.
Do not start scrolling merely because you have reached the requested . First make an explicit mental commitment: “This is the profile I will follow.”
A reliable anchor has both a target feature and local context. The target feature might be the profile’s center, contour, width, or internal texture. Context might include a nearby large neurite, a distinctive organelle-rich region, or the overall arrangement of surrounding profiles. The context is not proof of identity; it is a way to avoid becoming disoriented.
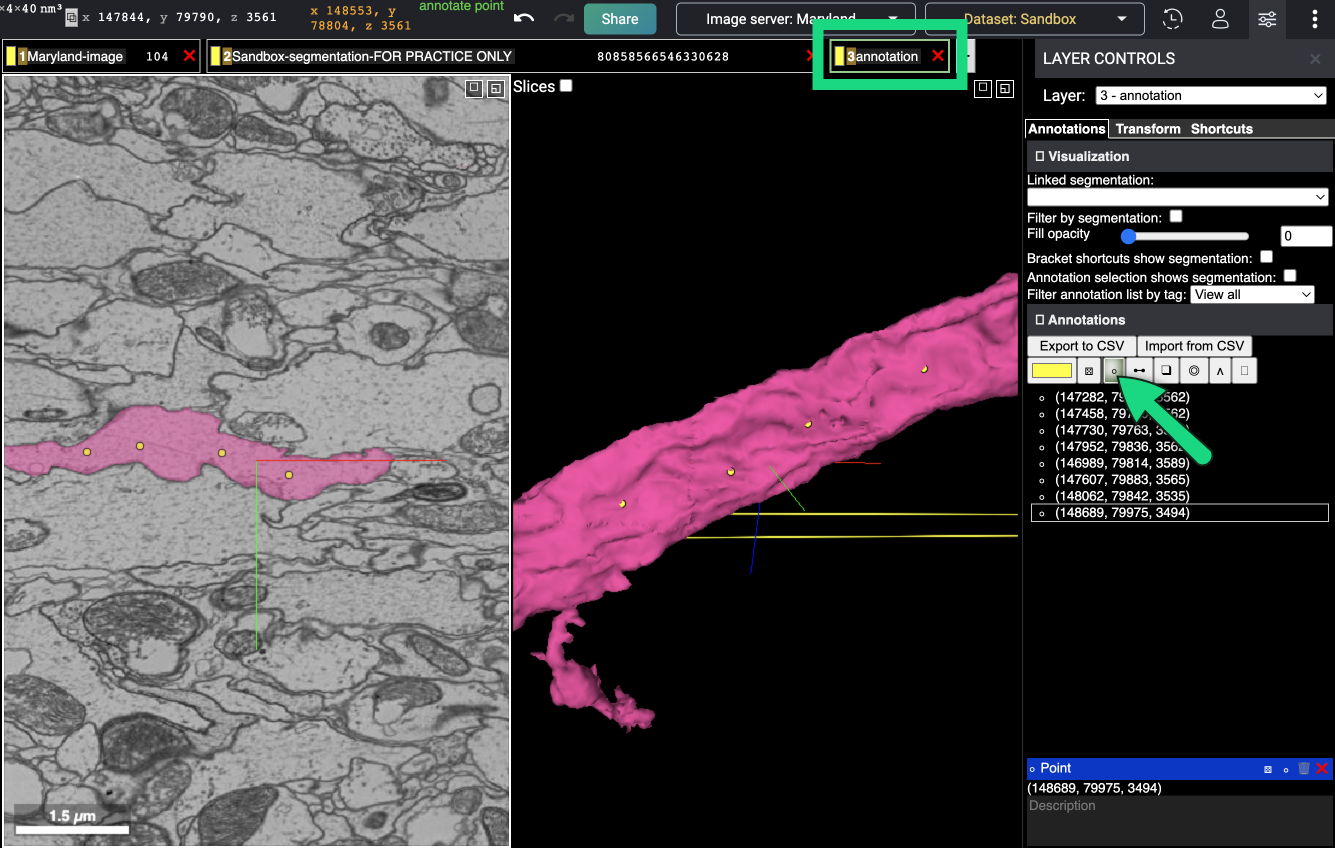
The slice-by-slice tracing protocol
The most dependable method is deliberately slow. Treat adjacent slices as consecutive frames in a spatial sequence: you are tracking a structure through depth, not making a judgment from a single image.
1. Create an anchor observation
At the starting slice, identify the profile you intend to follow. Before scrolling, note three things:
- its approximate position in the 2D pane;
- one or two visible features of its outline or interior;
- its relation to nearby structures.
For example, your note could be: “Small elongated profile near pane center, bounded by a dark membrane, adjacent to a larger circular profile at lower left.”
Avoid relying only on the overlay color. The colored region tells you which voxels the current segmentation groups together. Your task is to see whether the underlying EM evidence can be followed continuously.
2. Advance exactly one slice
With the cursor over the 2D EM pane, use ordinary scroll to move one section forward. Observe before you pan.
Ask only a narrow question:
Where is the most plausible local continuation of the profile I was viewing one slice ago?
At this stage, you are not deciding whether FlyWire has made a false merge or a false split. You are simply maintaining spatial correspondence across a small depth change.
A real continuation commonly shifts only modestly between adjacent slices, although its apparent shape can change considerably. A rounded cross-section may become elongated; a thin process may broaden or narrow; a profile may drift diagonally across the pane.
3. Recenter without erasing the comparison
If the profile moves toward the edge of the pane, pan gently to recenter it. Before doing so, briefly register which direction it moved. That remembered displacement is part of your continuity evidence.
Keep a moderately wide field of view when possible. Extreme zoom can make one membrane easy to inspect but removes the neighboring landmarks needed for orientation. If you lose context, zoom out temporarily, recover the broader region, then zoom back in.
4. Repeat in a single direction
Continue one slice at a time for a small initial run, such as five to ten sections. Use either increasing or decreasing , but record the direction.
A disciplined trace looks like this:
| Slice position | What you inspect | What you record mentally or in notes |
|---|---|---|
| Anchor slice | Target profile and landmarks | Starting coordinate and target description |
| Next slice | Local shift in contour and position | Whether the profile remains easy to follow |
| Subsequent slices | Continued membrane-bounded profile | Changes in orientation, width, or nearby context |
| End slice | Final unambiguous appearance | Ending coordinate and reason for stopping |
Once you reach the endpoint, return to the anchor slice and trace a few sections in the opposite direction. This short two-sided sweep gives you a local segment of the neurite, rather than a one-way impression that might depend on an accidentally favorable slice.
Use each FlyWire view for the right job
During a trace, the views have distinct roles.
2D EM: establish local continuity
The 2D EM pane is where you follow the process from one section to the next. Look at the membrane boundary first, then at the profile’s position and surrounding landmarks.
The profile will not be visually identical on every slice. Continuity means that the changes are spatially plausible across consecutive sections, not that every cross-section has the same shape.
Segmentation overlay: inspect the model’s current claim
Use the translucent overlay to ask:
- Does the segmentation remain assigned to the same displayed object?
- Does its boundary broadly follow the membrane you are tracing?
- Does it disappear, split, or expand in a way worth noting?
Do not “follow the color” blindly. The segmentation is an inference based on the EM volume, and the upcoming lessons will teach you how to evaluate cases where that inference looks suspicious.
3D mesh: regain orientation
The 3D mesh is useful when the 2D trace becomes hard to place within the larger structure. Rotate it to see the rough direction of the selected reconstruction or to confirm that you are examining a small branch rather than a distant region.
Then return to the 2D EM pane for the actual continuity check. A smooth-looking mesh does not settle a local ambiguity between adjacent slices.
A compact hands-on trace
Set aside about 15 minutes for this procedure in FlyWire. Use an exploratory location if you have not yet been assigned a specific proofreading case.
- Open a Share link or navigate to a full coordinate triple.
- Create an anchor observation at the displayed location.
- Trace forward through five adjacent sections using only ordinary scroll in the 2D pane.
- Trace backward through five sections from the anchor.
- Rotate the 3D mesh once to orient yourself, then return to the original 2D anchor.
- Save a Share link for the final view state.
Keep your written record minimal but complete. A simple format is sufficient:
trace: exploratory-002
anchor: x, y, z
direction reviewed: increasing z, then decreasing z
range: [start coordinate] to [end coordinate]
target description: brief profile and landmark description
result: continuous trace / lost trace / uncertain
edits: none
share link: saved
The phrase lost trace is a legitimate result. It means you no longer have enough visual evidence to claim that you are following the same profile. Do not compensate by jumping several slices, guessing from the 3D mesh, or changing the segmentation.
When to stop and reset
Tracing can fail for ordinary reasons: the target may leave the field of view, become very small, pass near many similar profiles, or become difficult to see in a noisy section. A reset is better than forcing a conclusion.
Stop and return to the last confident slice when:
- you cannot locate a plausible profile in the immediately adjacent slice;
- multiple candidates appear and you cannot keep the relationship to the prior slice clear;
- you have panned so far that you no longer know where the previous profile was;
- the segmentation overlay distracts from the membrane evidence;
- the current slice is too zoomed in or too zoomed out to preserve both target and context.
Then use this recovery sequence:
- Return to the last unambiguous slice.
- Zoom out slightly to restore neighboring landmarks.
- Confirm the anchor profile again.
- Advance by one slice only.
- If uncertainty persists, record the location as uncertain and leave the reconstruction unchanged.
This restraint is central to reliable proofreading. An uncertain observation is useful evidence for later review; an unjustified edit introduces a new error into the shared reconstruction.
Takeaways and next step
You can now perform a controlled local trace in FlyWire:
- Navigate to a specified site with a Share link or full coordinate.
- Establish an anchor profile before scrolling.
- Move through the EM volume one section at a time using ordinary scroll in the 2D pane.
- Use membrane evidence and local spatial context to maintain the trace.
- Treat segmentation as a visible model claim, not as the proof of continuity.
- Use the 3D mesh for orientation, not as a substitute for local EM inspection.
- Record start and end coordinates, trace direction, outcome, and any uncertainty.
- Stop and reset rather than guessing or editing when the trace becomes ambiguous.
Next, you will build on this mechanical tracing skill to distinguish a likely continuation from a neighboring neurite—a necessary step before identifying potential reconstruction errors.
Can't find a good explanation? Sign up and we'll make it for you
Sign up