
Hello. This first module builds the measurement habits needed for the slime lab: choosing the right tool, reading its scale correctly, and avoiding small errors before ingredients are mixed. In this lesson, focus on one precise pre-lab answer: to measure 95 mL of water, use a 100 mL graduated cylinder.
Choose a cylinder whose scale includes the target volume
A graduated cylinder is designed to measure liquid volume in milliliters. Its tall, narrow shape and marked scale make it substantially more accurate for this job than a beaker or cup.
The selection rule is straightforward:
The volume you need must fall within the numbered measuring range of the cylinder.
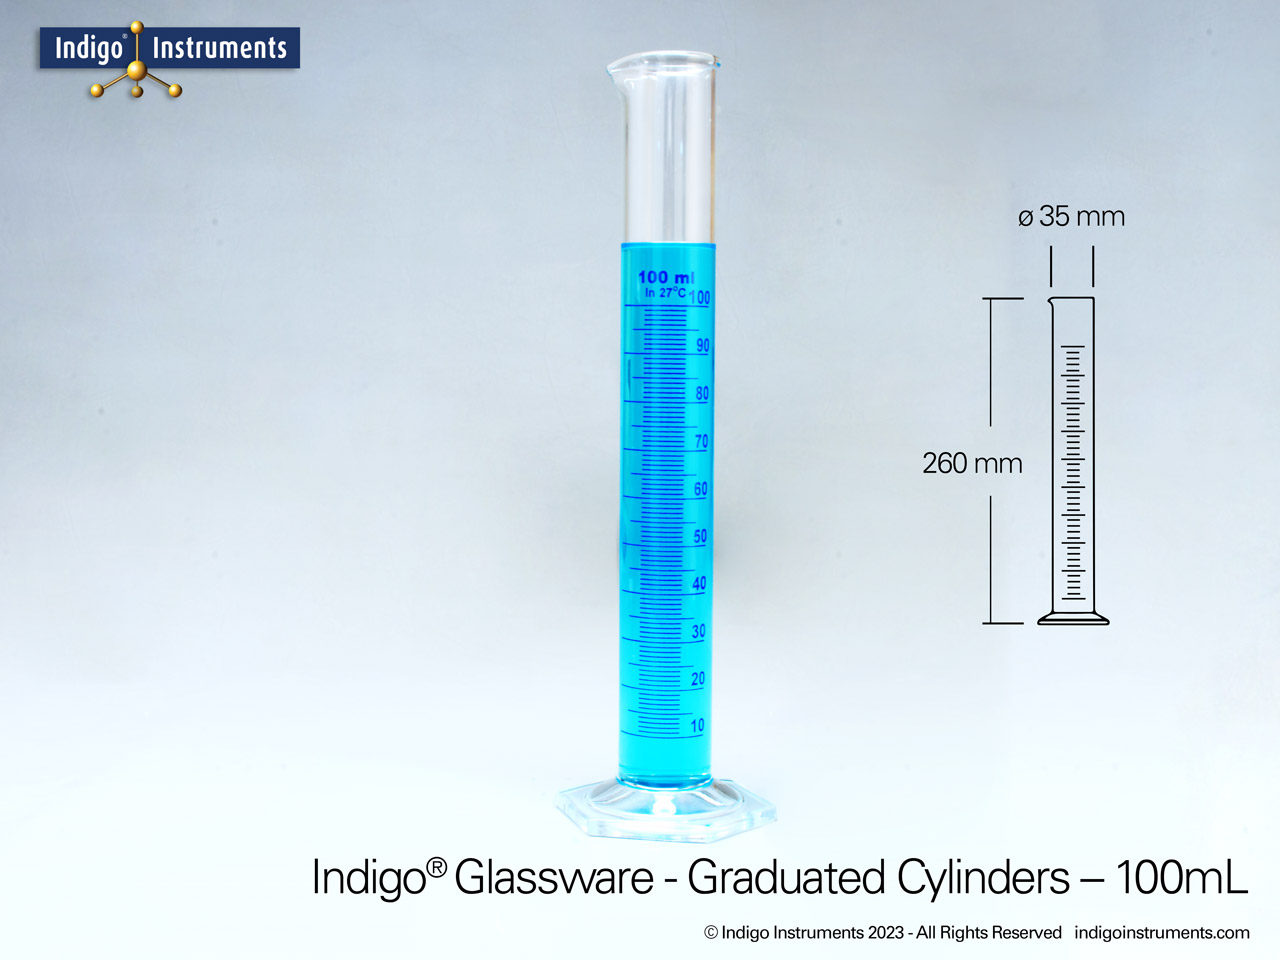
Since is below the maximum marking, a 100 mL graduated cylinder is the correct choice. A smaller cylinder, such as a 10 mL cylinder, cannot hold or measure 95 mL in one measurement. A beaker may hold the water, but its markings are not intended for careful volume measurement.
Read Step 3 of Carolina’s “Graduated Cylinder Tutorial.” It gives the core principle for choosing the correct cylinder size.
In Step 3, “Select the appropriate-size graduated cylinder,” read the short explanation and inspect both illustrations: the cylinder that is too small and the one that is too large. Focus on the selection rule. Apply it directly: 95 mL lies in the range of a 100 mL cylinder.
Why not use a much larger container?
For the pre-lab question, the intended answer is simply a 100 mL graduated cylinder. More generally, scientists tend to use the smallest appropriately sized measuring device that can hold the required volume. A cylinder that is far too large can make small differences harder to see.
Here, a 100 mL cylinder is appropriate because it:
- accommodates the entire 95 mL portion at once;
- has a scale extending through the target value;
- lets you measure close to the requested amount rather than estimating in an unmarked container.
Measure to 95 mL, not merely “close to full”
Selecting the cylinder is only the first part. To measure accurately, place the graduated cylinder upright on a flat, level surface and pour water in gradually. The water surface will curve slightly. That curve is called the meniscus.
For most clear, water-based liquids, read the bottom of the meniscus. Your eyes must be level with that lowest point. Looking down from above or up from below introduces parallax: the apparent liquid level shifts because your viewing angle is wrong.

On a typical 100 mL graduated cylinder, find the labeled 90 mL and 100 mL marks. The 95 mL level is halfway between them. Use the smaller tick marks to guide the pour, then slow down as you approach 95 mL. If your lab provides a dropper, it can help you make tiny adjustments rather than overshooting.
Continue with Steps 4 and 5 of Carolina’s tutorial. These steps explain how to interpret tick marks and read a liquid level without a viewing-angle error.
In Step 4, “Determine the value of the graduations,” follow the example that finds the amount represented by each space between labeled marks. Then read Step 5, “Read the graduated cylinder,” from the setup and reading steps. Keep three actions in mind: level surface, eye-level view, and reading the bottom of the meniscus.
A practical method for your water measurement
Use this sequence at the lab bench:
- Obtain a clean 100 mL graduated cylinder.
- Set it upright on the bench rather than holding it in the air.
- Pour water until the level approaches 95 mL.
- Lower your eyes until they are even with the water surface.
- Read the bottom of the meniscus and make small adjustments until it aligns with the 95 mL mark.
- Transfer the measured water only when your class procedure tells you to do so.
The American Chemical Society’s water-measurement procedure illustrates the same accuracy habit: carefully check the meniscus at the desired mark and use a dropper for small additions or removals.
Lesson 3.3: Density of Water - American Chemical Society
Read the measuring portion of the American Chemical Society procedure. Although its example targets 100 mL, its technique applies directly when your target is 95 mL.
Under “Procedure,” read item 2, beginning the accuracy instruction. Substitute 95 mL for the procedure’s 100 mL target and notice that accuracy comes from checking the meniscus and adjusting only in small amounts.
Pre-lab answer and common mix-ups
Your quiz-ready answer is:
Use a 100 mL graduated cylinder to measure 95 mL of water.
Do not confuse this with tools used for other tasks:
| Task | Appropriate tool |
|---|---|
| Measure 95 mL of water | 100 mL graduated cylinder |
| Hold or mix a liquid | Beaker |
| Measure mass in grams | Balance or scale |
| Deliver small amounts as drops | Dropper or pipette, as directed |
A beaker can be useful later in the slime procedure, but it is not the preferred instrument when the instruction specifies a measured volume such as 95 mL.
You now have the first essential measurement decision: 95 mL of water belongs in a 100 mL graduated cylinder, read at the bottom of the meniscus at eye level. The next lesson applies the same selection principle to a much smaller quantity: measuring 5 mL of borax solution with a 10 mL graduated cylinder.
Can't find a good explanation? Sign up and we'll make it for you
Sign up