
Welcome back. In the last lesson, you converted your rehabilitation guidance into practical selection, modification, and stopping rules. You now have a safe boundary for practice: no impact, no pivoting or twisting through the knee, and use support whenever it helps you stay controlled.
This lesson puts that framework into one foundational drill: a supported side-to-side weight shift with both feet planted. It is deliberately modest. The purpose is not to prove you can balance without help; it is to learn to notice and control how your weight moves from one leg to the other. That is a building block for walking, stepping, recovering balance, and eventually the weight transfers involved in judo.
Plan for about 20–25 minutes today, including a 10–12 minute practical session. Your physiotherapist’s instructions always take priority over the general version below.
The drill: shifting weight without changing the task
A weight shift is a transfer of body mass from one leg toward the other while your feet remain in contact with the floor. During ordinary walking, you cannot lift one foot reliably until your body weight has moved onto the other leg. Practising this transfer slowly gives your nervous system clearer, safer feedback than trying to “balance harder.”
The relevant version for this lesson is:
- feet stay planted;
- your hips travel gradually side to side;
- you use a stable support as much as needed;
- there is no pivot, twist, hop, or sudden correction.
This is not a single-leg balance test. Although supported single-leg standing is among your currently permitted activities, lifting a foot is an added demand. For now, keep the task clean and simple: transfer weight while both feet remain down.
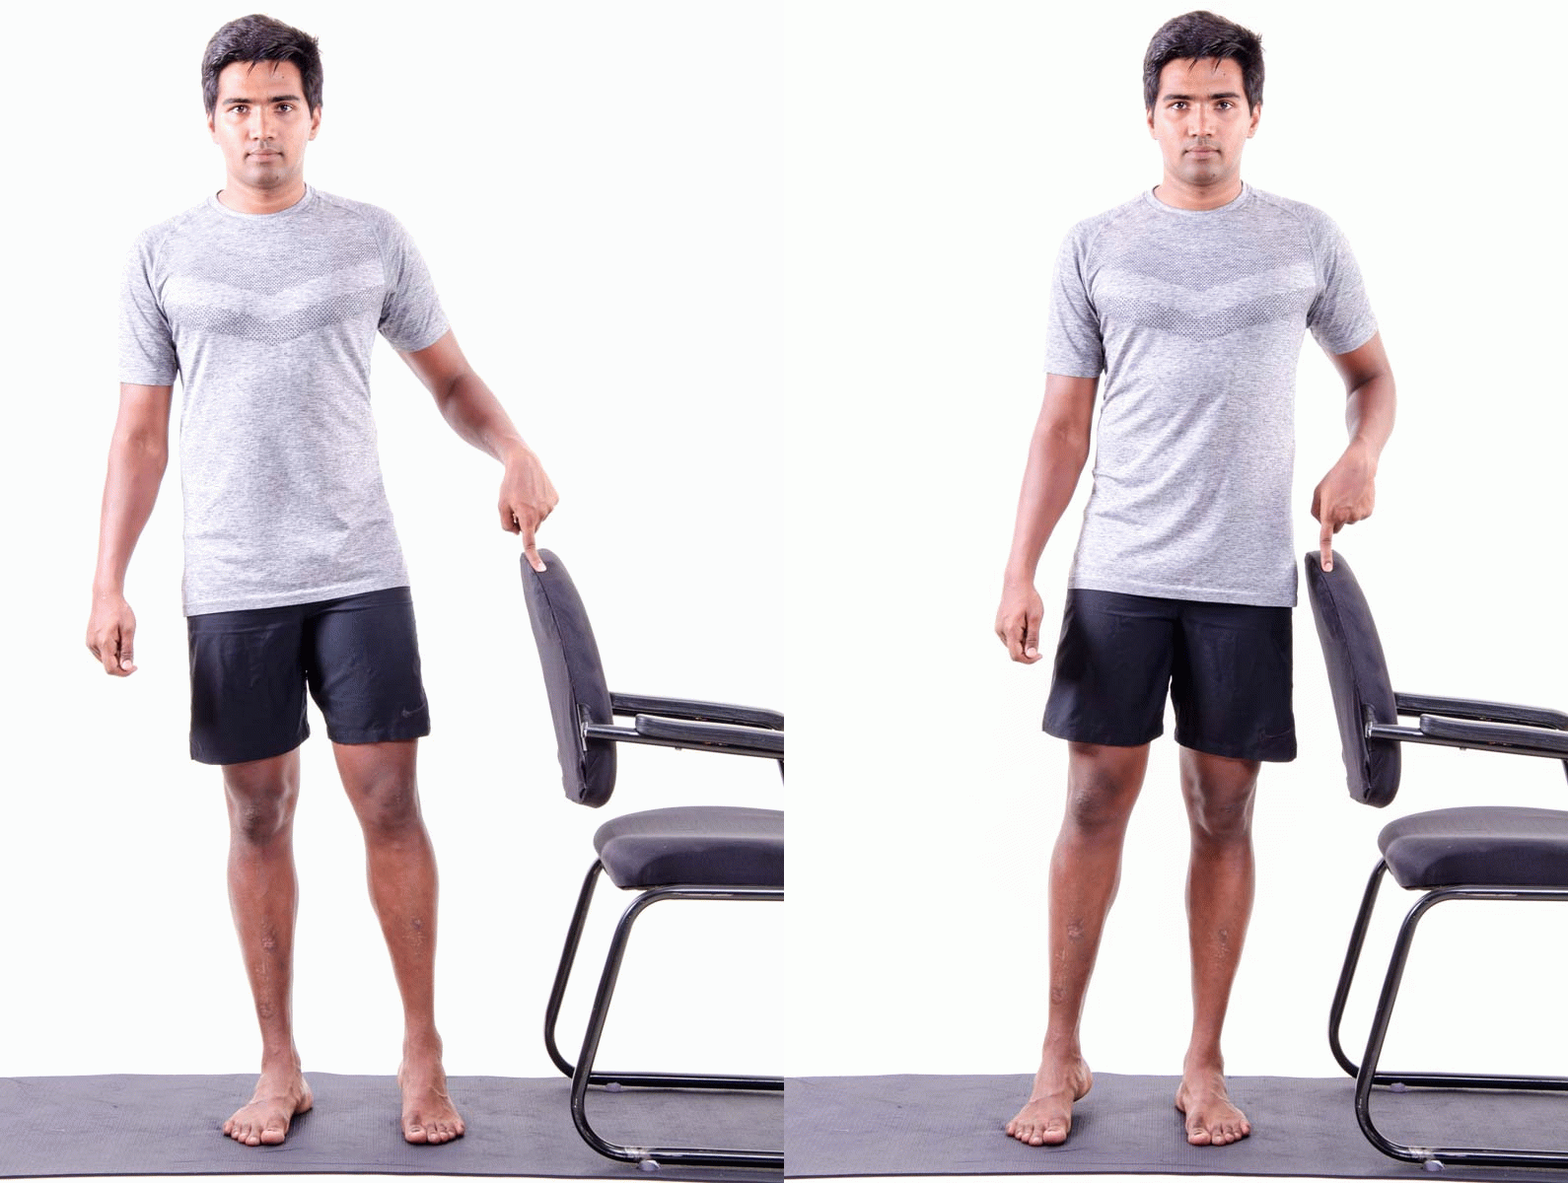
The NHS Tayside guidance gives both the movement itself and the key training principle: quality matters more than accumulating repetitions.
Read this NHS Tayside physiotherapy guidance before practising. It reinforces safe use of support, slow and deliberate movement, and the exact feet-planted side-to-side weight transfer used in this lesson.
In the section “Maintain your safety,” read the safety guidance. Then read the “General exercise advice” and the coordination advice beginning the quality guidance. Finally, locate the “Static balance exercises” list and read the weight-shift instruction. Notice that the feet remain planted: this prevents the drill from becoming an unsupported balance challenge.
What you are learning to sense
When you shift to the right, your right foot gradually takes more of your weight. You may notice pressure changing under the sole of that foot, work in the muscles around the ankle and hip, and a slight reduction of pressure in the left foot. The same happens in reverse as you transfer left.
This is useful proprioceptive information: it helps you estimate where your body is relative to the floor without having to calculate it consciously. At first, visual information and hand support give extra certainty. With practice, the movement can feel less like a series of corrections and more like an intentional, predictable transfer.
A good repetition is not necessarily a large repetition. It is one in which you can tell:
- Where your weight is going
- How it is getting there
- Whether your knee and feet remain within your restrictions
- Whether you can return to the middle under control
Think of this as a movement-quality project, not a fitness test. The acceptance criteria matter more than the volume of work.
Your five-point movement-quality checklist
Use this checklist during every practice set. Do not try to judge all five items continuously; choose one or two as your main focus for a set, then review the rest afterward.
| Check | What “good enough” looks like | If it is not happening |
|---|---|---|
| 1. Stable setup | You are beside a fixed support, the floor is clear, and your eyes are open. | Add support, clear the area, or postpone standing practice. |
| 2. Feet stay planted | Both feet point in their starting direction and remain in contact with the floor. | Make the shift smaller; stop that version if you cannot avoid twisting. |
| 3. Weight really transfers | Your pelvis and trunk move gently toward the loaded leg; you can feel that foot taking clearly more weight. | Slow down and make the movement slightly clearer, without forcing a large range. |
| 4. Movement stays quiet | Shoulders remain relatively relaxed, breathing continues, and you do not need a sudden grab or rush. | Use more hand contact, pause, and reduce range or repetitions. |
| 5. Symptoms remain acceptable | The movement remains within the limits agreed with your physiotherapist, without new pain, giving way, or escalating symptoms. | Stop, follow your pre-agreed modify/stop plan, and seek clinical advice when appropriate. |
Two details deserve emphasis.
First, “weight really transfers” does not mean forcing your hip as far sideways as possible. It means avoiding a token sway in which your upper body moves but pressure never meaningfully changes between the feet. Move only as far as you can remain comfortable, aligned, and controlled.
Second, a hand on the support is not a mistake. Support allows you to practise the intended skill without turning every small wobble into an emergency. For this lesson, do not make “using less support” a goal. That can be a later, one-variable progression when this version is consistently calm and well tolerated.
Practise: supported side-to-side weight shifts
Before starting, confirm that this is the clinician-approved supported weight shift you are currently permitted to do. If your physiotherapist has prescribed a particular stance width, range, brace, footwear, hand-support level, or repetition count, use those specifications instead.
Set up
Choose a kitchen counter, fixed rail, or heavy surface that cannot move. Avoid a wheeled chair or light furniture. Stand close enough that you can rest both hands comfortably on the support without reaching.
- Place your feet about hip- to shoulder-width apart, in a comfortable parallel stance.
- Keep both feet pointing in the same general direction. Do not turn one foot outward to make the shift easier.
- Rest both hands on the support. At this stage, a firm hold is acceptable if you need it.
- Let your shoulders soften and take one unforced breath.
- Keep your knees in a comfortable, untwisted position. There is no need to bend deeply.
Rehearse the movement
Begin with a few small, exploratory shifts rather than a formal set.
- Slowly allow your hips to travel toward the right leg.
- Notice the right foot becoming heavier against the floor.
- Pause briefly without lifting the left foot.
- Return to an even, centred stance.
- Slowly shift toward the left leg, notice that foot becoming heavier, and return to centre.
Keep the pace slow enough that you could stop at any point. A useful internal cue is: “Press, pause, return.” It is not a rhythm you need to perform perfectly; it simply prevents rushing.
If you notice your knee rotating, your foot rolling, or your body grabbing at the counter, reduce the shift immediately. The correct version may initially be so small that only you can detect the change in foot pressure. That is still real practice.
A 10–12 minute practice format
Use the following as a first-session structure. The numbers are deliberately conservative; your physiotherapy programme may call for more or less.
1. Arrive and check: about 1 minute
Stand in your starting position with both hands on support. Ask:
- Is the area clear and the support secure?
- Do I feel steady enough to begin?
- Are today’s symptoms within my usual, clinician-approved limits?
- Can I keep both feet planted without twisting?
If the answer to any question is no, choose an easier approved activity or end the standing practice.
2. Exploratory shifts: about 2 minutes
Perform a few very small right and left shifts. The purpose is to find a comfortable range and to notice the changing pressure under each foot.
Use your eyes. You might initially look down briefly to confirm your feet are staying in place, then look ahead at a fixed point while you practise. Do not close your eyes for this task.
3. Controlled practice: about 4–5 minutes
Perform two short sets of approximately three to five complete right-and-left cycles, resting between sets.
For the first set, focus on feet planted. For the second, focus on quiet movement: steady breathing, relaxed shoulders, and no rush.
Stop the set before fatigue changes your movement. You are training a pattern, and the nervous system benefits more from a handful of accurate repetitions than from pushing until the pattern becomes tense or sloppy.
4. Review and record: about 2 minutes
After the final set, stand quietly with both hands on the support. In a note or on your practice card, record only three things:
- Support used: for example, “two hands lightly on counter.”
- Best quality cue: for example, “I could feel pressure move into each foot.”
- One adjustment for next time: for example, “smaller shift left,” or “pause longer at centre.”
Avoid evaluative notes such as “bad balance” or “I am uncoordinated.” Replace them with observations that can guide the next practice.
5. Recovery check: about 1–2 minutes
Walk normally if that is currently permitted and comfortable, or simply sit and notice how the knee and the rest of your body feel. A session that leaves you more guarded, less coordinated, or symptomatically worse is information: next time the dose, range, or support demand should be adjusted.
Common patterns and useful corrections
It is normal for the first attempts to reveal habits you have not noticed before. Treat them as data rather than failures.
“I barely move to either side.”
You may be protecting yourself by keeping most of your weight centred. Keep both hands on the support and let the movement be a little more distinct, but only to the point that you can still breathe normally and keep the feet planted. Imagine your pelvis moving over toward the leg, rather than your shoulders leaning sideways.
“I lean my upper body but cannot feel the other foot get heavier.”
Slow down. A useful check is to pause near the right side and ask, “Could I now make my left foot lighter without actually lifting it?” If the answer is clearly no, you may not have transferred much weight yet. Make a slightly clearer shift while retaining support.
“I grip the counter and hold my breath.”
This is an amber signal: the task is currently asking more than you can organise comfortably. Pause. Reset your shoulders and breathing. Then make the movement smaller or take fewer repetitions. Grip is permitted for safety, but a growing, urgent grip is a sign to simplify.
“My knee or foot starts to turn.”
Do not try to correct this by muscling through. Return to centre, make the range smaller, and check foot position. If you still cannot perform the shift without breaking the no-pivot rule, stop the drill and discuss the issue with your physiotherapist.
“One side feels much less certain.”
That is a valuable baseline observation. Practise both directions, but do not add extra repetitions automatically to the less certain side unless that is part of your clinician’s plan. Your immediate aim is symmetrical attention and controlled movement, not forcing equal performance in a single session.
What counts as progress?
For the next few practices, progress may be subtle. It can look like:
- less need to rush back to the middle;
- clearer awareness of pressure under each foot;
- quieter shoulders and easier breathing;
- a smoother return to centre;
- fewer unexpected movements of the feet;
- the same small dose feeling more predictable.
It does not need to look like standing without support, shifting farther, or performing many repetitions. Those are possible future variables, but today the gain is reliable information and control within a protected environment.
Use the one-variable rule from the previous lesson. Once this version is repeatedly controlled and well tolerated, you and your physiotherapist might decide to adjust one element: perhaps a slightly larger comfortable range, a little less hand pressure, or a few more quality cycles. Do not change several elements together.
Key takeaways
- A supported weight shift trains deliberate transfer of weight from one planted foot to the other; it is a useful foundation for balance and walking.
- For this version, both feet stay on the floor. Do not add foot lifting, pivots, or twisting through the knee.
- A fixed counter or rail and enough hand support make the practice safer and more informative.
- Use the five checks: stable setup, planted feet, genuine weight transfer, quiet control, and acceptable symptoms.
- Begin with brief sets and stop before fatigue or tension degrades movement quality.
- Record factual observations, not judgments. They will become useful baseline data.
Next, you will use similarly safe, supported tasks to record a repeatable balance and proprioception baseline. The aim will be to measure your own starting point clearly, so later progress can be recognised without comparing yourself with dancers, gymnasts, or anyone else.
Can't find a good explanation? Sign up and we'll make it for you
Sign up