
Hello. In the previous lesson, you wrote rules of engagement that make isolation and recovery explicit preconditions before any active testing. This lesson implements those safeguards: you will build a two-VM network that cannot reach your LAN or the Internet, create a clean recovery point, and prove that both controls work.
The default design here uses VirtualBox Internal Networking: a tester VM and a target VM can communicate with one another, but neither has a path to the host network or external systems. That is a deliberately conservative baseline for future vulnerability and web-security labs.
1. Isolation is an enforceable scope boundary
An ROE states, “only these systems are in scope.” Network isolation helps enforce that statement technically. If a scanner is misconfigured, an isolated topology limits where its packets can go.
The key distinction is not whether the guest has an IP address. It is what virtual network the adapter is attached to and whether any other adapter creates an unintended route.
Read the relevant parts of Oracle VirtualBox's Virtual Networking manual. It provides the connectivity model behind the configuration you will make, especially the difference between Internal Networking and modes that allow external access.
In Section 6.2, "Introduction to Networking Modes," read the mode overview and comparison table. Focus on the columns for VM-to-host, VM-to-VM, and VM-to-network connectivity. Then read Section 6.6, "Internal Networking," beginning with the explanation and configuration steps. Notice that an internal network exists only among VMs on the same host that use the same internal-network name.
Here is the practical decision framework:
| VirtualBox mode | Can tester reach target? | Can VM reach host/LAN/Internet? | Use for this lab? |
|---|---|---|---|
| Internal Network | Yes, if both use the same network name | No | Yes — default |
| Host-Only | Yes | Host only; no external network by default | Alternative when host-to-VM access is genuinely needed |
| NAT / NAT Network | Sometimes | Yes, outbound | No during active security testing |
| Bridged | Yes | Yes, directly on the physical LAN | Never for this intentionally vulnerable lab |
| Not attached | No | No | Useful only to disable connectivity entirely |
A host-only topology can still be externally isolated when configured correctly, but the host becomes another participant in the lab network. That expands the trust boundary: a deliberately vulnerable target can communicate with the host's virtual adapter.

For the first security lab, use Internal Network rather than host-only networking. You can use the VirtualBox console to administer each VM without making your host a network-accessible peer.
Important: VirtualBox Internal Networking is strong practical containment for a learning lab, not a high-assurance physical air gap. The host still stores the VM files and controls the hypervisor. Do not put sensitive personal, employer, or production data into vulnerable lab VMs.
2. Define the lab topology before clicking through settings
Assume the lab has two Linux VMs:
| Role | Example VM name | Static address |
|---|---|---|
| Tester | security-tester-01 | 192.168.56.10/24 |
| Target | vuln-target-01 | 192.168.56.20/24 |
Use the names and addresses supplied with your VM images if they differ. The essential properties are:
- both VMs are connected to the same internal network;
- both are in the same private subnet;
- neither VM has a default gateway;
- neither VM has a DNS server configured;
- no second adapter provides NAT, bridged, host-only, or cloud connectivity.
The subnet 192.168.56.0/24 is only an addressing convention. It does not create isolation on its own. The VirtualBox attachment mode and the absence of additional adapters are what enforce isolation.
Before proceeding:
- Complete any necessary VM downloads, package updates, or setup while the VMs are still disconnected from the lab.
- Shut down both VMs normally. Do not merely save their states.
- Open the ROE from the previous lesson and record your actual VM names, subnet, and date.
3. Configure the VirtualBox Internal Network
In VirtualBox Manager, configure each VM while it is powered off.
Configure the tester VM
- Select
security-tester-01. - Open Settings → Network.
- Under Adapter 1:
-
select Enable Network Adapter;
-
set Attached to to Internal Network;
-
set Name to:
grasp-intnet -
leave Cable Connected enabled.
-
- Open Adapter 2, Adapter 3, and Adapter 4. Ensure each is disabled.
Configure the target VM
Repeat the same process for vuln-target-01:
- Adapter 1: Internal Network
- Name:
grasp-intnet - Adapters 2–4: disabled
The internal-network name is effectively the label of the virtual switch. A typo creates a separate isolated network, so grasp-intnet must match exactly on both VMs.
At this point, inspect both VM settings one more time. In particular, verify that you did not leave a default NAT adapter enabled. VirtualBox normally creates new VMs with NAT enabled, and one overlooked adapter is enough to defeat the lab’s isolation goal.
4. Assign addresses without a route beyond the lab
Boot both VMs. Inside each one, identify its network interface:
ip -br link
ip -br addr
ip route
The interface is often named something like enp0s3, but use the actual name reported by your VM.
If the VM uses NetworkManager, configure a static profile with nmcli. On the tester VM, replace enp0s3 if needed:
IFACE=enp0s3
PROFILE=$(nmcli -g GENERAL.CONNECTION device show "$IFACE")

sudo nmcli connection modify "$PROFILE" \
  ipv4.method manual \
  ipv4.addresses 192.168.56.10/24 \
  ipv4.gateway "" \
  ipv4.dns "" \
  ipv4.never-default yes \
  ipv6.method disabled \
  connection.autoconnect yes

sudo nmcli connection up "$PROFILE"
On the target VM, use the same commands but assign the target address:
IFACE=enp0s3
PROFILE=$(nmcli -g GENERAL.CONNECTION device show "$IFACE")

sudo nmcli connection modify "$PROFILE" \
  ipv4.method manual \
  ipv4.addresses 192.168.56.20/24 \
  ipv4.gateway "" \
  ipv4.dns "" \
  ipv4.never-default yes \
  ipv6.method disabled \
  connection.autoconnect yes

sudo nmcli connection up "$PROFILE"
If your provided VM image uses another network-management system, use its normal configuration method rather than layering a second manager on top. The resulting state—not the specific tool—is what matters:
ip -br addr
ip route
On each VM, you should see an address in 192.168.56.0/24. The route table should contain a connected route for that subnet, such as:
192.168.56.0/24 dev enp0s3 proto kernel scope link src 192.168.56.10
It should not contain a line beginning with default via.
Why avoid a gateway and DNS server?
- A default gateway is the route a machine uses when the destination is not on its local subnet. Without one, the VM has no configured next hop to other networks.
- A DNS server is not itself Internet access, but removing it prevents accidental name resolution and reinforces the rule that this network contains only the two lab systems.
- The VirtualBox Internal Network attachment prevents external connectivity at the virtualization layer; the no-gateway design adds a guest-level safeguard.
5. Verify isolation with positive and negative evidence
A reliable verification does not merely observe that “the Internet seems unavailable.” It checks the intended path and the prohibited path separately.
Positive check: the tester can reach the target
From the tester VM:
ping -c 3 192.168.56.20
From the target VM:
ping -c 3 192.168.56.10
Successful replies demonstrate that both VMs share the same internal virtual network.
Negative check: there is no route outside the lab
On each VM, inspect routes:
ip route
Then ask the operating system how it would route traffic to a public address:
ip route get 1.1.1.1
This command does not send a network packet. It queries the local routing table. In a correctly isolated configuration with no default route, it should report that the network or destination is unreachable.
Do not treat a failed ping alone as proof of safety: a ping can fail because a remote host blocks ICMP, DNS is unavailable, or a firewall intervenes. The stronger evidence is the combination of:
- both VMs communicate on the authorized subnet;
- both VMs have no default route;
- both VMs have only the internal VirtualBox adapter enabled;
- no VirtualBox adapter is configured as NAT, bridged, host-only, or cloud networking.
Record the following in your lab log:
- VM names;
- Internal Network name;
- assigned addresses;
- output of
ip route; - results of the two local pings;
- result of
ip route get 1.1.1.1; - a screenshot of each VM’s VirtualBox Network settings.
This is useful portfolio evidence because it shows you validated the control rather than assuming a configuration worked.
6. Make the baseline recoverable with snapshots
Isolation limits where a test can go. A snapshot limits how long an unwanted guest-state change persists.
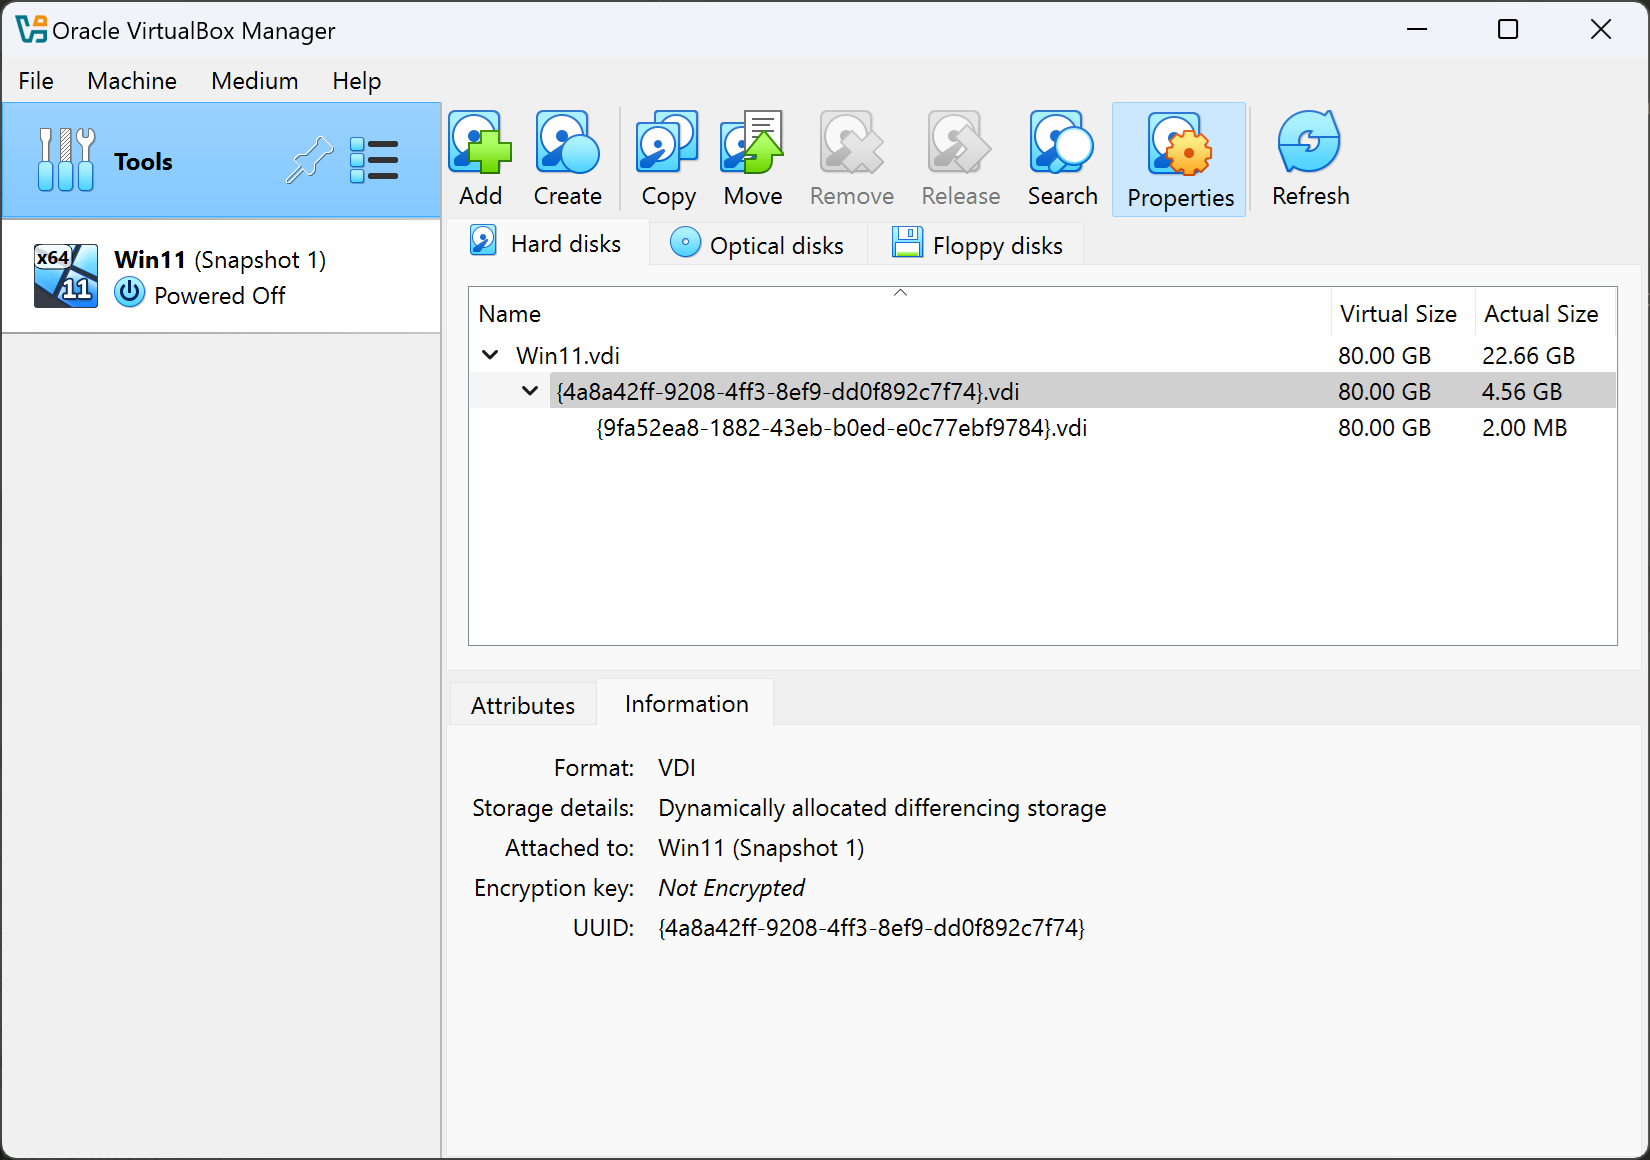
A snapshot is a preserved point in a VM’s history. After you take it, VirtualBox tracks subsequent disk changes in a separate differencing image. Restoring the snapshot discards those later changes and returns the VM to the preserved state.
VirtualBox: How to Use Snapshots
Watch the relevant portions of VirtualBox: How to Use Snapshots by Corey Schafer. The demonstration shows the Manager workflow for taking a meaningful baseline snapshot and then restoring it after controlled changes.
Watch baseline creation to see the initial snapshot workflow and the value of descriptive names. Then watch restoration behavior for the restore process and the decision to preserve or discard the current state. Focus on the fact that restoring an earlier snapshot deliberately removes later changes unless you first choose to preserve them.
Read Oracle VirtualBox's snapshot documentation to understand both the operational consequence of restoring and the disk mechanism that makes a lab baseline recoverable.
In "Taking, Restoring, and Deleting Snapshots," read the snapshot operations. Pay particular attention to the warning that restoring a snapshot reverts virtual-disk changes and can discard newly created files. Then read "Snapshot Contents," from what a snapshot preserves. Focus on VM settings, normal virtual disks, and why the differencing image grows as you continue using the VM.
Create the clean baseline
After confirming that both VMs are isolated and can reach each other:
-
Shut down both VMs normally.
-
In VirtualBox Manager, select the target VM.
-
Open the Snapshots view.
-
Select Current State, then click Take.
-
Use a descriptive name, for example:
baseline-isolated-2025-03-08 -
Add a description such as:
Target powered off. Adapter 1 attached only to Internal Network grasp-intnet. Static address 192.168.56.20/24. No default route or DNS. Verified local connectivity to tester at 192.168.56.10. -
Repeat for the tester VM, changing the address and role in the description.
Taking snapshots while powered off is a good default for this course. A powered-off snapshot gives you a clean, reproducible disk and configuration baseline without preserving transient processes, open terminals, network connections, or guest memory.
Snapshots are not substitutes for independent backups. They depend on the VM’s base virtual disk and consume host storage as the differencing disk grows. Keep an eye on available disk space, especially after malware-analysis or large scanner labs.
7. Prove that restoration works
A recovery control is not verified until you restore and observe the expected result. Use a harmless, unmistakable change on the target VM.
-
Boot
vuln-target-01. -
Create a marker file:
date -Is | tee ~/grasp-restore-check.txt -
Confirm it exists:
cat ~/grasp-restore-check.txt -
Shut down the target VM normally.
-
In VirtualBox Manager, open the target’s Snapshots view.
-
Select
baseline-isolated-2025-03-08and click Restore. -
If VirtualBox offers to create a snapshot of the current changed state, decline that option for this test: the purpose is to discard the marker-file change.
-
Boot the target VM again.
-
Verify that the marker file has disappeared:
test ! -e ~/grasp-restore-check.txt && echo "PASS: marker removed by snapshot restore" -
Re-run the network checks:
ip route
ping -c 3 192.168.56.10
ip route get 1.1.1.1
The successful restoration test proves three things:
- later guest-disk changes were discarded;
- the VM returned to the intended baseline;
- the baseline’s network configuration remains intact.
Leave the target VM at the restored baseline when you finish. This means the next lab starts from a known clean state rather than inheriting changes from an experiment.
Lab completion record
Your evidence package for this lesson should contain:
- the completed ROE with actual VM names and addresses;
- screenshots showing both VMs attached only to
grasp-intnet; - route-table output from both VMs showing no default route;
- successful local ping results;
ip route get 1.1.1.1showing no route outside the lab;- snapshot names and descriptions for both VMs;
- evidence that the post-snapshot marker file existed, then disappeared after restoration.
Avoid enabling shared folders, clipboard sharing, NAT, or a bridged adapter merely for convenience on the vulnerable target. Each added integration feature creates another path across a trust boundary.
Key takeaways
A safe VM lab needs both containment and recovery.
- Internal Networking is the preferred VirtualBox mode for this course’s tester-to-target lab because only VMs using the same internal-network name can communicate.
- Disable every adapter except the intended internal adapter; one NAT or bridged adapter defeats the isolation goal.
- Static private addresses without a default gateway or DNS provide useful defense in depth.
- Verify isolation with positive evidence of approved VM-to-VM connectivity and negative evidence that no default route exists.
- A VirtualBox snapshot preserves VM settings and normal virtual-disk state; restoring it discards later disk changes.
- Test restoration deliberately with a harmless marker file, then leave the environment at the clean baseline.
This completes the foundation module’s safe-lab setup. Next, the course begins cryptography by distinguishing encoding, hashing, encryption, and digital signing according to the security problem each is meant to solve.
Can't find a good explanation? Sign up and we'll make it for you
Sign up