
Hello! Welcome to the first lesson in our "Advanced Eloquent ORM" module.
In the previous module, we successfully built and seeded our database. We now have tables full of realistic test data for our Product, Category, User, and Order models. This data is stored in its raw format, exactly as we defined it in our migrations—prices as numbers, names as strings, and flags as integers.
This lesson is about making our models smarter. We'll learn how to transform this raw data automatically as it enters or leaves our application. Our goal is to apply accessors, mutators, and attribute casting to transform model data. By the end of this lesson, you'll be able to:
- Format data for display without cluttering your views or controllers.
- Modify data before it's saved to the database to ensure consistency.
- Automatically convert data between database-friendly and application-friendly types.
- Encapsulate this transformation logic directly within your Eloquent models, following the principle of "fat models, thin controllers."
Let's begin by understanding these three powerful concepts.
1. The Trifecta of Attribute Transformation
At its core, Eloquent provides three primary mechanisms for manipulating attribute data: Accessors, Mutators, and Casting.
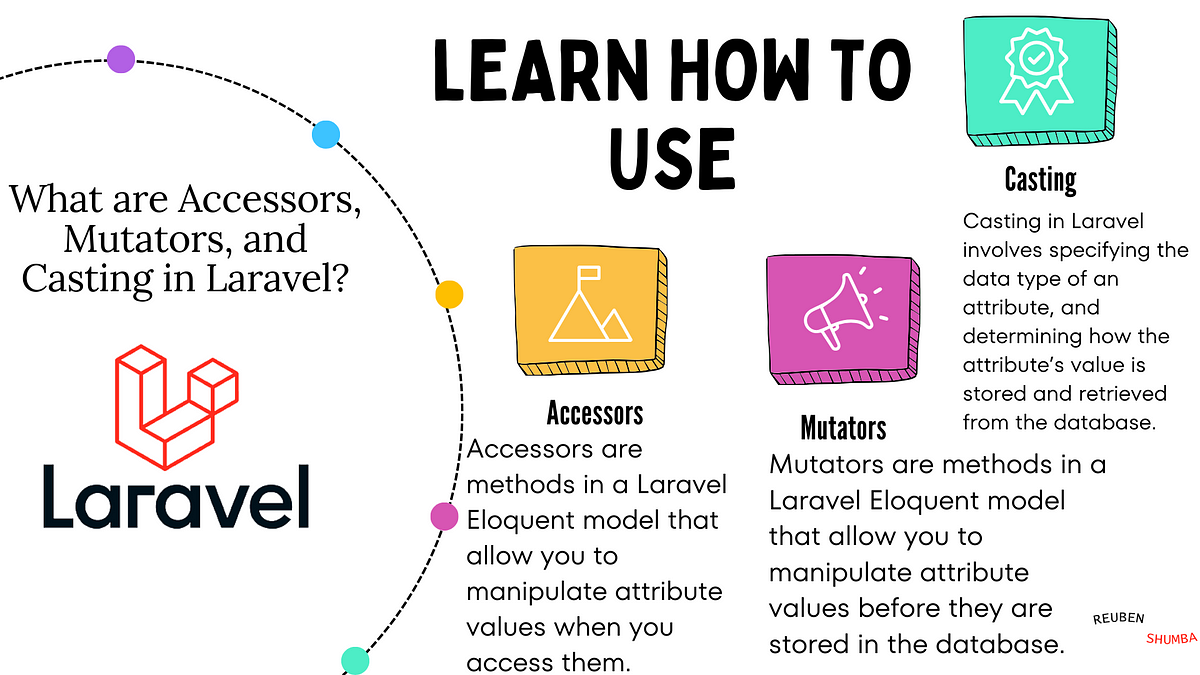
- Accessors transform an attribute's value when you retrieve it from a model. Think of them as "getters." For example, retrieving a
priceof1999from the database but having your model present it as$19.99. - Mutators transform an attribute's value before it's saved to the database. Think of them as "setters." For example, a user enters "cool new product" for a name, and the mutator automatically saves it as "Cool New Product".
- Attribute Casting is a more declarative, and often simpler, alternative for converting attributes to common data types. For example, automatically converting a
1or0from the database into atrueorfalseboolean in your application.
Let's explore how to implement each of these.
2. Accessors and Mutators
There are two syntaxes for defining accessors and mutators. We'll look at the "classic" way first, as you may see it in older projects, and then dive into the modern, recommended approach.
The "Classic" Syntax
The traditional way involves defining specific methods in your model with get...Attribute and set...Attribute naming conventions.
Laravel Basics - Accessors, Mutators and Casting
This video from Laratips provides a clear, practical demonstration of the classic syntax. It shows how to build an accessor to format a product title and a mutator to convert a price into cents for storage.
Watch the sections on accessors (03:00 - 07:02) and mutators (07:02 - 11:14). Pay close attention to the method naming convention: getTitleAttribute and setPriceAttribute.
As you saw, the logic is straightforward, but it requires separate methods for getting and setting, which can lead to duplicated logic if the transformations are related (like converting currency).
The Modern, Unified Syntax
Modern Laravel versions (8+) introduced a cleaner, more powerful way to define accessors and mutators using a single method that returns an Attribute object. This is the recommended approach.
This new syntax consolidates the get and set logic for a single attribute into one place, making your models easier to read and maintain.
The New Way to Define Eloquent Accessors and Mutators
This Laracasts video is an excellent guide to the modern syntax. It clearly explains how to refactor from the old style to the new, unified Attribute class.
Watch the entire video (00:28 - 07:54). It's short and packed with information. Focus on how a single method can now define both a get and a set closure, and how to use the Attribute::get() and Attribute::set() helpers when you only need one or the other.
For further detail and code examples, the official Laravel documentation is the best resource.
Eloquent: Mutators & Casting - Defining Accessors and Mutators
Now, let's solidify your understanding by reviewing the official documentation. This will reinforce the concepts from the video with precise explanations and code samples.
Read the sections 'Defining an Accessor' and 'Defining a Mutator'. Notice how named arguments (get: and set:) make the code highly readable.
Your Turn: Implementing Accessors & Mutators
Let's apply this to our Product model.
-
Create a
formatted_priceaccessor: Our database stores prices like29.99. Let's create an accessor for a new virtual attributeformatted_pricethat returns this as a string prefixed with a dollar sign (e.g., "$29.99").In your
app/Models/Product.phpmodel, add the following method:<?php namespace App\Models; use Illuminate\Database\Eloquent\Casts\Attribute; // Import the class use Illuminate\Database\Eloquent\Factories\HasFactory; use Illuminate\Database\Eloquent\Model; class Product extends Model { use HasFactory; // ... other properties and methods /** * Get the product's formatted price. */ protected function formattedPrice(): Attribute { return Attribute::make( get: fn () => '$' . number_format($this->price, 2), ); } }Now, if you retrieve a product, you can access
$product->formatted_priceto get the formatted string. -
Create a
namemutator: Let's ensure every product name is stored in the database with the first letter of each word capitalized.In the same
Product.phpmodel, add another method:<?php namespace App\Models; use Illuminate\Database\Eloquent\Casts\Attribute; use Illuminate\Support\Str; // Import the Str helper // ... class Product extends Model { // ... /** * Interact with the product's name. */ protected function name(): Attribute { return Attribute::make( set: fn (string $value) => Str::title($value), ); } // ... formattedPrice method }Now, whenever you set a product's name (e.g.,
$product->name = 'a new gadget'; $product->save();), it will automatically be converted to "A New Gadget" before being stored.
3. Attribute Casting
For many common data transformations, writing a full accessor/mutator is overkill. Attribute casting provides a simple, declarative way to convert attribute types. You simply define a casts property on your model.
Laravel Basics - Accessors, Mutators and Casting
Let's revisit the Laratips video to see a perfect example of attribute casting. This clip shows how to convert a database integer (0 or 1) into a true boolean value in your application.
Watch from 11:05 to 13:52. Notice how much simpler adding 'is_active' => 'boolean' to the $casts array is compared to writing a full getIsActiveAttribute method.
Eloquent supports a wide variety of cast types.
Eloquent: Mutators & Casting - Attribute Casting
The official documentation provides a comprehensive list of all built-in cast types. It's a great reference to have bookmarked.
Skim through the 'Attribute Casting' section. Pay special attention to the list of supported types like boolean, integer, datetime, array, and collection.
Your Turn: Applying Casts
Let's add a couple of casts to our models.
-
Boolean Cast: First, create a new migration to add an
is_activecolumn to yourproductstable. Since you're using MSSQL, aBITtype is appropriate.php artisan make:migration add_is_active_to_products_table --table=productsIn the generated migration file:
public function up(): void
{
    Schema::table('products', function (Blueprint $table) {
        $table->boolean('is_active')->default(true); // In MSSQL, this creates a BIT column
    });
}
Run the migration:
php artisan migrate.Now, in your
Product.phpmodel, add thecastsproperty (orcasts()method for Laravel 10+):// In app/Models/Product.php class Product extends Model { // ... /** * The attributes that should be cast. * * @var array */ protected $casts = [ 'is_active' => 'boolean', ]; // ... }Now, when you access
$product->is_active, you will get a true PHPboolean(true/false) instead of1/0. -
Array Cast: Add a
propertiescolumn to yourproductstable to store extra JSON data.php artisan make:migration add_properties_to_products_table --table=productsIn the migration:
public function up(): void
{
    Schema::table('products', function (Blueprint $table) {
        $table->json('properties')->nullable();
    });
}
Run
php artisan migrate.Update your
castsarray inProduct.php:protected $casts = [ 'is_active' => 'boolean', 'properties' => 'array', // or 'AsCollection' for a fluent collection object ];Now you can set
$product->properties = ['color' => 'blue', 'size' => 'large'];and Laravel will automatically encode it to a JSON string for storage. When you retrieve it via$product->properties, it will be automatically decoded back into a PHP array.
4. Custom Casts: Reusable Transformation Logic
What happens when your transformation logic is complex or you want to reuse it across multiple models? This is where Custom Casts shine. A custom cast is a dedicated class that handles the get and set logic for an attribute.
A great use case is handling money. Storing currency as integers (cents) is a best practice to avoid floating-point precision issues, but you want to work with them as dollars in your application. A custom MoneyCast can handle this conversion automatically.
Laravel Basics - Accessors, Mutators and Casting
The Laratips video concludes with an excellent demonstration of creating a custom MoneyCast class to abstract the price conversion logic we saw earlier.
Watch from 13:52 to 19:31. Follow the steps: create a Casts directory, define a class that implements CastsAttributes, implement the get and set methods, and apply the cast in your model.
This approach is incredibly powerful for creating expressive, domain-specific objects that are seamlessly persisted to the database.
Conclusion
You've now mastered the key techniques for transforming Eloquent model data. This allows you to keep your data layer clean and consistent, while making your models more intelligent and expressive.
Key Takeaways:
- Accessors (
get:) transform data when it's read from the model. - Mutators (
set:) transform data before it's written to the database. - The modern
Attributeclass provides a unified, clean syntax for defining accessors and mutators. - Attribute Casting is a simple, declarative way to handle common type conversions (e.g., boolean, array, datetime).
- Custom Casts are reusable classes that encapsulate complex transformation logic, promoting a clean, DRY (Don't Repeat Yourself) codebase.
Next Up:
We've learned to transform individual attributes on our models. In the next lesson, we will move on to transforming and constraining queries. You'll learn how to implement local and global query scopes to create reusable query constraints, making it easy to apply common filters (like where('is_active', true)) across your entire application.