
Welcome back. In the previous lesson, you installed Godot 4, created the Melee Arena project, and identified its project folder through res://. You now have the container for the game; this lesson is about learning to navigate the editor in which you will build it.
By the end, you will be able to locate and explain the role of the Scene, Inspector, FileSystem, 3D viewport, and Output panels. You will also know what happens when you run a project, where to stop it, and why an empty project cannot yet become a running game.
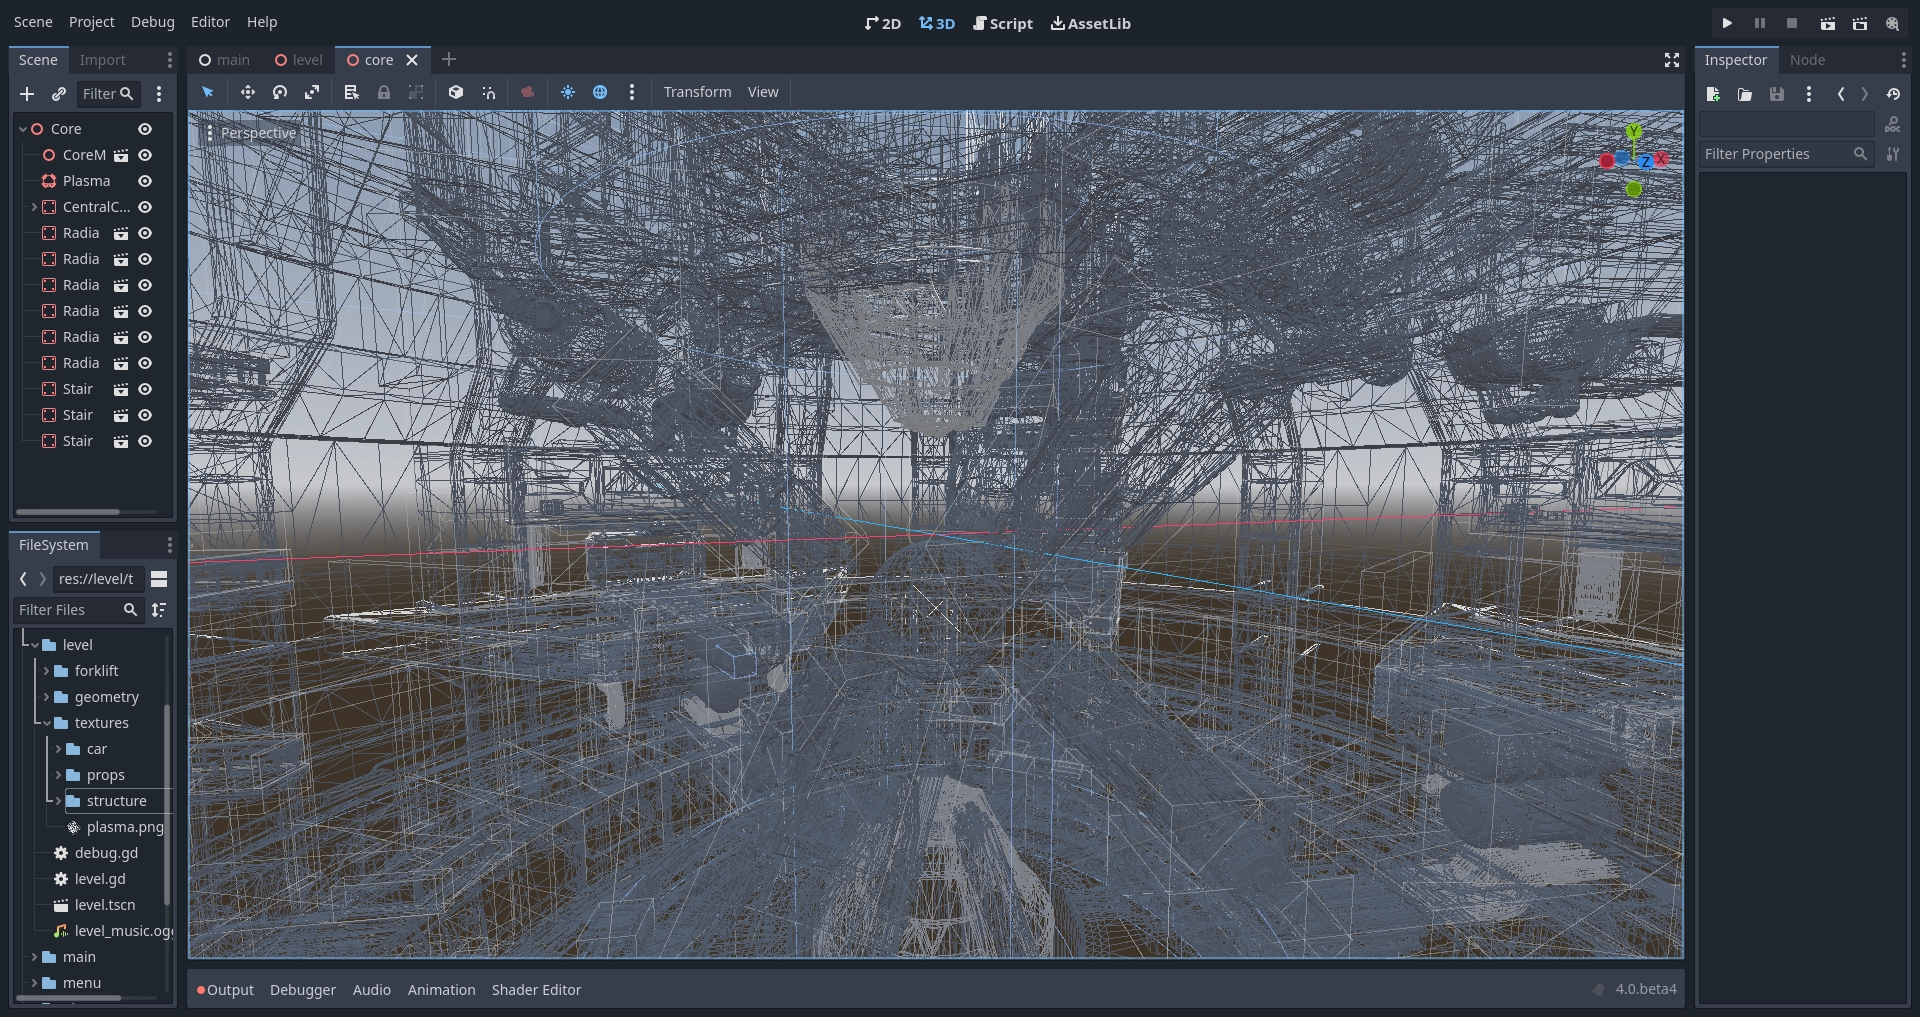
The editor as a working map
Godot is organized around a simple division of responsibilities:
| Area | The question it answers |
|---|---|
| Scene dock | “What nodes make up the scene currently open?” |
| Inspector | “What settings does this selected object have?” |
| FileSystem dock | “What files belong to this project?” |
| 3D viewport | “What does the current scene look like while I edit it?” |
| Output panel | “What did Godot report while importing, running, or executing code?” |
The large central area changes according to the workspace selected at the top: 2D, 3D, Script, Game, and AssetLib. For the first-person action game, the 3D workspace will be your usual construction space. The Game workspace is for testing a running build, while the Script workspace is where you will later write GDScript.
The layout can seem busy initially, but do not try to memorize every button. Start by knowing where to look when a specific kind of question arises.
First Interactive Godot Tour: The Godot Editor - [Full Run-through]
Watch “First Interactive Godot Tour: The Godot Editor” by GDQuest for a concise visual orientation to the central viewport, runner controls, docks, and bottom panels.
Watch viewport and scenes to distinguish the editor’s view of a scene from the game itself. Then watch the dock tour. Focus on the relationship between selecting a node in the Scene dock and seeing its editable properties in the Inspector.
The official documentation calls the panels at the sides of the editor docks. Their contents are contextual: the Inspector changes when your selection changes, and the bottom area gains tools as the kind of work changes.
First look at Godot's interface - Godot Docs
Read the official Godot Docs overview to reinforce the visual layout and to see where the 3D and Game workspaces fit into the editor.
In the opening overview, read the editor layout, paying particular attention to the paragraphs describing the FileSystem, Scene, and Inspector docks. Then continue through the section “The five main screens”. In its descriptions of the 3D screen and Game screen, note the distinction between constructing a level and testing it; changes made while a game is running are not saved back into your scene.
Scene and FileSystem: two different trees
The two panels on the left both show tree-like structures, so beginners often confuse them. They represent fundamentally different things.
The Scene dock: the structure of one open scene
A node is one functional building block: later you will use nodes for the player body, camera, weapon, lights, enemies, collision, audio, and interface. The Scene dock displays these nodes arranged as a hierarchy for the scene currently open in the editor.
For example, a future player scene might have a structure like this:
Player
├── CollisionShape3D
├── Camera3D
│   └── MeleeWeapon
└── Health
This is not a folder structure. It is the in-game structure of an object. A child node belongs to its parent: for instance, the camera will eventually move with the player because it is a child of the player.
Your project is still empty, so Godot may currently show buttons inviting you to create a root node. That is normal. It means no scene document is open yet.
The FileSystem dock: the project’s files on disk
The FileSystem dock shows the files inside the project folder you created last lesson:
res://
Here, res:// means the root of ~/GodotProjects/melee_arena. This is where Godot will store:
.tscnscene files,.gdGDScript files,- images, models, materials, sounds, and music,
- folders such as
scenes,scripts, andassets.
Unlike the Scene dock, the FileSystem does not show “what is inside the current level.” It shows files saved in the project itself.
A useful rule is:
Scene dock: how the currently open game object is assembled.
FileSystem dock: what resources and saved files the project contains.
For now, expand res:// if necessary and locate project.godot. Do not edit or move this file manually: it holds central project settings. Its presence confirms you are looking at the correct project folder.
Inspector and 3D viewport: selection is the connection
The Inspector on the right is Godot’s property editor. It displays the settings of whatever node is selected in the Scene dock or viewport. With nothing selected, it may be blank. That is not an error; Godot simply has no object whose properties it can show.
To inspect these tools properly without committing to the actual arena scene yet, make a temporary scratch scene:
- In the Scene dock, select Other Node.
- Search for
Node3D. - Select Node3D and choose Create.
- Keep this scene unsaved. It is only a safe object for exploration.
Godot should switch to the 3D workspace automatically. Notice the same Node3D is now selected in both the Scene dock and the Inspector.
In the Inspector, find the Transform section. It contains properties such as:
- Position — where the node is located;
- Rotation — how it is turned;
- Scale — how large it is relative to its original size.
Do not change values yet. Just collapse and expand the section, and observe that this is where precise configuration happens. Later, exported settings for enemy speed, attack range, and gun damage will also appear in this panel.
The central 3D viewport is your editable view into the scene—not the view a player sees in the final game. The grid gives a spatial reference. In Godot’s 3D world:
- red is the X axis, side to side;
- green is the Y axis, up and down;
- blue is the Z axis, front and back;
- one 3D unit normally represents one metre.
Use only these navigation controls for now:
| Action | Default control |
|---|---|
| Orbit the editor view | Hold middle mouse button and drag |
| Free-look around the scene | Hold right mouse button and move mouse |
| Move in free-look | Hold right mouse button, then use W, A, S, D; use Q and E down and up |
| Focus the selected node | F |
These controls move the editor’s viewing position, not the selected node. That distinction matters. You can explore a large future arena in the viewport without accidentally changing the arena.
When you finish, close the temporary scene tab and choose Don’t Save. Your project should return to its clean, empty state, ready for the next lesson.
The Output panel: Godot’s evidence trail
At the bottom of the editor, click Output. This expands the bottom panel.
The Output panel is a chronological message area. It can show:
- ordinary messages printed by scripts,
- warnings that point out something suspicious,
- errors that prevent expected behavior,
- messages from the engine or asset import process.
At this stage, the panel may contain little or nothing. That is expected: you have not written or run a script yet. In the next lessons, you will use print() to send your own messages here, and later it will be one of the first places to check when a script fails.

Do not treat every colored message as equally serious:
| Message type | Meaning | Typical response |
|---|---|---|
| Normal output | Information, including future print() messages | Read it for context. |
| Warning | Godot found a possible issue, but can often still run | Read it soon and decide whether it signals a mistake. |
| Error | A failure occurred or expected data was missing | Read the message carefully before changing code or settings. |
The Debugger tab beside Output is related but distinct. Output is the message stream; Debugger collects tools and details for examining errors, breakpoints, and runtime problems. You will use both more actively once scripts and combat logic exist.
Running a project versus editing a scene
The runner controls are in the upper-right portion of Godot’s window. The main Play button runs the configured project entry scene, often called the main scene. Pressing F8 stops a running project.
For now, try clicking the main Play button once. Because your project contains no saved scene, Godot will report that no main scene is available or ask you to choose one. Cancel the prompt. This is useful confirmation, not a failure.
At this point, Godot has a project but no instructions about what game world to launch. In the next lesson you will build and save a first scene, then designate it when Godot asks. At that point, pressing Play will start the game and Godot will show its running view in the Game workspace or in a separate game window, depending on your editor configuration.
Keep this lifecycle clear:
- You assemble nodes in a scene while in the editor.
- You save the scene as a
.tscnfile in the FileSystem. - Godot uses a selected saved scene as the project’s starting point.
- You run the project to test its current behavior.
- You stop it with
F8or by closing the running game.
A running game is a temporary test. If you move something or alter a value during play, those runtime changes disappear when you stop. Make lasting edits in the scene editor and Inspector, then save.
Editor-tour completion check
Before continuing, verify these practical actions:
- You can identify
res://in the FileSystem dock as the root of Melee Arena. - You can explain why the Scene dock is empty when no scene is open.
- You created, inspected, and discarded a temporary
Node3Dscene. - You can locate Transform in the Inspector for a selected
Node3D. - You can orbit or free-look in the 3D viewport without moving a scene object.
- You can open the Output panel and distinguish it from the Game workspace.
- You know that pressing Play cannot launch a meaningful game until a saved main scene exists.
Key takeaways
Godot’s editor becomes manageable once you separate its core views: the Scene dock represents the node hierarchy of the open scene, while the FileSystem dock represents saved project files. Selecting a node connects the Scene dock, Inspector, and 3D viewport: you select an object, configure its properties, and see it in space.
The Output panel records engine, warning, error, and future script messages. The top-right runner controls test the project, but an empty project cannot run until it has a saved starting scene.
Next, you will build exactly that foundation: a saved 3D scene made from parent and child nodes, then run it for the first time.
Can't find a good explanation? Sign up and we'll make it for you
Sign up