Hello! Welcome back.
In our last lesson, you mastered interacting with a local Hardhat blockchain. You connected MetaMask to your private node and learned how to manage the test accounts it provides. This local setup is perfect for rapid, isolated development.
Today, we take a significant step into a more realistic environment: a public testnet. Unlike your local node which only runs on your computer, a testnet is a global, shared blockchain that mirrors the functionality of the Ethereum Mainnet but with valueless currency. This is the standard staging environment where developers test their applications before going live.
This lesson directly addresses your goal of bridging theory with practice. By the end of our 60 minutes, you will have performed one of the most fundamental actions on a live blockchain: you will acquire test Ether (ETH) from a service called a "faucet" and use it to send a transaction between your accounts on the Sepolia testnet.
1. From Localhost to a Public Testnet
First, let's clarify the difference between the Hardhat node you've been using and a public testnet like Sepolia.
- Hardhat Local Node: A private blockchain running only on your machine. It's extremely fast, accounts are pre-funded, and you can reset the entire chain at will. It's ideal for initial development and automated testing.
- Public Testnet (e.g., Sepolia): A public, decentralized network that anyone can connect to. Its state is persistent and shared globally. Transactions are processed by a network of validators, making it a more accurate simulation of the live Ethereum environment. Because it's a shared resource, you have to acquire test currency, and transactions take longer to confirm.
To begin, you need to add the Sepolia testnet to your MetaMask wallet. The easiest way is by using a service called Chainlist, which maintains a list of EVM-compatible networks and their connection details.
Deploy a Smart Contract to the Sepolia Testnet - Under 3 Minutes
The following video from Charming Data provides a quick demonstration of adding the Sepolia network to MetaMask using Chainlist.org.
Watch from 00:12 to 00:53. Follow the steps shown to connect your MetaMask wallet to the Sepolia testnet. Make sure you enable 'Include Testnets' on the Chainlist website to find Sepolia.
Once you approve the connection in MetaMask, you'll be connected to the Sepolia network. You will notice that the accounts you used on your Hardhat network now show a balance of 0 ETH on Sepolia, reinforcing the concept we covered last lesson: account balances are specific to each network.
2. Acquiring Test ETH from a Faucet
To send a transaction on a testnet, you need its native currency to pay for transaction fees (gas). This test currency has no monetary value and can be obtained for free from a faucet. A faucet is simply a web application that distributes small amounts of testnet ETH to developers.
The video you just watched continues by demonstrating how to use a popular faucet from Alchemy.
Deploy a Smart Contract to the Sepolia Testnet - Under 3 Minutes
This next segment shows you how to request and receive test ETH from the Alchemy Sepolia Faucet.
Watch from 00:53 to 01:46. Follow along to get your first batch of Sepolia ETH. You will need to: Create a free account with Alchemy. Copy your MetaMask account address. Paste your address into the faucet and request the funds.
Most modern faucets require a sign-up or some form of verification to prevent bots from draining their funds. While the video uses the Alchemy faucet, there are several others available. The article below provides a good textual overview of the process.
Sending First Transaction On A Testnet - Blockchain Basics
This article from Cyfrin's Updraft course explains the concept of a faucet and provides a textual walkthrough of the process.
Read the section titled 'Step 1: Acquiring Testnet ETH from a Faucet'. This will reinforce what a faucet is and the general steps involved. You don't need to use the specific faucet mentioned in the article; the process you followed with the Alchemy faucet is perfectly fine.
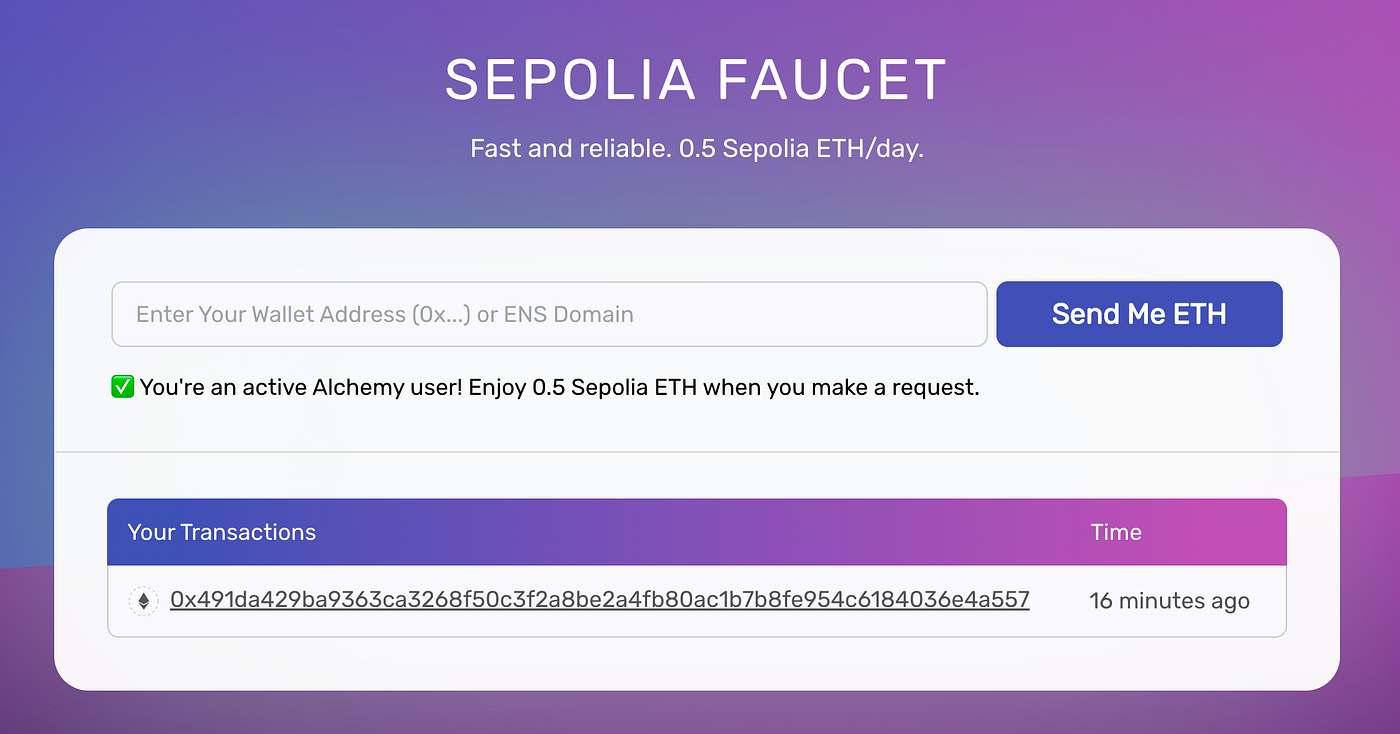
After you complete the request, you'll see a confirmation, and within a few moments, your ETH balance in MetaMask on the Sepolia network will update.

3. Sending Your First Testnet Transaction
Now that your account is funded, you can send a transaction. We will perform a simple transfer of ETH from one of your accounts to another. This simulates a basic peer-to-peer payment.
Make sure you have at least two accounts in MetaMask. You can easily create a new one by clicking the circle icon in the top-right and selecting "Create account".
The following reading provides a clear, step-by-step guide to sending ETH using the MetaMask interface.
Sending First Transaction On A Testnet - Blockchain Basics
Let's return to the Cyfrin article for a detailed guide on executing the transfer.
Read and follow the instructions in the section titled 'Step 3: Sending Your Own Transaction'. This will guide you through: Copying the address of your second account (the recipient). Initiating the 'Send' action from your funded account (the sender). Entering the recipient address and the amount of ETH to send. Reviewing and confirming the transaction in MetaMask.
A crucial point to note: When you review the transaction details in MetaMask before confirming, you will see a line item for the "Gas fee" or "Network fee". Every action that modifies the state of the blockchain (like a transfer) requires a fee paid to the network's validators. This is a core economic principle of the system. Given your background in investment management, you can think of this as a transaction cost, analogous to a brokerage fee or wire transfer fee, but paid to the decentralized network for its service.
After you confirm, the transaction will be broadcast to the Sepolia network. In MetaMask, you can go to the "Activity" tab to see its status change from "Pending" to "Confirmed". Once confirmed, the balances of both your accounts will be updated.
Conclusion
Congratulations on completing this essential hands-on exercise! You have successfully moved from a completely isolated development environment to a live, public testing ground.
In this lesson, you have learned to:
- Connect your MetaMask wallet to the public Sepolia testnet.
- Acquire test ETH by using a faucet.
- Send a transaction between two accounts on a live testnet.
- Recognize the role of gas fees in processing transactions.
You now possess the fundamental skills to operate on a public blockchain network. In our next lesson, we will build directly on what you did today. We will take the transaction you just sent and learn how to use a block explorer to find, inspect, and understand its components. This is akin to querying a master ledger, a skill that aligns well with your experience in data warehousing and business intelligence.