Hello! Welcome to the second module of your course.
In the first module, you successfully set up a professional Ethereum development environment with Hardhat and learned the essential command-line workflow for compiling and testing smart contracts. You now have the complete toolchain ready to go.
Now, we shift our focus from the tooling to the language itself. This module is all about Solidity, the primary language for smart contract development on Ethereum. We'll start from the ground up, moving from the sample project to writing our own code. The goal here is to bridge the gap from your theoretical understanding of blockchain to practical, hands-on development.
By the end of this lesson, you will be able to write a simple smart contract from scratch, defining its core components: state variables, a constructor, and functions. This will form the foundation for the tokenization use cases you're aiming to build.
1. The Anatomy of a Smart Contract
At its core, a smart contract is a program that runs on the blockchain. In Solidity, it's defined as a collection of data (its state) and code (its functions) that resides at a specific address.
Let's start with the basic structure of a Solidity source file. Every contract you write will begin with a few standard lines:
// SPDX-License-Identifier: MIT
pragma solidity ^0.8.0;

contract SimpleToken {
    // Your code will go here
}
- License Identifier: The first line is a machine-readable comment specifying the contract's license (e.g.,
MIT). This is a best practice for open-source code. - Pragma Directive: The second line,
pragma solidity ^0.8.0;, tells the compiler which version of Solidity the code is written for. The^symbol means it's compatible with any version from 0.8.0 up to (but not including) 0.9.0. - Contract Keyword: The
contractkeyword, followed by a name and curly braces, defines the main body of your smart contract.
For a more formal introduction to these core concepts, the official Solidity documentation provides a great starting point.
Introduction to Smart Contracts
This initial section from the Solidity documentation walks through a very basic storage contract.
Please read the first part of the document, under the heading A Simple Smart Contract. Pay attention to the explanation of the pragma directive and the basic definition of a contract as a collection of code and data.
2. Defining the Contract's State: State Variables
The "data" part of a smart contract is managed through state variables. These variables are permanently stored on the blockchain, and their values persist between function calls.
From your background in data warehousing, you can think of the contract's state as its own small, self-contained database schema. State variables are the columns of the tables in this database, and the blockchain itself is the incredibly resilient storage engine.
For our SimpleToken, which will be a basic representation of a currency, we need to store a few key pieces of information:
- The token's name (e.g., "My Token")
- Its symbol (e.g., "MTK")
- The total number of tokens in existence
- A record of who owns how many tokens
In Solidity, we declare this state using variables with specific data types:
string: For text data like the name and symbol.uint256: An unsigned (non-negative) 256-bit integer. This is the standard type for token quantities liketotalSupply. You can also use the shorthanduint.address: A special type that holds an Ethereum account address.mapping: A key-value data structure.mapping(address => uint256)acts like a hash table or a dictionary, linking each user'saddressto theiruint256token balance. This is the most efficient way to track balances.
Let's look at how these are declared inside a contract. Notice the public keyword. This is a visibility specifier that automatically creates a "getter" function for the variable, allowing anyone to read its value from outside the contract.

3. Initializing the Contract: The Constructor
How do we set the initial values for our state variables? We use a special function called the constructor. This function runs only once, at the moment the contract is deployed to the blockchain. It's the perfect place to perform one-time setup tasks.
For our SimpleToken, the constructor will:
- Set the token's
nameandsymbol. - Define the
totalSupply. - Assign all of the newly created tokens to the address that deployed the contract.
To get the deployer's address, we use a crucial global variable: msg.sender. This variable is available in all functions and always contains the address of the account that initiated the current transaction. In the context of the constructor, msg.sender is the deployer.
contract SimpleToken {
    // ... state variables from before ...

    // The constructor is called only once when the contract is deployed
    constructor() {
        name = "SimpleToken";
        symbol = "STK";
        totalSupply = 1000000;

        // Assign the total supply to the deployer of the contract
        balanceOf[msg.sender] = totalSupply;
    }

    // ... functions will go here ...
}
The logic here is analogous to running an initial seed script on a new database, populating it with its starting data.
4. Adding Behavior: Functions
Functions define the contract's behavior—they are the "code" part that allows users to interact with and change the contract's state.
The most fundamental function for any token is transfer. This function will allow a token holder to send some of their tokens to another address. A transfer function needs two pieces of information: the recipient's address and the amount to send.
Inside the function, we must perform two key steps:
- Validation: Before changing any state, we must verify that the transaction is valid. Does the sender (
msg.sender) have enough tokens to complete the transfer? We use arequire()statement for this. If the condition insiderequire()is false, the function stops, and all state changes are reverted, protecting the contract's integrity. - State Change: If the validation passes, we update the balances. We subtract the amount from the sender's balance and add it to the recipient's balance.
function transfer(address to, uint256 value) public {
    // Check if the sender has enough tokens
    require(balanceOf[msg.sender] >= value, "Insufficient balance");

    // Subtract from the sender's balance
    balanceOf[msg.sender] -= value;

    // Add to the recipient's balance
    balanceOf[to] += value;
}
This sequence—checking conditions first, then making changes—is a critical security pattern we will revisit later.
5. Hands-On: Your First Contract with Remix
Now it's time to put all these concepts together and write your first smart contract. While your professional workflow will use Hardhat, for quick prototyping and learning, the Remix IDE is an invaluable tool. It's a web-based environment that lets you write, compile, deploy, and interact with contracts instantly, all within your browser.
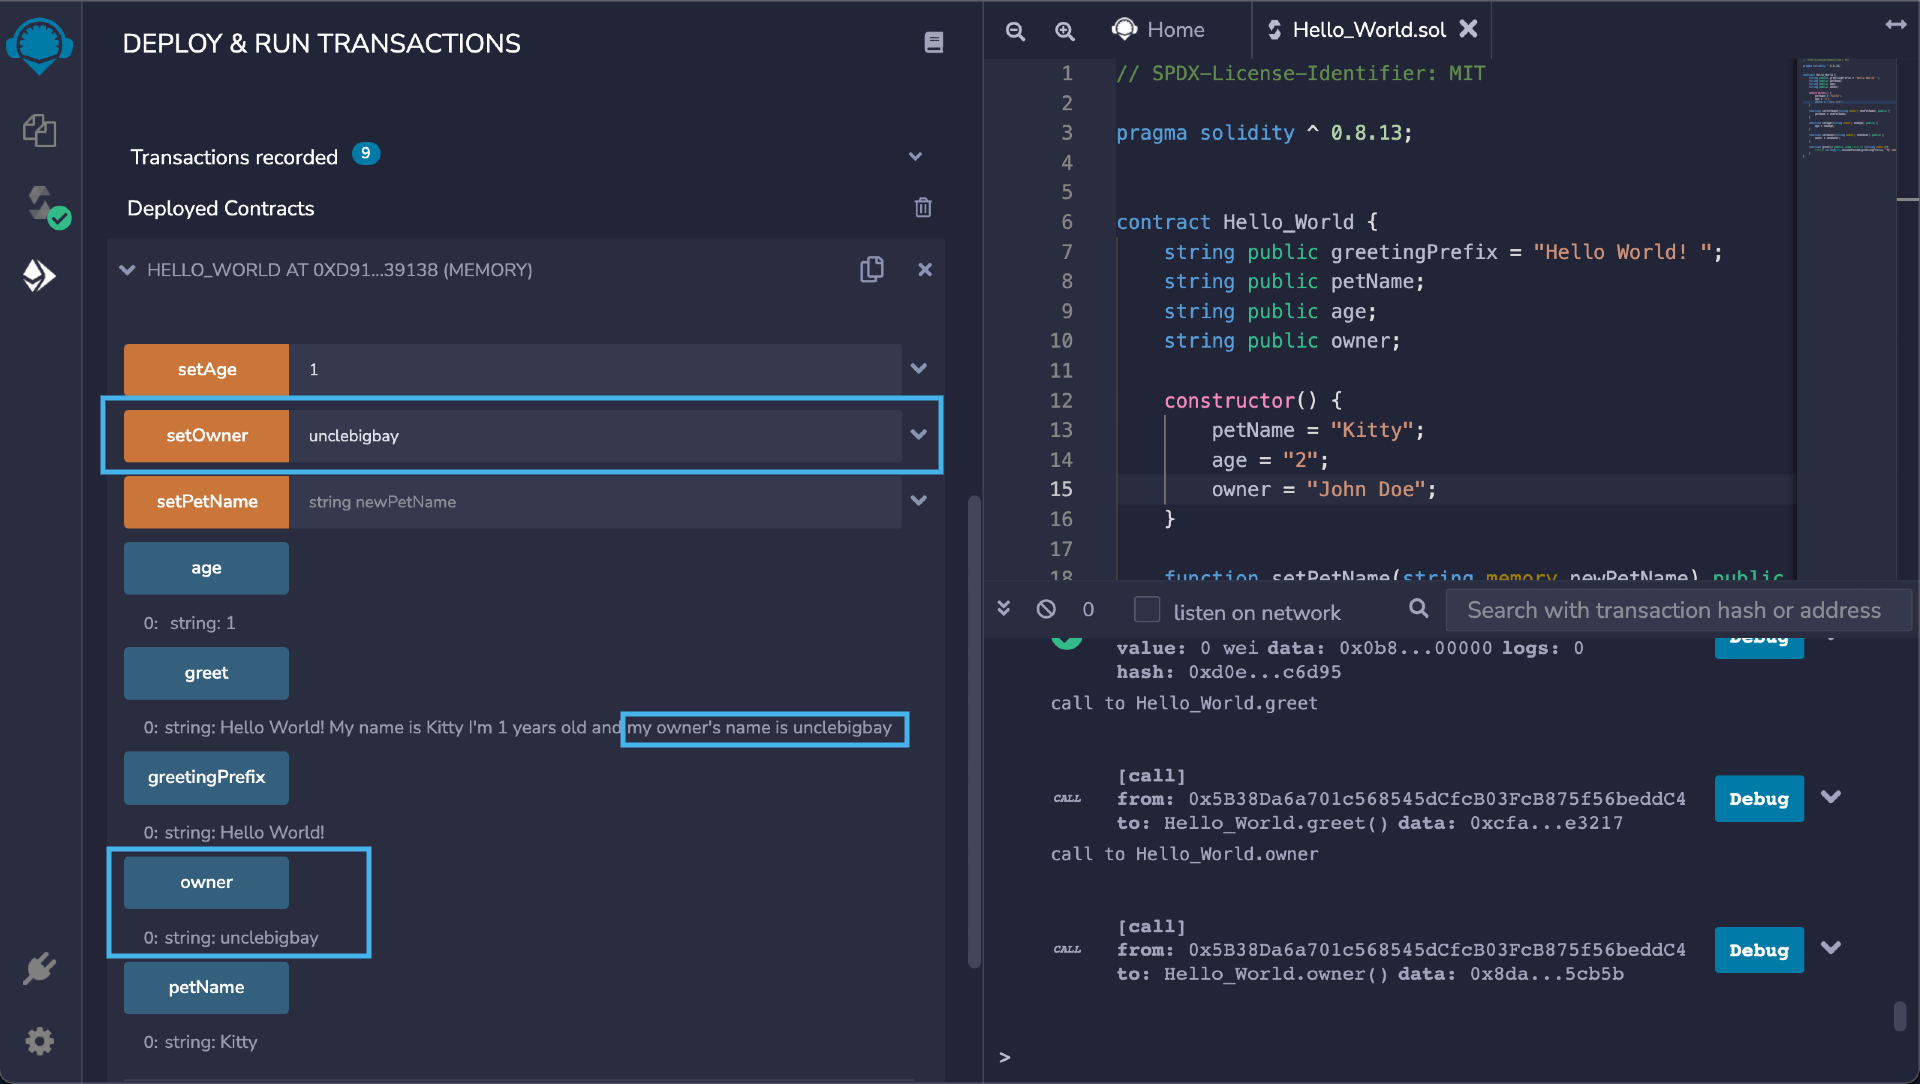
The following video provides a step-by-step walkthrough of creating a simple token contract in Remix, covering all the concepts we've just discussed. Please follow along in your own browser by opening remix.ethereum.org.
Create a Smart Contract in under 15 mins: Step-by-Step Tutorial 🔥
This video from NextGen Vision is a concise tutorial on building a basic token contract in Remix.
Follow the instructions in the video to create, deploy, and test your own token: Contract Setup: Watch the setup to learn how to create a new file and write the initial license, pragma, and contract structure. State Variables: In the next segment, defining state, you will declare the name, symbol, totalSupply, and balanceOf mapping. Constructor: Follow along from the constructor part to initialize the total supply and assign it to your address (msg.sender). Deploy and Inspect: Watch how to compile and deploy your contract. After deploying, use the function buttons in Remix to check the name, symbol, totalSupply, and your own balance. Transfer Function: Next, code the transfer function from this section. Pay close attention to the use of require() for validation. Test the Transfer: Finally, redeploy your contract and watch from the final test. Use the Remix interface to transfer tokens to another account and verify that the balances have been updated correctly for both the sender and receiver.
By completing this exercise, you've gone through a full development mini-cycle: writing code, deploying it to a local blockchain, and interacting with its functions to change its state.
Conclusion
Congratulations on writing and deploying your first smart contract! This is a significant step in moving from theory to practice.
In this lesson, you learned about the fundamental building blocks of a Solidity contract:
- State Variables store data permanently on the blockchain, much like a database schema.
- The Constructor is a special function that runs only once on deployment to initialize the contract's state.
- Functions define the contract's behavior and allow users to interact with its state.
- The
require()statement is a crucial tool for validating inputs and enforcing rules before any state is modified.
You've essentially built the core engine of a simple fungible token. In the upcoming lessons, we'll refine this foundation.
Our next lesson will dive deeper into Solidity's type system. We'll explore the important distinction between value types (like uint, bool, address) and reference types (like arrays, structs, and mappings), which is key to managing data and gas costs effectively.