
Hello! Welcome to the final lesson in our "Video Production & Repurposing" module.
In our last lesson, you mastered a powerful AI-driven workflow to repurpose a single long-form video into a library of engaging, ready-to-post short-form clips. You now have the assets needed to maintain a consistent presence on platforms like TikTok, Instagram Reels, and YouTube Shorts.
The challenge now shifts from creation to distribution. Manually posting dozens of clips across multiple platforms is a significant time drain—something a founder scaling multiple SaaS companies cannot afford.
Today, we'll solve that problem. The goal of this lesson is to learn how to schedule and cross-post your video content to multiple platforms using a tool like Buffer or Later. This is the final step in operationalizing your video marketing strategy, turning your library of clips into a hands-off, automated content machine.
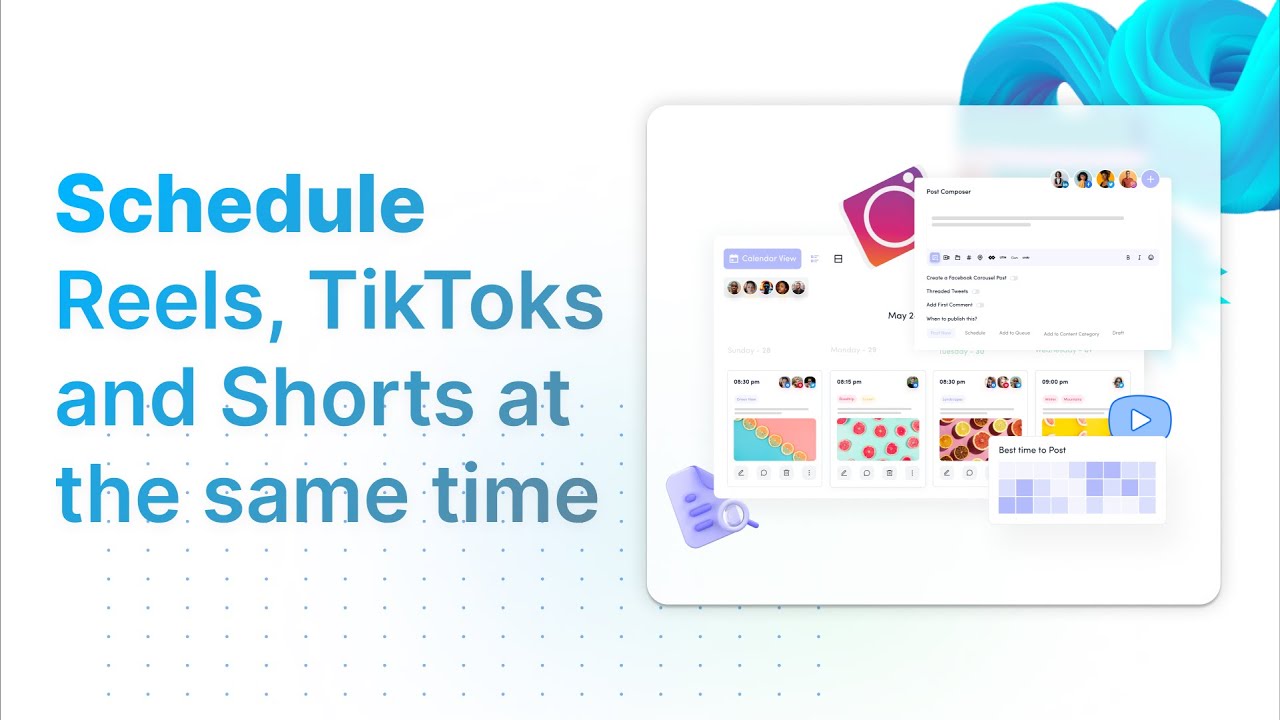
1. The Strategy of Efficient Distribution
Before we get into the specific tools, it's important to understand the principles of effective cross-posting. It's not just about "spraying and praying" the same exact post everywhere. Smart cross-posting involves tailoring your content to each platform's unique audience and norms, all while saving a tremendous amount of time.
This guide from Buffer's official blog provides an excellent overview of the strategy.
A Simple Guide to Crossposting: How to Share Content Across Social Media the Right Way
This article, 'A Simple Guide to Crossposting', explains the core benefits of this strategy and outlines the key principles for doing it effectively.
Read the sections 'Why crosspost on social media?' and 'How to crosspost effectively on social media'. Pay close attention to the principles of customizing content for each platform, such as adjusting for character limits, tone, and hashtag usage. This is the difference between spam and smart distribution.
As you've just read, the main benefits are:
- Saving Time: The most obvious advantage. You create a post once and schedule it everywhere.
- Broader Reach: You connect with different audience segments that may exist on different platforms.
- Platform Resilience: Your business isn't dependent on the algorithm of a single platform.
The key takeaway is that you should use the same core video asset but customize the packaging (the caption, hashtags, and any platform-specific mentions) for each channel.
2. Tool Deep Dive: Buffer
Buffer is a widely-used social media management tool known for its clean interface and ease of use, making it an excellent starting point for a solo founder. It supports scheduling to all the key short-form video platforms, including TikTok, Instagram Reels, and YouTube Shorts.
The following video provides a concise walkthrough of Buffer's core workflow.
Buffer Review: How To Post On Multiple Social Media Platforms At Once
Let's see Buffer in action. This video review provides a clear demonstration of its main features for scheduling content across multiple platforms.
Watch the following segments to understand the Buffer workflow: 01:40 - 02:02: How to connect your social media channels to your Buffer account. 01:54 - 02:36: Navigating the calendar view to plan and visualize your content schedule. 02:29 - 04:09: The process of creating a post. Notice how you can select multiple channels and then see a preview for each one, which is where you would customize your captions.
Buffer's Workflow for Video:
- Connect Channels: In your Buffer dashboard, you'll connect your TikTok, Instagram (must be a Business/Creator account), YouTube, LinkedIn, and other profiles. This is a one-time setup using secure authorization.
- Create a Post: You can either click "Create Post" or select a time slot directly on the calendar.
- Upload & Customize:
- Upload one of the video clips you created with Opus Clip.
- Select the channels you want to post to (e.g., Instagram, TikTok, YouTube).
- Write a "base" caption.
- Then, click into each platform's preview to customize the caption and hashtags. For example, you might add business-focused hashtags for LinkedIn and trending hashtags for TikTok.
- Schedule: Choose a specific time to publish or add the post to your "Queue," which publishes at pre-set times for each day.
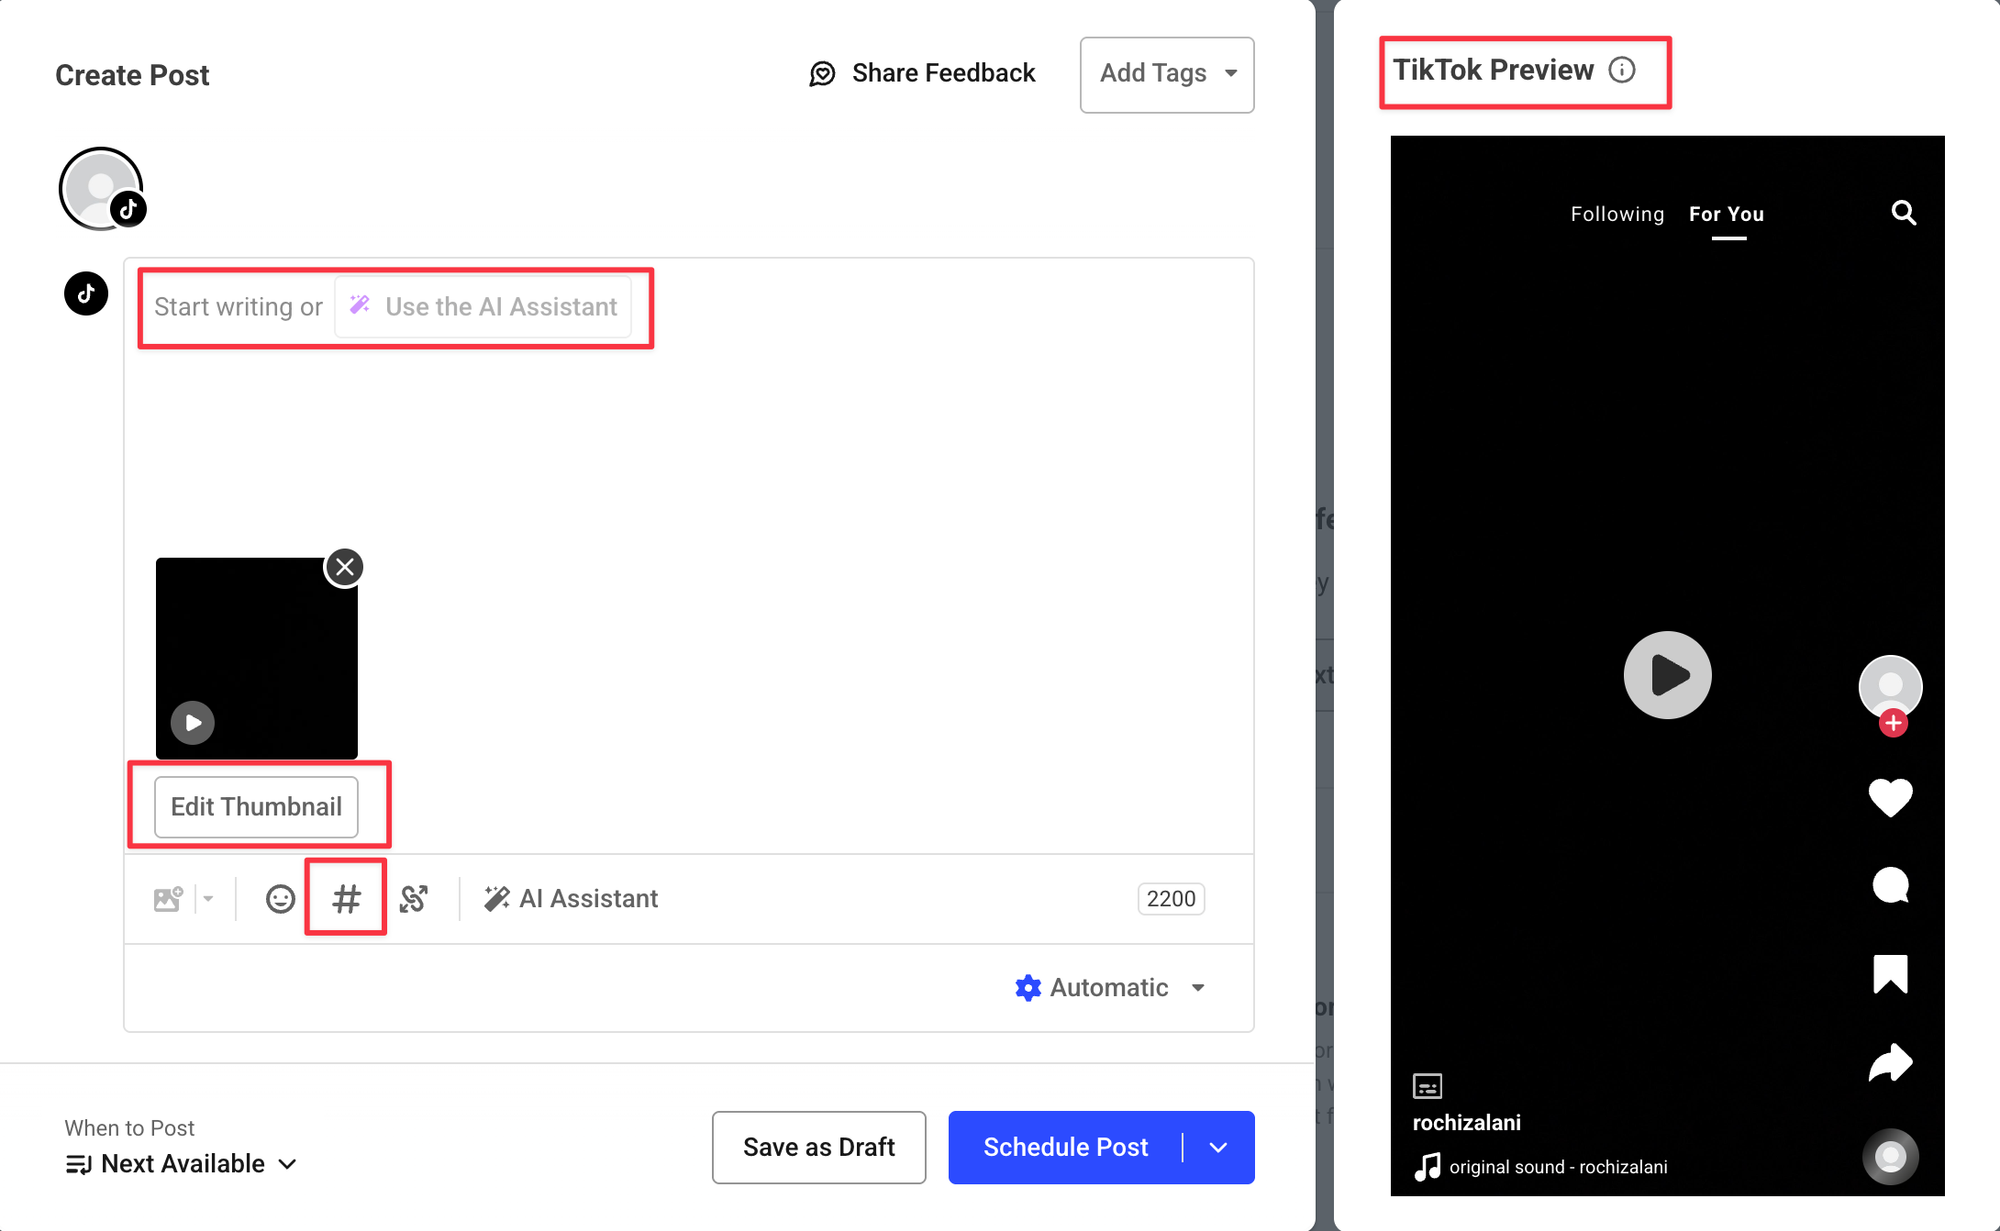
3. Tool Deep Dive: Later
Later is another top-tier scheduling tool that began with a focus on Instagram. As such, its interface is highly visual and built around a content calendar and media library. It's a strong alternative to Buffer, particularly for visually-driven brands.
This tutorial gives a comprehensive look at how Later works.
How To Use Later for EFFECTIVE Social Media Management | Later Tutorial
Now let's explore Later. This tutorial will guide you through its visually-focused workflow, which is centered around a media library and a drag-and-drop calendar.
Focus on these key parts of the tutorial: 03:12 - 04:54: Connecting your social media profiles. 04:54 - 06:09: Uploading your video clips to Later's 'Media Library'. This is a central place to store all your content. 06:09 - 10:24: The core workflow. See how you can drag media from the library onto the calendar, write captions, and use the 'Customize Post' feature to tailor the text for each social network.
Later's Workflow for Video:
- Connect Channels: Similar to Buffer, you connect your various social media profiles.
- Populate Media Library: You first upload all your video clips from Opus Clip into the Media Library. This is a useful step for batching your work.
- Schedule via Calendar: Drag a video from your media library directly onto the calendar at your desired date and time.
- Customize & Schedule: A post editor will pop up. Here you can write your caption and use the "Customize Post" toggle to create different versions for Instagram, TikTok, etc. Later also has helpful features like saved caption templates and hashtag suggestions.
Test your understanding!
You have a 45-second video clip of a product demo for your new SaaS. You want to post it to LinkedIn and TikTok using a scheduling tool.
Based on what you've learned about effective cross-posting, describe two specific ways you would customize the post for each platform.
Show answer
Here's how you could customize the post:
For LinkedIn:
- Caption Tone: Write a professional caption that focuses on the business problem the feature solves. E.g., "Tired of manual data entry? Our latest feature automates X, saving your team an average of 5 hours per week. Here's how it works..."
- Hashtags & CTA: Use 2-3 niche, professional hashtags like
#SaaS,#Productivity,#Automation. The Call to Action (CTA) could be a question to encourage comments, like "What's the biggest time-waster in your current workflow?"
For TikTok:
- Caption Tone: Use a much more casual and direct caption. You could use a hook like "This SaaS feature is a game-changer 🤯".
- Hashtags & CTA: Use a mix of broad, trending hashtags (
#fyp,#techtok) and relevant niche tags (#saaslife). The CTA could be more direct and engagement-focused, like "Drop a comment if you need this!"
4. Choosing Your Tool and Building Your Workflow
So, should you use Buffer or Later? Both are excellent, and the choice often comes down to personal preference and budget. To give you some context, let's look at how they're positioned in the market.
10 Best Cross-Posting Tools to Publish to Shorts/TikTok ...
This article, which reviews 10 cross-posting tools, provides concise summaries of Buffer and Later. This will help you understand their relative strengths and ideal use cases.
Quickly read the reviews for '3. Buffer' and '4. Later'. Notice how the author describes Buffer as 'friendlier, more affordable' and highlights Later's 'visual content calendar'. This context will help you decide which one to try first.
Here is a quick comparison to guide your decision:
| Feature | Buffer | Later |
|---|---|---|
| Ideal For | Simplicity, ease of use, getting started quickly. | Visually-driven content, planning an aesthetic feed (Instagram-first). |
| Key Feature | Clean, intuitive interface and a straightforward "queue" system. | Powerful visual calendar and a central media library. |
| Free Plan | Generous: up to 3 channels. | More limited: 1 social set, 10 posts per profile per month. |
| Starting Price | Starts at $6/month per channel. | Starts at $25/month for 1 social set. |
Recommendation for you: Start with Buffer's free plan. It allows you to connect up to three channels (e.g., TikTok, LinkedIn, YouTube) and get your workflow running immediately without any cost. As you scale and need more channels or advanced analytics, you can then evaluate paid plans or other tools.
Your Actionable Workflow:
Here is a step-by-step plan to implement today:
- Sign Up: Create a free account on Buffer.
- Connect Channels: Connect the social media profiles for your SaaS brand. Start with TikTok, LinkedIn, and your YouTube channel.
- Batch Upload & Schedule: Take 5 of the clips you generated in the previous lesson. Use Buffer's calendar to schedule one clip to be posted each day for the next 5 days.
- Customize Each Post: For each scheduled clip, take 2 minutes to customize the caption for each platform. Remember the principles: professional on LinkedIn, casual on TikTok, keyword-focused for YouTube Shorts.
- Let It Run: That's it. Your video marketing for the next week is now automated.
Conclusion
You have now closed the loop on your video content strategy. You know how to create a pillar video, repurpose it into dozens of short clips with AI, and now, how to distribute those clips efficiently across all your important channels. This automated workflow is a core asset for any founder looking to scale marketing efforts without scaling their time commitment.
Key Takeaways:
- Social media scheduling tools like Buffer and Later are essential for saving time and maintaining a consistent posting cadence.
- Effective cross-posting isn't just copying and pasting; it's about tailoring the message (caption, hashtags) for each platform's audience.
- Buffer is an excellent, user-friendly tool to start with, offering a generous free plan that's perfect for an early-stage founder.
- You can now implement an end-to-end workflow: from long-form video creation to automated, multi-platform distribution.
Preview of the Next Lesson:
Your content is now being published automatically across the internet. But which clips are resonating? Which platforms are driving views? In the next and final lesson of this module, we will move from production to analysis. You will learn how to analyze video performance metrics (e.g., retention, CTR) using YouTube Studio and platform-native analytics to understand what's working and double down on your success.