
Welcome back! In the previous lesson, we meticulously configured your React SPA's build process and routing to function correctly within the unique file-based environment of a Capacitor application. Your web assets are now primed and ready for deployment.
Today, we take a pivotal step by generating the native iOS and Android projects that will act as the "shells" for your web app. Using the Capacitor CLI, we will create these projects and then conduct a guided tour of their file structures. Understanding the anatomy of these native projects is crucial, as it demystifies how Capacitor works and gives you full control over your mobile application. This is where Capacitor's philosophy—embracing, rather than abstracting, the native platforms—truly becomes apparent.
1. Installing the Native Platform Templates
Before you can create the native projects, you need to add the necessary Capacitor packages for each platform. These packages contain the template code, native bridging logic, and dependencies required to build the iOS and Android "wrapper" applications.
From the root of your Turborepo monorepo, run the following command to add both the iOS and Android platform packages to your project:
bun add @capacitor/ios @capacitor/android
These are regular project dependencies that provide the foundational code for the Capacitor CLI to use in the next step.
2. Generating the Native Projects
With the platform packages installed, you can now instruct Capacitor to create the native project folders. The add command scaffolds a complete, standard native project for the specified platform, configured according to your capacitor.config.ts file.
Run the following commands one by one from your monorepo root:
bunx cap add ios
bunx cap add android
What do these commands do?
bunx cap add ios: Creates anios/directory at the root of your project. This directory contains a fully-functional Xcode project, pre-configured to load your web app.bunx cap add android: Creates anandroid/directory at the root. This contains a complete Android Studio project, similarly configured.
Both commands will also perform an initial synchronization, copying your web assets from the webDir specified in capacitor.config.ts into each native project.
The process of installing platform packages and then running the add command is the standard workflow for initializing Capacitor's native components.
Build a Next.js Mobile App from Scratch with Capacitor 8
This guide from Capgo demonstrates the standard procedure for adding native platforms, which is what we're doing now.
Please review this section of the guide. It confirms the two-step process: first, installing the @capacitor/ios and @capacitor/android packages, and second, running bunx cap add for each platform to generate the native project directories.
You should now see ios and android folders sitting alongside your apps and packages directories in your monorepo root.
3. Anatomy of the iOS Project
Let's explore the ios directory. This is not a simplified abstraction; it is a standard, complete Xcode project. Your experience with other cross-platform tools might lead you to expect a more hands-off structure, but Capacitor gives you direct access.

Here are the key files and folders you should be aware of:
ios/App/App.xcworkspace: This is the single most important file. It's the Xcode Workspace file you will use to open the project in Xcode. Always open this file, notApp.xcodeproj. The workspace includes the main app project plus all its native dependencies (managed by CocoaPods), whereas the.xcodeprojfile only contains the app project itself.ios/Podfile: This is the configuration file for CocoaPods, the dependency manager for iOS projects. When you add a Capacitor plugin that requires native iOS code, its dependency will be automatically added here when you runbunx cap sync.ios/App/App/Info.plist: The "Information Property List." This is a core configuration file for any iOS app. It's an XML file that stores essential metadata about your application, such as itsbundleId(which Capacitor set from yourappId), display name, version numbers, and—critically—the permissions your app will request from the user (e.g., for Camera or Location access). We will edit this file later.ios/App/App/AppDelegate.swift: This is the main entry point and "heart" of your iOS application. It handles app lifecycle events, such as when the app launches, goes to the background, or is terminated. The Capacitor template adds code here to initialize the WebView and bridge.ios/App/public: This folder is where your web assets (the contents ofapps/web/dist) are copied during thesyncprocess. The native iOS app is configured to load theindex.htmlfrom this directory into its WebView at startup.
4. Anatomy of the Android Project
Similarly, the android directory is a standard Android Studio project that uses Gradle as its build system.
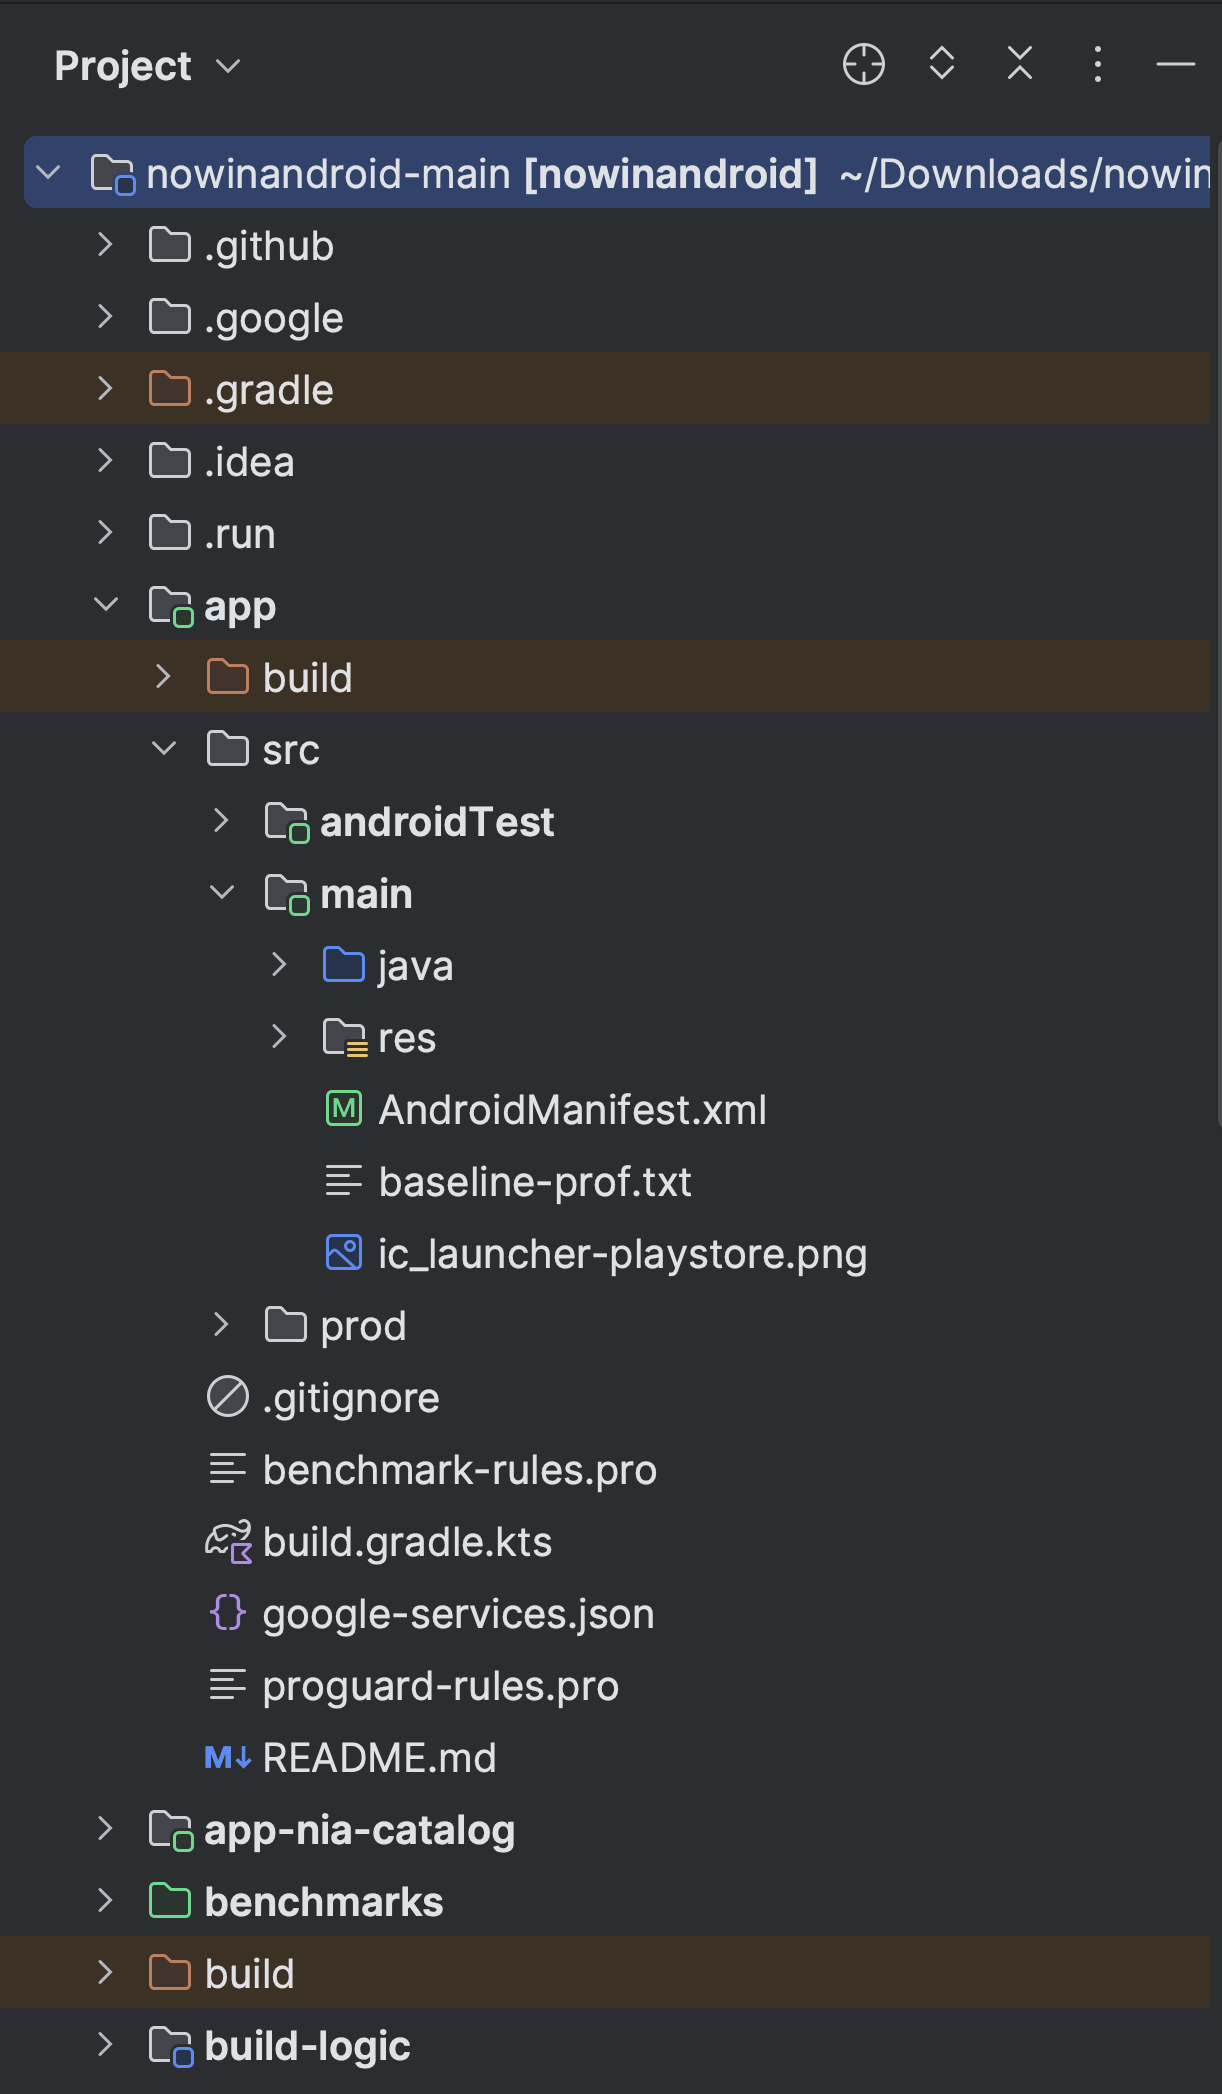
Here are the key components of the Android project:
android/build.gradleandandroid/app/build.gradle: These are Gradle build scripts written in Groovy or Kotlin DSL. Gradle is the build automation tool for Android. The top-levelbuild.gradlefile configures settings for the entire project, while theapp/build.gradlefile contains specific settings for your app module, including theapplicationId(from yourappId), SDK versions, version codes, and dependencies.android/app/src/main/AndroidManifest.xml: LikeInfo.plistfor iOS, this is the central manifest file for the Android app. It declares the app's components (like its mainActivity), permissions, hardware and software features it requires, and other essential metadata.android/app/src/main/java/com/example/app/MainActivity.java(or.kt): This is the main entry point of your Android application. AnActivityin Android is a single, focused screen. TheMainActivityis the one that launches when a user taps your app icon. The Capacitor template configures this activity to host the WebView and initialize the native bridge.android/settings.gradle: This file tells Gradle which modules to include in the build. For a Capacitor project, it typically just includes the main:appmodule.android/app/src/main/assets/public: Just like thepublicfolder in the iOS project, this is the destination for your web assets when you runbunx cap sync. TheMainActivityloads its content from here.
The key insight, given your background with Electron and React Native, is that Capacitor does not hide the native project from you. It generates a clean, standard, and fully accessible native project. This means any task that can be done in a native iOS or Android app can be done in your Capacitor app. You are free to add custom Swift or Kotlin code, manage native dependencies, and configure project settings directly in Xcode and Android Studio. There is no "eject" command because you are never locked in.
Conclusion
In this lesson, you have successfully bridged the gap between your web code and the native mobile world. By running bunx cap add, you generated complete, standard native projects for both iOS and Android, which now reside in your monorepo.
The key takeaways are:
bunx cap add <platform>generates a full native project (ios/orandroid/) based on templates provided by the@capacitor/<platform>packages.- The
iosfolder contains a standard Xcode project, managed with CocoaPods, withApp.xcworkspaceas its entry point. - The
androidfolder contains a standard Android Studio project, built with Gradle, withbuild.gradleandAndroidManifest.xmlas key configuration files. - Unlike more abstracted frameworks, Capacitor encourages direct interaction with these native projects, giving you ultimate flexibility and control.
Your project now has all its foundational pieces in place: a configured web app and the native shells to host it. In the next lesson, we will bring it all together by installing the iOS development tools (Xcode) and running your application on an iOS Simulator for the first time.
Can't find a good explanation? Sign up and we'll make it for you
Sign up