
Hello, and welcome to the next stage of our journey. In our last session, we saw how Server-Sent Events allow the server to push real-time updates to the client, a powerful pattern for server-driven UIs. We're now going to pivot and look at the other side of the interactivity coin: state that is born and dies entirely within the client, without ever needing a trip to the server.
This lesson addresses the learning outcome: Identify when client-only state warrants a small reactive library, and integrate Alpine.js into an HTMX project.
For a developer with extensive experience in frameworks like React, the concept of client-side state is second nature. You're accustomed to using hooks like useState to manage everything from a simple boolean for a dropdown's visibility to complex application data. In the hypermedia paradigm, HTMX masterfully handles the latter—the state that synchronizes with your server. But what about the former? This lesson will establish a clear boundary for when to reach for a tool like Alpine.js to handle ephemeral, client-only UI state, and demonstrate how to integrate it seamlessly into an HTMX-driven architecture.
The "Why": Defining the Boundary
HTMX is designed for interactions that change persistent, server-side state. But not all user interactions do. Consider a dropdown menu, a modal dialog, or the open/closed state of an accordion. This is UI state, not data state. Sending a request to the server just to toggle a CSS class feels like overkill, introducing unnecessary latency and server load. This is the domain where a small, client-side library shines.
The video from HAMY LABS provides an excellent conceptual breakdown of the roles of HTMX and Alpine.js. It clarifies that they are not competitors, but complementary tools.
HTMX vs AlpineJS - Which should you use for your web app?
This video frames the HTMX vs. Alpine.js question as a partnership, not a rivalry.
Watch the introduction on complementarity to understand the core philosophy: they solve different aspects of web development. Next, review the section on HTMX for server interactivity. This reinforces what we already know about HTMX's primary role. Finally, watch the key section on using Alpine for client interactivity. Pay close attention to the examples given: showing/hiding modals, dropdowns, and interacting with other client-side JS libraries. This directly addresses the "when" part of our learning outcome.
The core takeaway is a simple but powerful rule of thumb: If an interaction needs data from the server or changes data on the server, use HTMX. If it's a purely visual or interactive flourish that lives only on the client, use Alpine.js.

The "How": A Primer on Alpine.js
Alpine.js is often called "Tailwind for JavaScript" because it allows you to embed your logic directly into your HTML markup, promoting the same principle of "locality of behavior" that makes HTMX so intuitive.
Integrating Alpine.js is as simple as adding a script tag to your page. The video from Dreams of Code offers a fantastic, hands-on introduction to its core concepts.
Alpine.js makes client side interactivity stupidly simple
This video provides a practical demonstration of adding Alpine.js to a project and using its main features to build a dynamic side menu.
Watch the introduction from the presenter describing the problem of client-side interactivity in a multi-page application. This perfectly sets the stage for Alpine's value proposition. See how to set up Alpine.js and define a component's scope and initial state using the x-data directive. This is analogous to a React component with its own useState. Observe the core directives in action from this segment. You'll see: x-show to toggle element visibility. x-on:click (or the @click shorthand) for event handling. x-text to dynamically update an element's text content. x-bind (or the : shorthand) to bind attributes, like a CSS class. Finally, learn about a crucial practical detail: using the x-cloak attribute to prevent a "flash of uninitialized content" (FOUC).
Let's look at a canonical example from the "Noqta.tn" tutorial: a dark/light theme toggle. This is a perfect illustration of a feature managed entirely by Alpine.js.
<div x-data="{
        dark: localStorage.getItem('theme') === 'dark'
     }"
     :class="dark ? 'theme-dark' : 'theme-light'"
     x-init="$watch('dark', val => localStorage.setItem('theme', val ? 'dark' : 'light'))">

    <button @click="dark = !dark">
        <span x-text="dark ? 'Light Mode' : 'Dark Mode'"></span>
    </button>

    <!-- Rest of your app -->
</div>
Breaking this down:
x-data: Initializes the component's state, reading thedarkpreference fromlocalStorageto ensure persistence across page loads.:class: Binds theclassattribute of thedivbased on thedarkstate variable.x-init: Runs code when the component is initialized. Here, it uses$watchto observe thedarkproperty and writes any changes back tolocalStorage.@click: Toggles the boolean value ofdarkwhen the button is clicked.x-text: Updates the button's text to reflect the current state.
This entire interaction happens on the client, with zero network requests. This is the clear separation of concerns we're aiming for.
The Dance: Making HTMX and Alpine.js Work Together
Now for the most critical part: how do these two libraries coexist when HTMX starts swapping parts of the DOM that contain Alpine components? The key is understanding their event-driven nature.
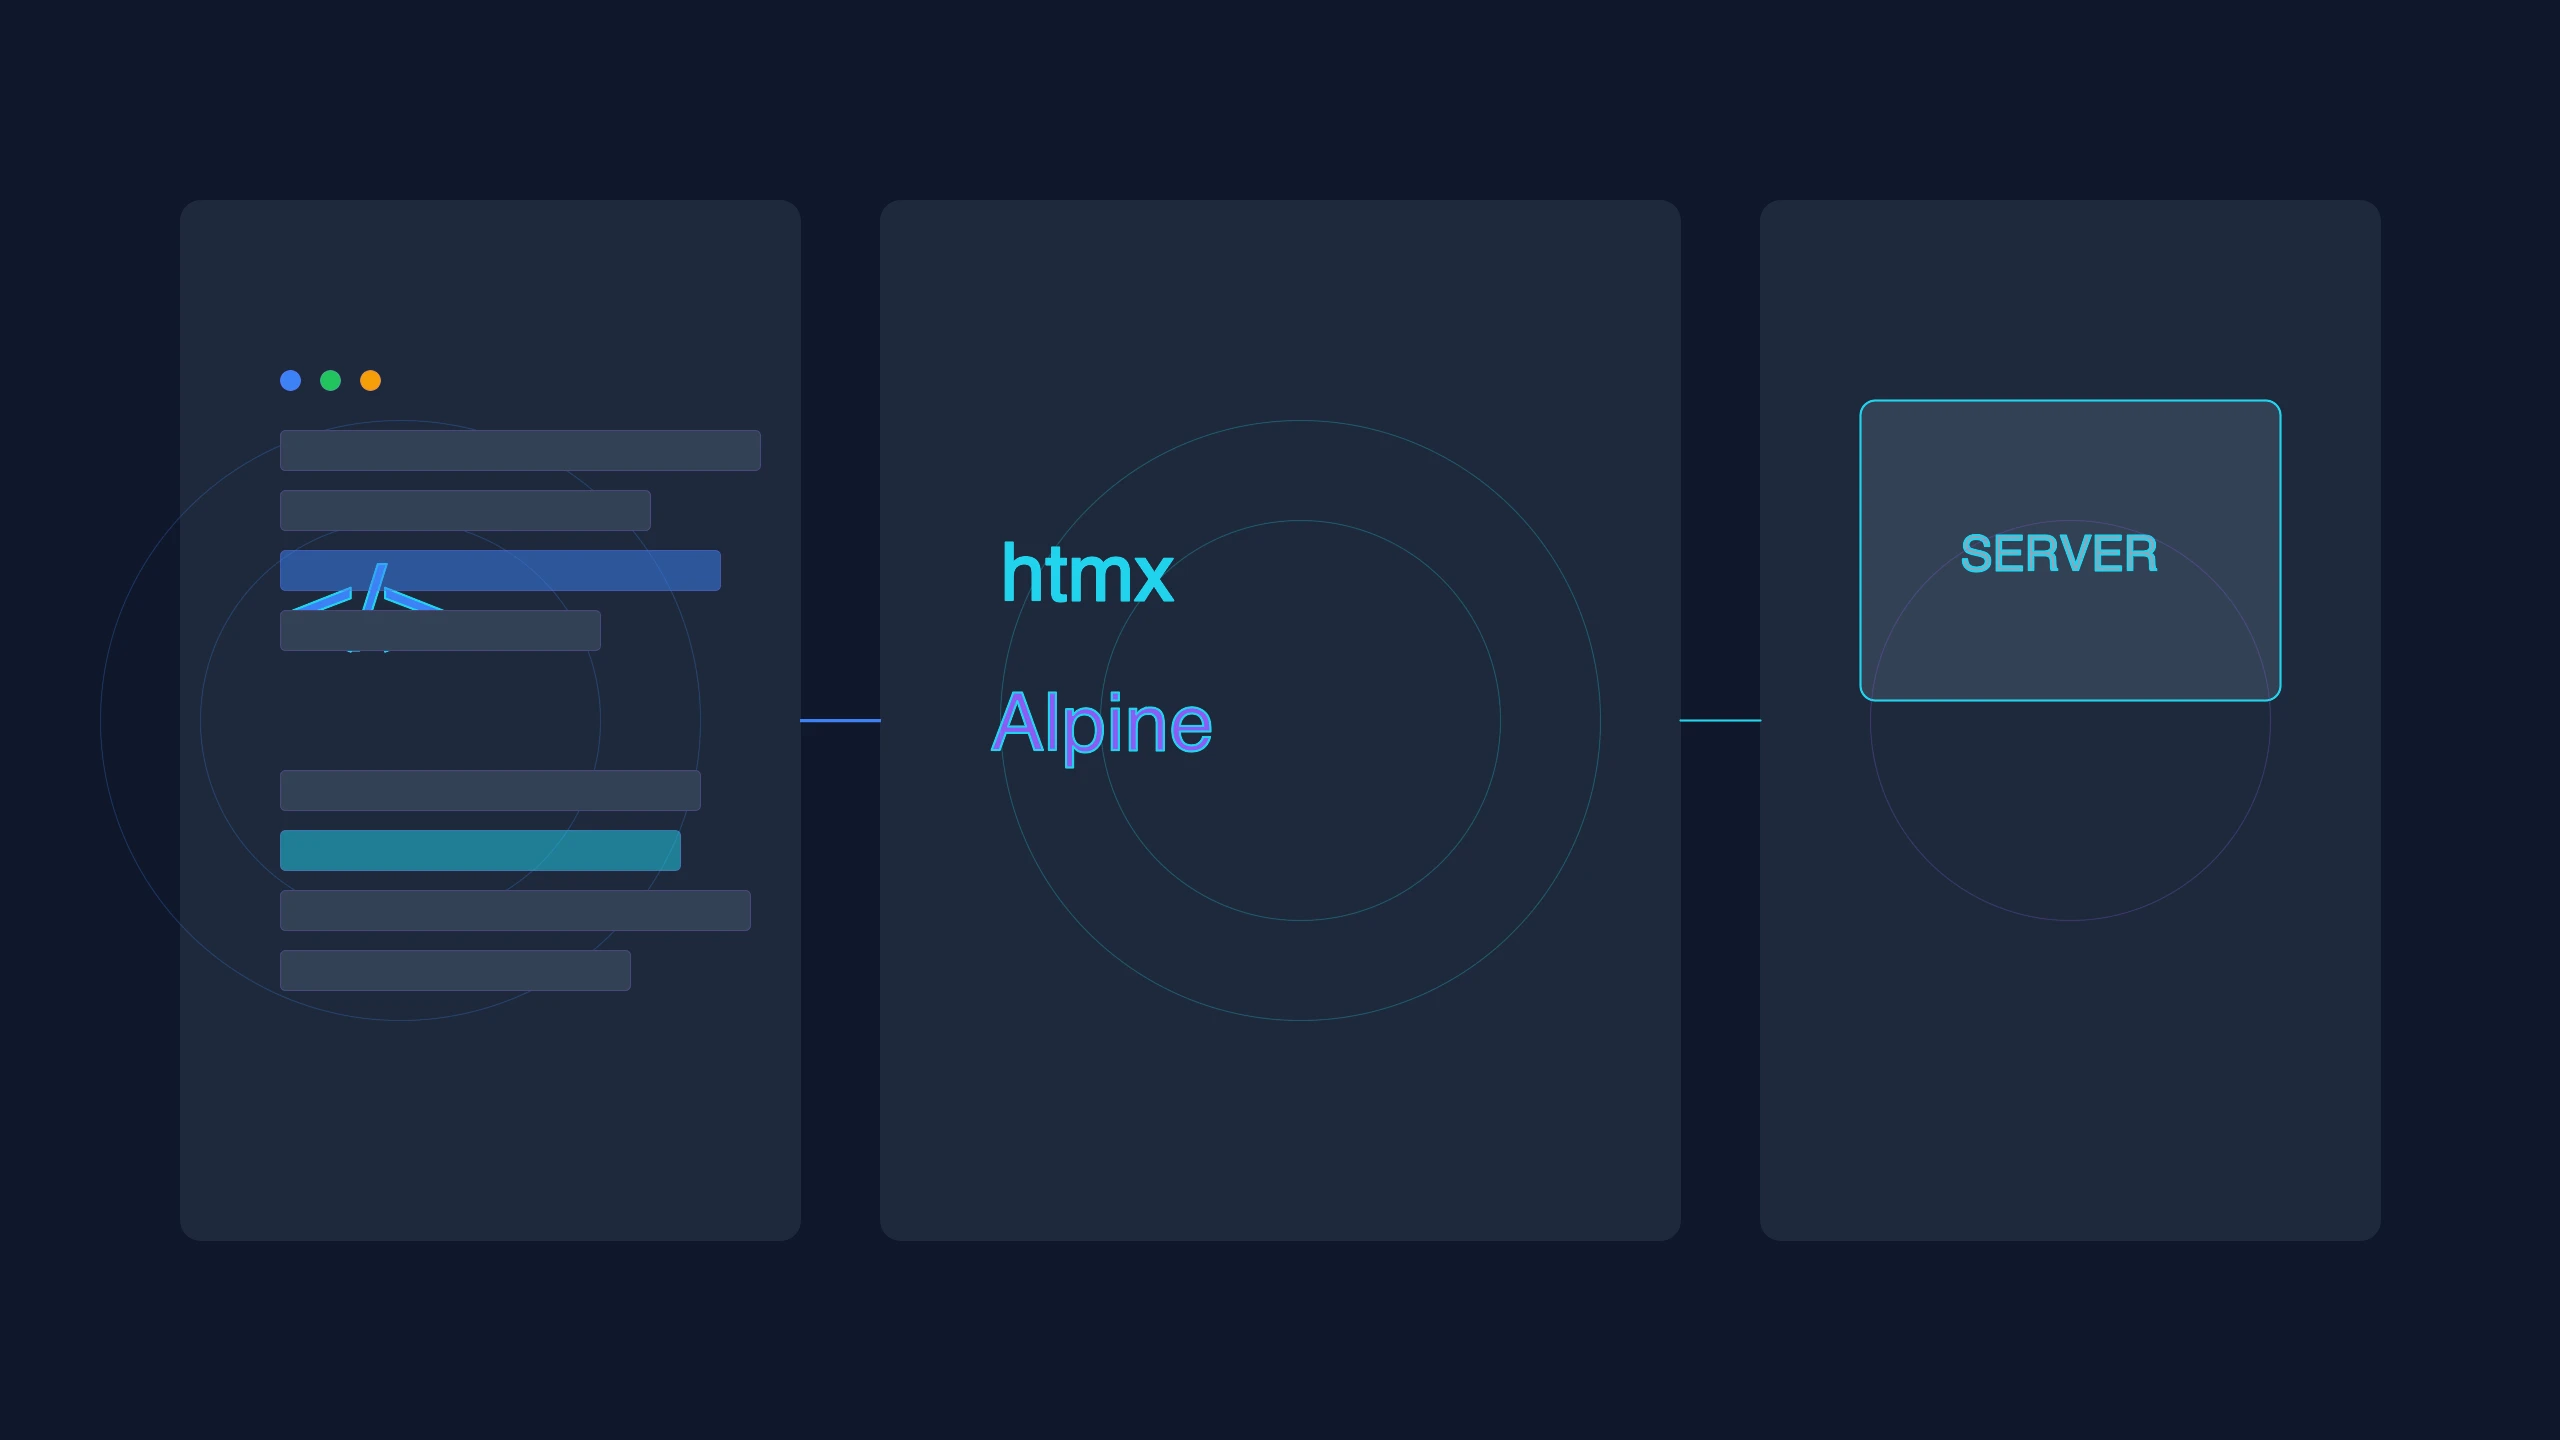
The article from Cursa.app on interoperability is an excellent, detailed resource on this topic. It lays out several essential patterns.
HTMX and Alpine.js Interoperability via Events and Lifecycle Hooks
This article dives deep into the patterns that make HTMX and Alpine.js a powerful combination.
First, read the introduction, "Let HTMX Fetch, Let Alpine Orchestrate," to solidify the mental model of their respective roles. Next, review the "Event Vocabulary" section. This lists the essential HTMX events (htmx:afterSwap) and Alpine tools (x-init, $dispatch) that form the bridge between the two. Focus on Pattern 2: Re-initializing after swaps. This is the most fundamental aspect of integration. When HTMX swaps in new HTML, that HTML might contain Alpine directives (x-data, etc.). Modern Alpine, when loaded with defer, uses a MutationObserver to automatically detect and initialize these new components. This section explains the underlying mechanism and how htmx:afterSwap gives you explicit control if needed. Finally, study Pattern 3: Triggering HTMX from Alpine. This demonstrates the reverse communication channel, where an Alpine component can initiate a server request declaratively using $dispatch and hx-trigger.
Let's consider a practical scenario based on these patterns. Imagine a "Save" button that should show a "Saving..." spinner during an HTMX POST request.
<!-- Alpine component that owns the loading state -->
<div x-data="{ isLoading: false }"
     @htmx:before-request.window="if ($event.target === $refs.saveButton) isLoading = true"
     @htmx:after-request.window="if ($event.target === $refs.saveButton) isLoading = false">

    <button x-ref="saveButton"
            hx-post="/save-data"
            :disabled="isLoading">
        <span x-show="isLoading">Saving...</span>
        <span x-show="!isLoading">Save</span>
    </button>
</div>
Here's the sequence of events:
- The
divis an Alpine component that owns anisLoadingboolean, initialized tofalse. - It listens for HTMX events on the
window. - When the user clicks the button, HTMX fires
htmx:before-request. The Alpine listener catches this, checks if the event originated from our specific button ($refs.saveButton), and setsisLoading = true. - Alpine's reactivity kicks in: the button becomes disabled, the "Save" text is hidden, and the "Saving..." text is shown.
- HTMX sends the
POSTrequest. - When the server responds, HTMX fires
htmx:after-request. The corresponding Alpine listener setsisLoading = false, and the UI reverts to its original state.
This pattern perfectly demonstrates the division of labor: HTMX handles the network request, while Alpine manages the purely presentational loading state.
Conclusion
You've now established the mental model for combining HTMX with a client-side library. You can identify which parts of your UI's interactivity belong on the server and which are best handled locally.
Key Takeaways:
- Division of Concerns: Use HTMX for interactions that read from or write to the server. Use Alpine.js for ephemeral UI state that doesn't require a server roundtrip (modals, dropdowns, toggles).
- Seamless Integration: Adding Alpine requires a simple script tag. Its declarative, HTML-centric nature aligns perfectly with the HTMX philosophy.
- Automatic Initialization: When HTMX swaps in new content, Alpine's
MutationObserverautomatically finds and initializes new components within that content. - Event-Driven Communication: The two libraries communicate via events. HTMX lifecycle events (
htmx:beforeRequest,htmx:afterSwap) can drive Alpine state, and Alpine can dispatch custom events to trigger HTMX requests ($dispatch+hx-trigger).
In our next lesson, we will put this knowledge into practice by implementing several common UI patterns—modals, dropdowns, and tabs—using Alpine.js within an HTMX-driven application. This will solidify your understanding of how to build complex, interactive components with this powerful and lightweight stack.
Can't find a good explanation? Sign up and we'll make it for you
Sign up