
Hello Ryazan,
Welcome to your fourth lesson. In our last session, we completed the physical architecture of our DJ setup, connecting the CDJ-3000s and DJM-900NXS2 mixer with both audio and data cables. The hardware is now a single, cohesive system.
Today, we move from hardware setup to the most fundamental software interaction: loading and playing your first track. By the end of this lesson, you will be able to load a track from a USB drive on a CDJ-3000 and use the Play/Pause buttons to begin playback. Think of this as the "Hello, World!" of DJing—a simple but essential first step that confirms the whole system is working.
Approximate time to complete: 20 minutes.
Recap: The Power of the Link
Remember in the last lesson we set up the Pro DJ Link using an Ethernet switch? Today you'll see the first major benefit of that network. By linking the players, you only need to insert one USB drive into one CDJ. The Pro DJ Link network allows both players to access the music library on that single drive, which is the standard professional workflow.
1. The "Boot Sequence": Inserting Your Media
Before we can play anything, we need to provide the CDJ with a source of music. For modern CDJs like the 3000, this is almost always a USB drive.
Step 1: Insert Your USB Drive
Locate the USB port on the top-right of one of the CDJ-3000s and insert your USB drive. An illuminated ring around the port will light up, indicating it has detected the drive.
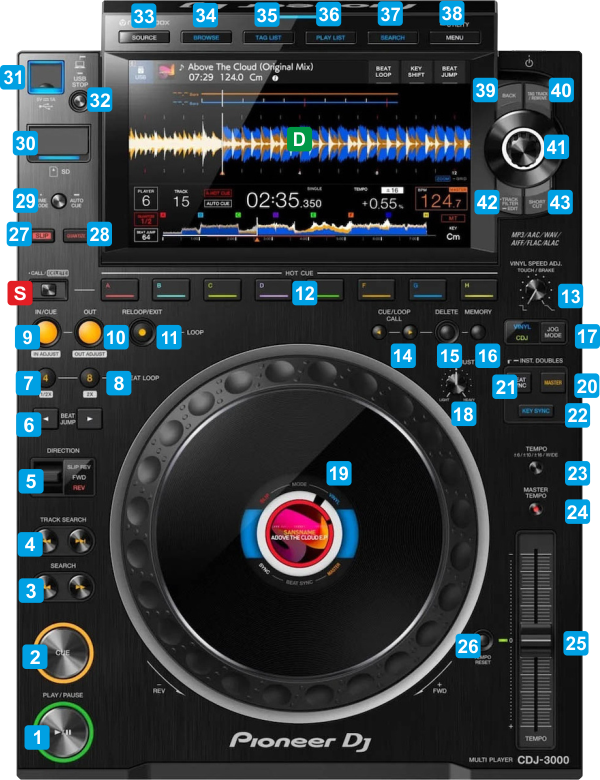
The USB port is labeled as part #31 in this diagram.
A Note on Safety (The "Eject" Button)
Just like safely ejecting a drive from your computer's OS, the CDJ has a protocol for this. The USB Stop button next to the port should be pressed and held until the light stops blinking before you remove the drive. This prevents data corruption.
For a quick reference on this, you can read the "USB Stop" section of the following article.
Reading (1 minute): Playing your first gig with CDJs? Here are 10 essential .... Focus on section 1. USB Stop.
2. Navigating the Interface: Finding and Loading a Track
With your USB drive inserted, the CDJ-3000's large touch screen becomes your file browser. The process is analogous to navigating a directory structure in a file explorer.
This process involves three key controls:
- The SOURCE button: To select your USB drive.
- The Rotary Selector knob: To scroll through playlists and tracks.
- The Load action: Pressing the knob to load the highlighted track.
To see this entire workflow in action, please watch the following segment from Pioneer DJ's official masterclass. It provides a clear, concise walkthrough of the interface.

Watch from [00:05:39] to [00:08:17]. Pay attention to how the presenter:
- Presses the SOURCE button to see all available media sources.
- Selects the USB drive.
- Navigates into a playlist using the Rotary Selector knob.
- Scrolls through the track list.
- Loads a track by pressing the knob.
The video also introduces the "Touch Preview" feature, which is a fantastic way to quickly listen to a part of a track without loading it—a very useful tool for track selection.
3. Execution: Using the Play/Pause Buttons
Once a track is loaded, its waveform appears on the main screen. The track is now "in memory" and ready for execution. The control for this is the large, tactile Play/Pause button at the bottom-left of the unit.
The Play/Pause button is labeled as part #1 in this diagram, just to the left of the Cue button.
The function is simple:
- Press once: The track begins to play from its starting point (or from where it was last paused). The button will be solidly lit.
- Press again: The track pauses at its current position. The button will blink.
This short clip demonstrates the basic playback controls perfectly.
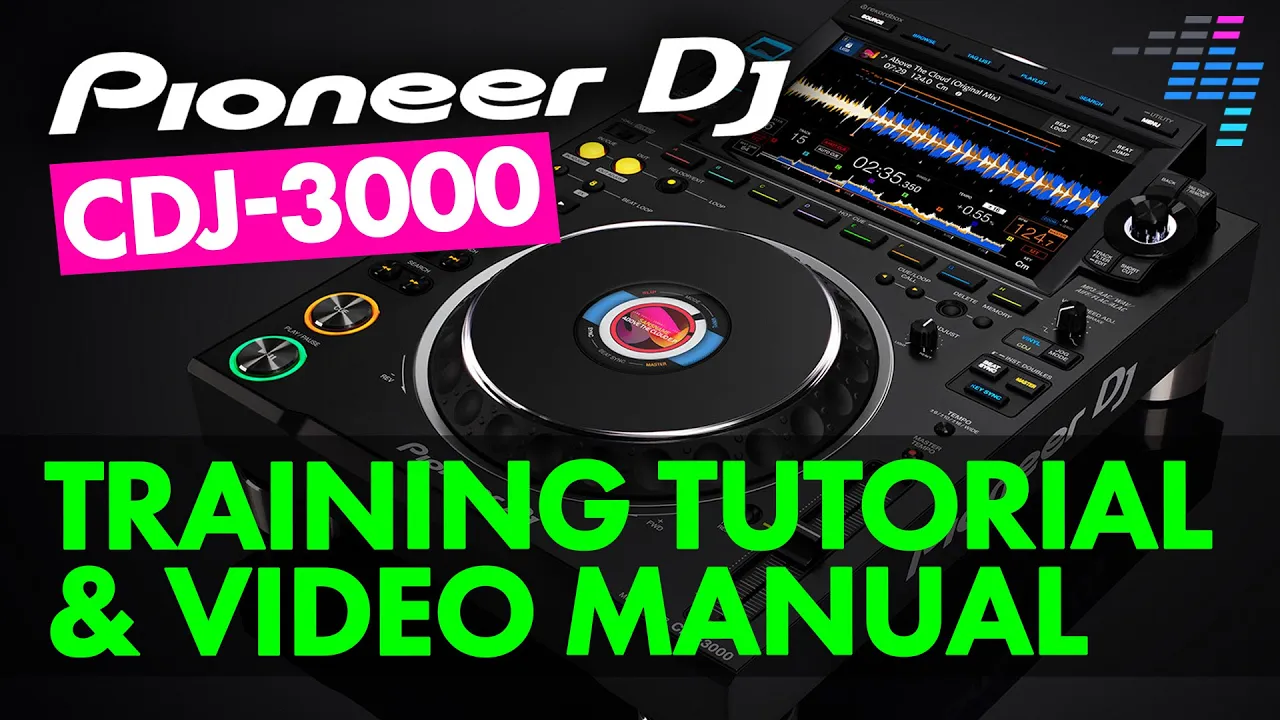
Watch from [00:48:20] to [00:48:40]. This section shows the play/pause button in action.
Putting It All Together: Your First Track Playback
Let's consolidate this into a single, repeatable procedure.
- Power On: Ensure both CDJ-3000s and the DJM-900NXS2 mixer are powered on.
- Insert Media: Plug your USB drive into one of the CDJs.
- Select Source: On that same CDJ, press the SOURCE button and select your USB drive from the on-screen menu.
- Browse: Use the Rotary Selector knob to scroll to a playlist and then to a specific track you want to play.
- Load: Press the Rotary Selector knob to load the highlighted track. You will see the full track waveform appear on the screen.
- Play: Press the Play/Pause button. The track will start playing. You should see the channel meter on your mixer light up.
- Pause: Press the Play/Pause button again to pause the track.
Congratulations! You have just performed the most fundamental action on a media player.
Conclusion
In this lesson, you've bridged the gap between a connected system and a functioning one. You learned how to navigate the CDJ's interface to select a media source, browse your track collection, and load a track into the player. Finally, you used the core Play/Pause buttons to control playback.
Key Takeaways:
- Pro DJ Link allows one USB drive to be the source for multiple linked players.
- The SOURCE button is your entry point to selecting a media device.
- The Rotary Selector is the primary tool for browsing and loading tracks.
- The Play/Pause button is the ultimate trigger for starting and stopping the music.
Preview of the Next Lesson:
Simply playing a track is easy, but in DJing, when you play it is critical. Hitting "play" at a random moment won't work in a mix. In our next lesson, we will cover how to set a main 'Cue' point, which allows you to define the exact starting position of your track so you can launch it perfectly on beat.
Can't find a good explanation? Sign up and we'll make it for you
Sign up