
Hello Ryazan,
Welcome to your sixth and final lesson in our "DJ Hardware Fundamentals" module. In our last session, you mastered setting a precise starting point for a track using the CUE button. This is like setting a breakpoint in your code to control where execution begins.
Today, we address a fundamental challenge: how do you prepare that next track while another is playing for the audience? You can't use the main speakers. The answer is the mixer's headphone cueing system. This system creates a private audio channel, just for you, allowing you to "stage" your next track before "deploying" it to the master output.
By the end of this lesson, you will be able to use the DJM-900NXS2 headphone cueing system to listen to a channel before it is played through the main output. This skill is the final piece of the hardware puzzle, enabling you to prepare your mix in secret.
Approximate time to complete: 30 minutes.
Recap: The Need for a Private Workspace
You now know how to get a track loaded and cued to the first beat on a CDJ. But in a live mix, this action happens while another track is already playing through the speakers (the "master output"). To beatmatch and prepare the incoming track, you need to hear both it and the live track simultaneously, without the audience hearing your preparation. This is the job of the headphone cueing system.
1. The Headphone Control Section: Your Command Center
On the left side of the DJM-900NXS2 mixer is the HEADPHONES section. This is your private audio environment.

On the bottom left, you can see the HEADPHONES section. This is our focus for today. It contains all the controls for your monitoring.
To understand the function of each control in this section, let's refer to the official manual. It's like looking at the API documentation for a new library.
Reading (3 minutes): DJM-900NXS2.
Please read the section "Part names and functions: Control Panel" on page 7, focusing on items 1 through 5. Then, skim the section "Monitoring sound with headphones" on page 11.
This documentation outlines the five key controls we'll be using:
PHONESterminal: Where you connect your headphones.CUEbuttons: Located above each channel fader, these select which channel's audio is sent to your headphones.LEVELcontrol: Adjusts the volume inside your headphones.MIXINGcontrol: Blends the audio between the channels you've "cued" and the mainMASTERoutput.MONO SPLIT / STEREOswitch: Changes how audio is routed to your left and right ears.
2. The Core Workflow: Listening to a Cued Channel
The fundamental purpose of the cue system is to listen to a channel when its fader is down. This video provides a clear and concise demonstration.
First, watch from [00:00:32] to [00:02:37]. The presenter will explain the core concept and demonstrate how to:
- Activate the
CUEbutton for the channel you want to monitor. - Use the headphone
LEVELknob to adjust the volume.
The key takeaway is that when a channel's CUE is active, its signal is routed to the headphones regardless of the channel fader's position. This allows you to cue up a track, start it, and listen to it without a single sound going out to the audience.
3. Beatmatching in Headphones: Blending CUE and MASTER
To beatmatch, you need to hear the incoming track (your cued channel) and the outgoing track (the master output) at the same time. This is where the MIXING knob becomes essential.
Think of this knob as a private crossfader just for your headphones.
- Turned fully to the left (
CUE), you hear only the channels with an activeCUEbutton. - Turned fully to the right (
MASTER), you hear only the main master output (what the audience hears). - In the middle, you hear an equal mix of both.
The following segment of the video explains this perfectly.
Continue watching from [00:02:37] to [00:05:22]. This section covers:
- The function of the
MASTER CUEbutton. It's standard practice to leave this on. - How to use the
MIXINGknob to blend the CUE and MASTER signals. - The common practice of setting the
MIXINGknob slightly towardsCUE(e.g., 10 or 11 o'clock) to make your incoming track a little louder in your headphones, which helps with beatmatching.
4. An Alternative Monitoring Style: MONO SPLIT
The DJM-900NXS2 offers another powerful way to monitor: MONO SPLIT. Instead of blending two signals into both ears, this mode splits them:
STEREOMode: You hear theMIXINGknob's blend of CUE and MASTER in both ears.MONO SPLITMode: You hear the CUE signal in your left ear and the MASTER signal in your right ear.
This technique is like having two separate monitors, one for each ear. Some DJs find this separation makes it easier to detect when two tracks are drifting out of time. This is purely a matter of preference, and you should experiment to see what works for you.
This video gives a great demonstration of the MONO SPLIT function in action.
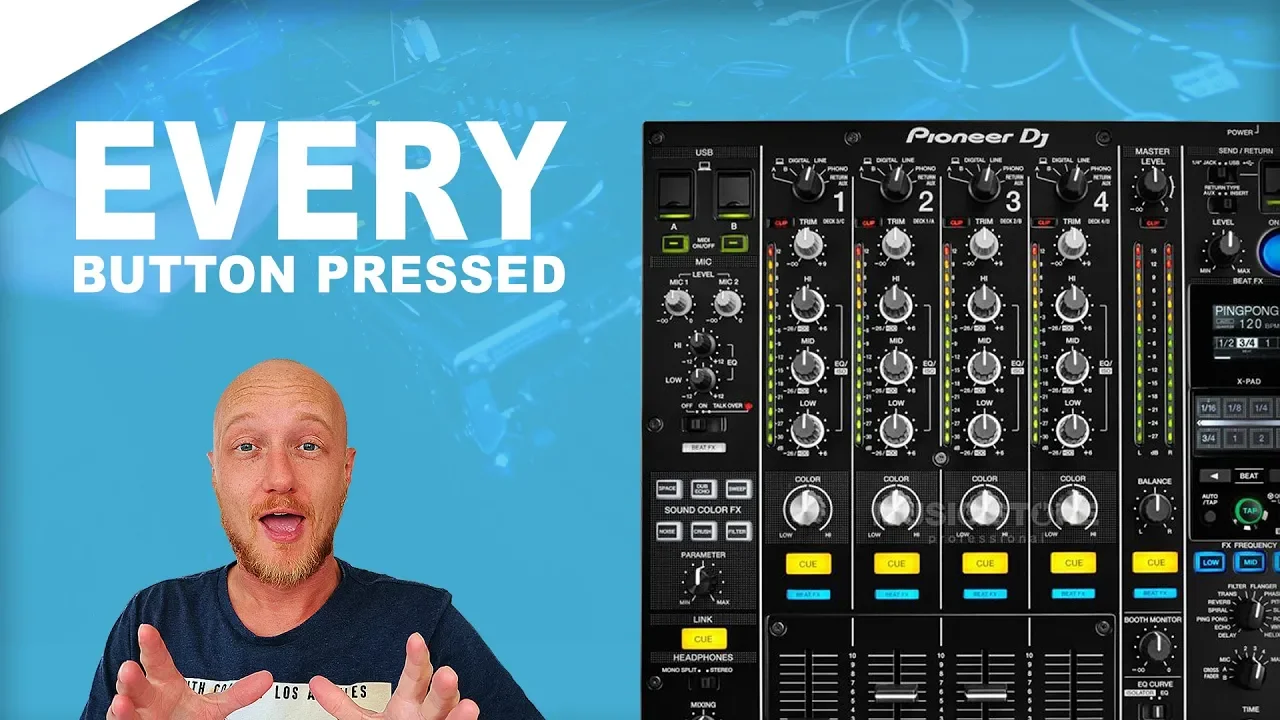
Watch from [00:15:59] to [00:17:18]. The presenter shows exactly how the sound is split between the left and right headphones.
5. Practical Exercise
Let's put this all together. This exercise will simulate a real mixing scenario.
- Go Live: Play a track on Channel 1. Make sure the Channel 1 fader is up and you can see the signal on the
MASTER LEVELmeters. This is your "live" track. - Prepare a Track: Load a second track on Channel 2. Keep the Channel 2 fader all the way down.
- Enter the Cue System:
- Plug your headphones into the
PHONESjack. - Press the
CUEbutton for Channel 2. - Press the
MASTER CUEbutton. Both should be lit.
- Plug your headphones into the
- Explore the Mix:
- Set the headphone
LEVELto a comfortable, safe volume. - Press
PLAYon the CDJ for Channel 2. - Turn the
MIXINGknob fully to theCUE(left) side. You should only hear Track 2. - Turn the
MIXINGknob fully to theMASTER(right) side. You should only hear Track 1. - Set the knob to 12 o'clock. You will hear both tracks. Practice adjusting the blend.
- Set the headphone
- Test the Split:
- Keep both tracks playing and the
MIXINGknob at 12 o'clock. - Flip the switch from
STEREOtoMONO SPLIT. Notice how Track 2 is now isolated in your left ear and Track 1 in your right.
- Keep both tracks playing and the
Conclusion
Congratulations, you've now covered all the fundamental controls of the CDJ and Mixer! Today, you learned how to create and control your private audio workspace, a skill that's absolutely essential for every other technique you'll learn from here on out.
Key Takeaways:
- The headphone cueing system lets you monitor tracks privately.
- The channel
CUEbuttons select which track to send to your headphones. - The
MIXINGknob is your private crossfader, blending the cued track with the master output. - The
MONO SPLITfunction offers an alternative monitoring style by sending CUE to one ear and MASTER to the other.
Preview of the Next Module:
With a solid grasp of the hardware, we are ready to move from function to art. The next module, "The Art of Beatmatching," is where the real fun begins. In our very next lesson, we will start by analyzing the music itself, learning to identify 32-beat phrases in a DnB track. You'll be using your new headphone skills extensively to listen, count, and understand the structure that forms the blueprint of every great DJ mix.
Can't find a good explanation? Sign up and we'll make it for you
Sign up