Welcome to the third lesson on smart contract testing. In our last session, you mastered a crucial testing practice: setting up a clean, isolated environment for each test using loadFixture. This ensures your test outcomes are reliable and not influenced by previous runs, a principle that mirrors the importance of starting ETL jobs with a known, consistent state. You successfully refactored the test for your Box contract to use this efficient pattern, covering the "Arrange" step of the Arrange-Act-Assert testing model.
Today, we shift our focus to the "Act" and "Assert" steps. You will learn how to write unit tests that interact with your contract's functions and then verify that these interactions produce the expected results. This involves checking for correct return values from functions and confirming that state variables have been updated as intended. Just as a data warehouse consultant must validate that a data transformation pipeline correctly alters and stores data, a smart contract developer must write tests to prove their contract's logic is sound.
By the end of this lesson, you'll be able to write fundamental unit tests for your smart contract functions, asserting their outcomes using ethers.js and the Chai assertion library.
1. Asserting Expected Outcomes
At the heart of testing is the assertion: a statement that declares an expected condition is true. If the condition is false, the assertion fails, and so does the test. The Hardhat environment, via the hardhat-toolbox, comes with the Chai assertion library, which provides a readable, expressive syntax for making these assertions.
The most common pattern you'll use is:expect(ACTUAL_VALUE).to.equal(EXPECTED_VALUE);
To get the ACTUAL_VALUE, you'll typically call a function on your deployed contract instance. For example, to check a public state variable, you'd do something like this:
// Act: Call the 'owner' getter function on the contract
const contractOwner = await faucet.owner();

// Assert: Check if the returned address matches the expected owner's address
expect(contractOwner).to.equal(owner.address);
Let's see this in action by writing our first real assertion test.
2. Testing the Constructor and Initial State
A great first test for any contract is to verify that its initial state is set correctly by the constructor upon deployment. This confirms that the most basic setup logic is working.
The following video from Alchemy provides a fantastic, concise walkthrough of setting up a test file and writing a unit test to verify that the owner of a Faucet contract is set to the address of the deployer.
How to unit test a smart contract using Hardhat - Alchemy University
This video demonstrates how to repurpose a default test file, create a loadFixture setup, and write a test to assert the contract's owner is set correctly.
First, watch the segment on setting up the test file. The presenter renames the file and cleans up the sample code, creating a loadFixture function named deployContractAndSetVariables. This reinforces the pattern you learned in the last lesson. Next, watch carefully from writing the owner test. This is the core of our lesson. Pay close attention to these steps: Getting Signers: The code const [owner] = await ethers.getSigners(); is added to the fixture to get the deployer's account. Returning Variables: The owner object is returned from the fixture so it can be used in the test. Acting and Asserting: The test calls await faucet.owner() to get the actual owner from the contract and uses expect(...).to.equal(owner.address) to assert it's correct.
The final test code from the video demonstrates this pattern perfectly.
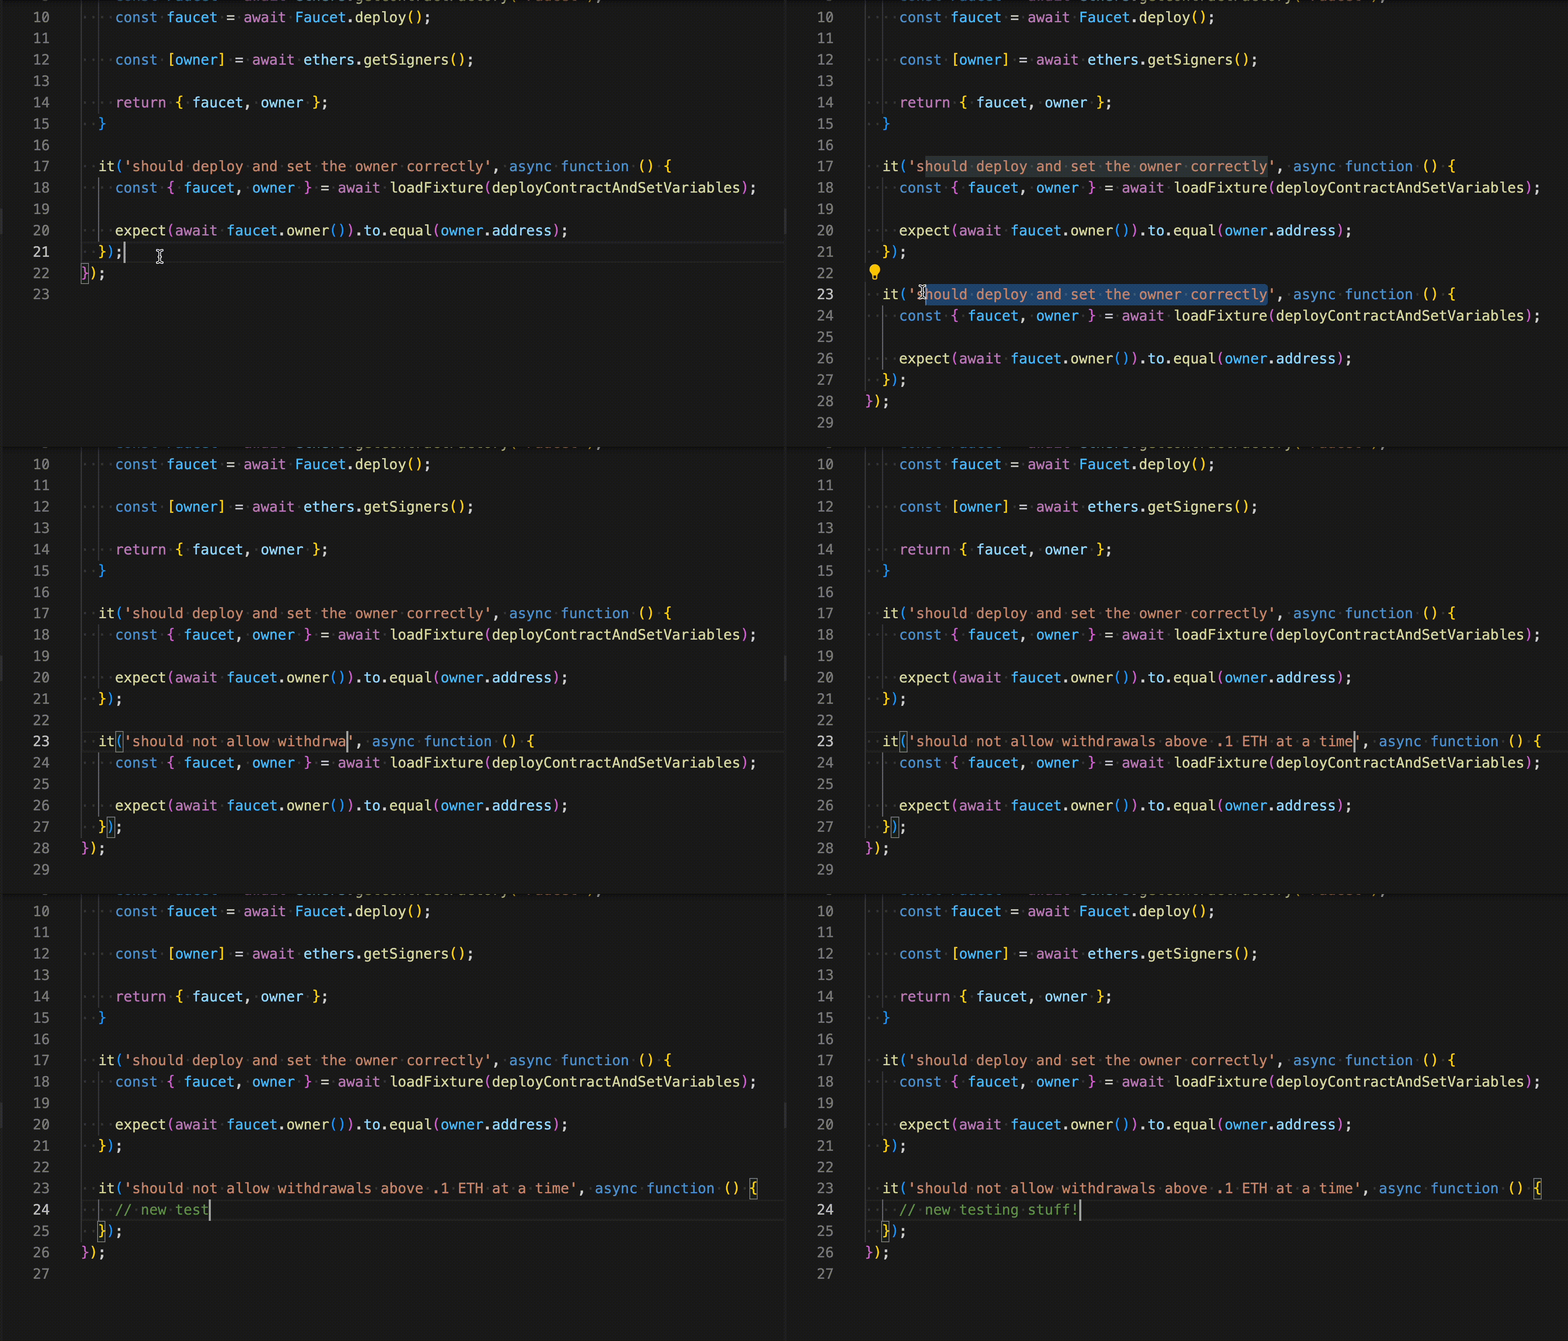
You might have noticed the presenter ran into a common error and had to debug it.
How to unit test a smart contract using Hardhat - Alchemy University
This short clip shows a typical debugging scenario in testing.
Watch from debugging the test. The initial test failed because it compared an address string (faucet.owner()) to a complex Signer object (owner). The fix was to compare the address to the signer's address property (owner.address). This is a subtle but important distinction you will encounter frequently.
The same principles apply to testing any initial state variables. A more complex contract might set multiple values in its constructor. The next video provides another clear example, this time testing the initial unlockTime, owner, and contract balance all within the same describe("Deployment", ...) block.
Hardhat Testing Tutorial | Solidity Smart Contract Testing Developer | Hardhat Testing Course
This video segment demonstrates writing three distinct tests to verify the initial state of a contract after deployment.
Please watch from the deployment tests. Notice how each it block tests one specific aspect of the initial state: Unlock Time: expect(await myTest.unlockTime()).to.equal(unlockTime); Owner: expect(await myTest.owner()).to.equal(owner.address); Balance: expect(await ethers.provider.getBalance(myTest.address)).to.equal(lockAmount); This shows how you can group related tests for initial state into a single describe block for clarity.
3. Testing State-Changing Functions
After verifying the initial state, the next step is to test functions that modify the contract's state. The process is similar: Arrange, Act, and then Assert that the state has changed to the new, expected value.
Let's add a test to your Box.test.ts file to verify that the store() function works correctly.
-
Open your
Box.test.tsfile in VS Code. -
You should already have your
deployBoxFixtureand a test that checks the initial value. -
Add a new
itblock below the first one to test thestorefunction.it("Should change the stored value when store() is called", async function () { // Arrange: Load the contract from the fixture const { box } = await loadFixture(deployBoxFixture); const newValue = 42; // Act: Call the store function to change the state await box.store(newValue); // Assert: Retrieve the new value and check if it's correct expect(await box.retrieve()).to.equal(newValue); }); -
Your complete
Box.test.tsfile should now look like this:import { loadFixture } from "@nomicfoundation/hardhat-network-helpers"; import { expect } from "chai"; import { ethers } from "hardhat"; describe("Box Contract", function () { // We define a fixture to reuse the same setup in every test. async function deployBoxFixture() { const Box = await ethers.getContractFactory("Box"); const box = await Box.deploy(); return { box }; } it("Should retrieve a value of 0 after deployment", async function () { const { box } = await loadFixture(deployBoxFixture); expect(await box.retrieve()).to.equal(0); }); it("Should change the stored value when store() is called", async function () { const { box } = await loadFixture(deployBoxFixture); const newValue = 42; await box.store(newValue); expect(await box.retrieve()).to.equal(newValue); }); }); -
Run your tests from the terminal with
npx hardhat test. You should see both tests passing.
4. Exploring a Complete Test Suite
As contracts grow, so do their test suites. It's helpful to see how these individual unit tests come together to cover the functionality of a more complex contract. The following article provides a full test suite for an InteractionLogger contract.
Smart Contracts on Ethereum - 03: Testing | Tutorial - Michael Pichura
This article contains a complete test suite for an example contract. Reading through the tests will show you how the patterns you've learned are applied to different kinds of functions.
Please read the following sections to see different types of assertions: First, review the code in <tf start="describe("setInteraction"" end="DuplicateName");\n});">Tests for setInteraction</tf>. The first itblock is a great example. It callssetInteraction, then calls getInteractionByName to retrieve the stored data, and finally asserts that all fields of the returned struct (identity, name, timestamp`) are correct. Next, look at the tests for two different getter functions. The code under <tf start="describe("getInteractionByName"" end="});`">Tests for getInteractionByName verifies that a function returning a struct works as expected. Finally, examine the code in <tf start="describe("hasInteraction"" end="});">Tests for hasInteraction</tf>. This shows a simple assertion for a function that returns a boolean value, using .to.be.trueand.to.be.false`.
Reading these examples will solidify your understanding of how to structure assertions for various function types—those that change state, those that retrieve data, and those that return simple booleans.
Conclusion
In this lesson, you've moved from setting up tests to writing the core logic that verifies your contract's behavior. You have learned how to act on your contract by calling its functions and how to assert that the outcomes are what you expect.
Here are the key takeaways:
- Arrange, Act, Assert: This pattern is the foundation of unit testing. Fixtures handle the "Arrange" step, while your test's body handles the "Act" and "Assert".
- Asserting Initial State: Always test that your constructor sets up the contract's initial state variables correctly.
- Asserting State Changes: After calling a function that modifies state, call a public variable or getter function to retrieve the new state and assert that it matches the expected value.
- Chai's
expect: Theexpect(actual).to.equal(expected)syntax is your primary tool for making assertions.
You now know how to test for success. But what about failure? A robust contract must also handle invalid inputs and unauthorized actions correctly. In our next lesson, you will learn how to write tests that assert your contract fails in precisely the way you expect, using revertedWith.