
Hello—your sketch already has game facts stored in variables. Now you will make two of those numbers visible: a player position and a dungeon room.
Last lesson introduced variables such as playerHealth and hasDungeonKey, placed above setup() and draw() so the sketch can remember them. This lesson uses two more number variables, playerX and playerY, as a location for the player. By the end, you will be able to use p5.js shapes, colors, and canvas coordinates to render a static dungeon scene. Set aside about 35–40 minutes.
The canvas is a map of pixel locations
A p5.js canvas is a rectangular drawing area made from tiny pixels. Each location has two numbers: an x-coordinate for horizontal position and a y-coordinate for vertical position.
The important screen-coordinate rule is:
- The top-left corner is .
- Increasing x moves right.
- Increasing y moves down.
This differs from the graph paper coordinate system where positive y usually moves upward.
For a canvas that is pixels wide and pixels tall:
| Location | Coordinate |
|---|---|
| Top-left corner | |
| Near the middle | |
| Top-right edge | |
| Bottom-left edge |
A coordinate is a location, not a visible object yet. A drawing function uses coordinates to decide where an object appears.
1.3: Basics of drawing - p5.js Tutorial
Watch “1.3: Basics of drawing - p5.js Tutorial” from The Coding Train for a visual explanation of the p5.js coordinate system and the arguments passed to rect().
Watch canvas coordinates to see why the origin is in the top-left and why larger y-values move downward. Then watch drawing a rectangle, focusing on the four values supplied to rect(): horizontal position, vertical position, width, and height.
For a second explanation with diagrams, read the beginning of the archived p5.js tutorial.
Read “Coordinate System and Shapes,” an archived p5.js Learn tutorial. Its diagrams make the screen-coordinate system and the different shape conventions easier to inspect.
In the opening section, read from the explanation beginning screen coordinates. Then continue through the “Simple Shapes” section, especially the paragraphs that explain that rectangles use a top-left corner while ellipses use a center point. Keep an eye on which values describe a position and which describe a size.
Four useful drawing functions
A function is an instruction that tells p5.js what to do. Its values inside parentheses are called arguments. Commas separate arguments, and the semicolon ends the instruction.
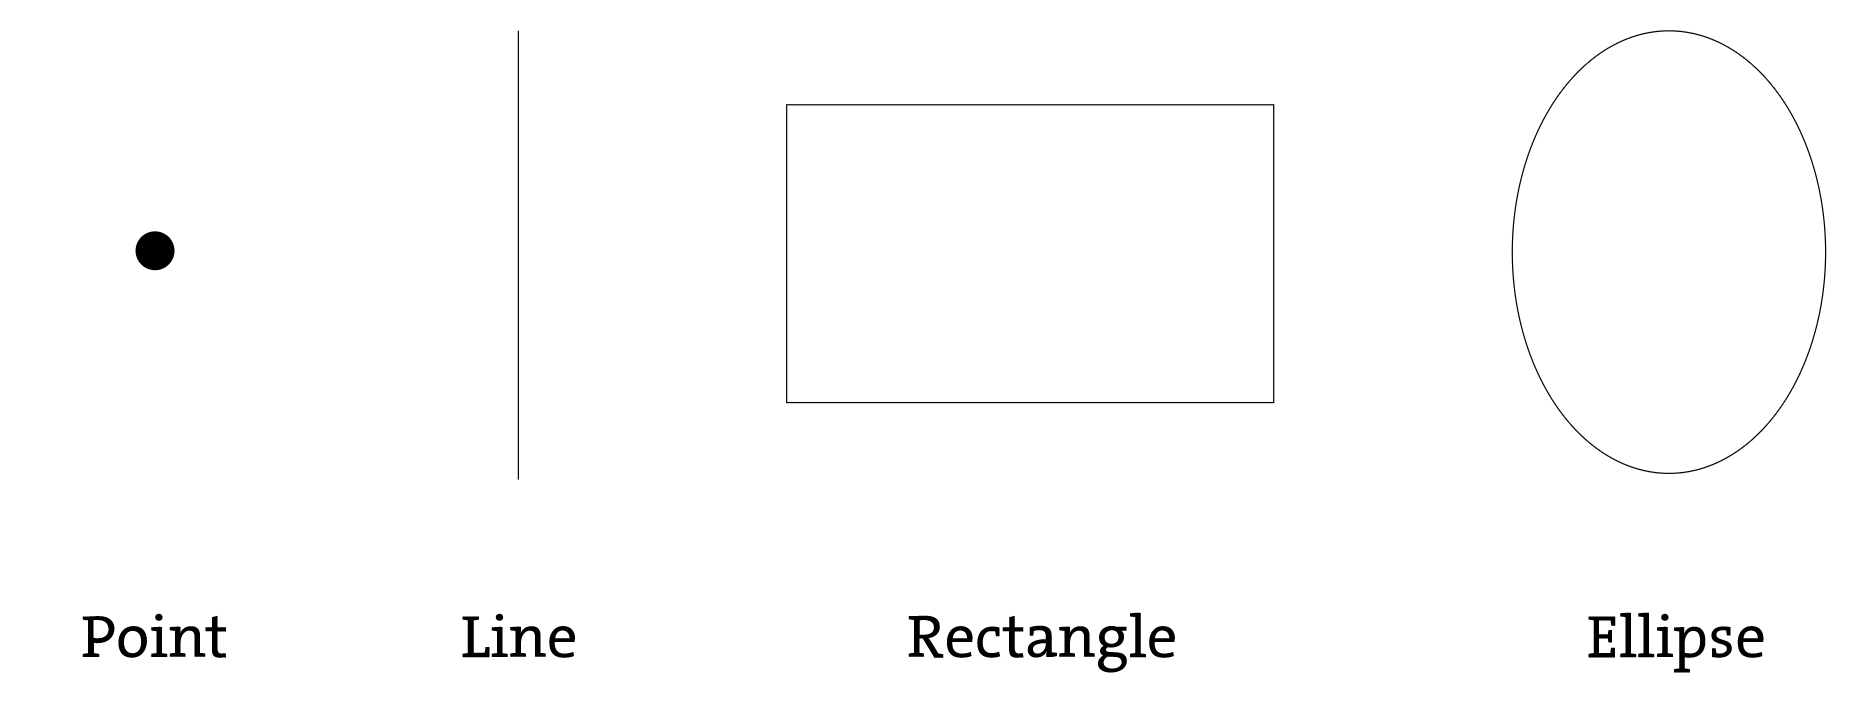
For this dungeon scene, these functions are particularly useful:
| Function | What the arguments mean | Useful game purpose |
|---|---|---|
rect(x, y, width, height) | top-left corner, then size | walls, doors, platforms |
circle(x, y, diameter) | center point, then size | a simple player or collectible |
ellipse(x, y, width, height) | center point, then size | shadows, creatures, decorations |
line(x1, y1, x2, y2) | first endpoint, then second endpoint | swords, cracks, arrows |
There is one detail worth remembering:
rect(100, 50, 80, 40)begins at its top-left corner, .circle(100, 50, 40)places its center at .
That distinction matters for games. A player is often most convenient to position from its center, while a wall is often most convenient to position from its corner.
Build a dungeon room
Open the sketch you used last lesson in the p5.js Web Editor. Replace its code with the following version, then press Play.
// Dungeon game state
let playerName = "Quest Runner";
let playerHealth = 3;
let hasDungeonKey = false;

// Player position
let playerX = 300;
let playerY = 200;

function setup() {
  createCanvas(600, 400);
}

function draw() {
  // Dark dungeon floor
  background(18, 21, 31);

  // Stone walls
  fill(63, 54, 75);
  stroke(109, 92, 126);
  strokeWeight(3);

  rect(0, 0, 600, 28);      // top wall
  rect(0, 372, 600, 28);    // bottom wall
  rect(0, 0, 28, 400);      // left wall
  rect(572, 0, 28, 400);    // right wall

  // Player
  fill(95, 204, 180);
  stroke(220, 255, 245);
  strokeWeight(2);
  circle(playerX, playerY, 30);

  // Small sword
  stroke(245, 215, 120);
  strokeWeight(4);
  line(playerX + 8, playerY, playerX + 21, playerY - 13);
}
You should see a dark rectangular room with four purple-grey walls. The turquoise circle at the center is your player, with a small diagonal sword line.
Read the player code carefully
These two variables are the player’s location:
let playerX = 300;
let playerY = 200;
The canvas is pixels wide and pixels tall. Therefore, is its center. The player is drawn here:
circle(playerX, playerY, 30);
p5.js reads that as:
Draw a circle centered at the x-position stored in
playerX, the y-position stored inplayerY, with a diameter of 30 pixels.
The variables let you give the player’s position a meaningful name. Later, keyboard controls will change these values. For now, you can already move the player by editing its starting values:
let playerX = 100;
let playerY = 100;
Press Play again. The player should now appear near the upper-left area of the room. Try a few locations, but keep the center of the player away from the walls for the moment.
How the room walls are positioned
Consider the bottom wall:
rect(0, 372, 600, 28);
The four arguments mean:
- Start at x-position
0, the left edge. - Start at y-position
372, close to the bottom. - Make the wall
600pixels wide, spanning the entire canvas. - Make it
28pixels tall.
Since the canvas height is , a wall that is pixels tall needs to start at , which is , to reach the bottom edge.
The right wall uses the same idea:
rect(572, 0, 28, 400);
It begins at , which is , and extends pixels to the right edge.
You do not need to memorize every number. The practical habit is:
- Decide the canvas size.
- Choose a wall thickness.
- Use coordinates and dimensions that make the pieces meet at the edges.
- Run the sketch and adjust numbers until the room looks right.
Color and drawing order
The dungeon uses RGB colors. An RGB color has three values:
fill(95, 204, 180);
The values control red, green, and blue light. Each usually ranges from 0 to 255. You can treat these as paint-mixing numbers for now: changing them is a safe and useful way to experiment.
The functions in the sketch have distinct jobs:
background(...)paints the entire canvas and creates the dungeon floor.fill(...)sets the inside color for shapes drawn afterward.stroke(...)sets the outline or line color for shapes drawn afterward.strokeWeight(...)sets the thickness of outlines and lines.
These settings remain active until you change them. That is why the code sets a wall color before drawing walls, then changes the colors again before drawing the player.
The order of drawing code also matters. p5.js draws like a stack of layers:
- The background is drawn first.
- Walls are drawn over the background.
- The player is drawn over the walls and floor.
- The sword is drawn last, so it stays visible over the player.
If you moved the wall code below the player code, a wall could cover the player. Keeping scenery first and characters afterward is a helpful habit for 2D games.
Make the room your own
Spend a few minutes making visual changes while keeping the code structure intact.
Some safe changes:
- Change the floor color in
background(...). - Change the wall
fill(...)color. - Make the player larger by changing the final
30incircle(playerX, playerY, 30). - Move the player to a different starting position.
- Add a torch using a small circle inside the room:
fill(255, 170, 50);
stroke(255, 230, 150);
strokeWeight(2);
circle(80, 70, 16);
Place the torch code after the wall code and before the player code. This keeps it visible on the floor while allowing the player to appear in front if they overlap.
When you experiment, change one small thing, press Play, and observe the result. This is a normal way to learn drawing code: coordinates become intuitive through repeated adjustments.
Key takeaways
You can now turn number variables into a visible dungeon scene.
- The p5.js canvas begins at in the top-left.
- Larger x-values move right; larger y-values move down.
rect()uses a top-left corner plus width and height.circle()andellipse()use a center point plus size.fill(),stroke(), andstrokeWeight()affect shapes that appear below them in the code.- Drawing order creates layers: later shapes appear in front of earlier ones.
playerXandplayerYstore the player’s position, ready to be changed by the game.
Next, you will return to setup() and draw() in more depth and use changing position values to animate a game object over time.
Can't find a good explanation? Sign up and we'll make it for you
Sign up